Skip to content Skip to navigation menu
Basket
0
1_Kids_Bedroom.jpeg

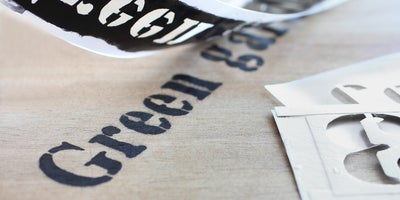
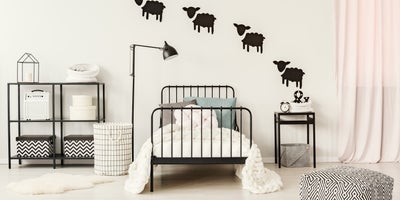
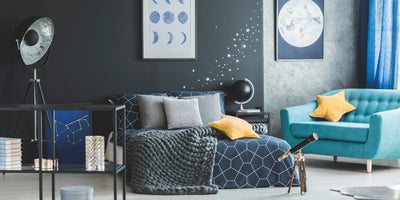
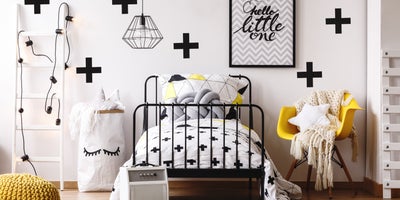
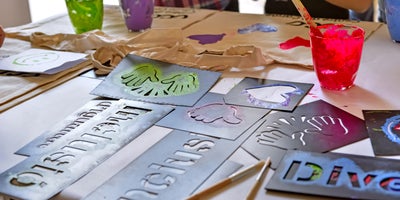
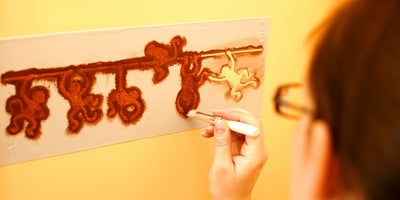
Why settle for having plain old one colour walls for your child’s first bedroom, when you can use a few simple materials to create fun stencil designs that’ll bring their bedroom to life with exciting patterns or even their favourite movie characters. The number of designs is unlimited and that’s the joy of it, but we’ve put together a collection of our favourites for you to gain some inspiration from, along with some basic instructions to get you started with your own designs.

2_Letters.jpeg
Letters or names
  • A simple yet effective design choice, there’s so many different fonts to choose from and they’re much easier to make than specific or stylised designs.
  • Making a stencil of your child’s name, the name of their favourite movie or TV characters, or even take it up a notch and stencil their name in the same style as their favourite movie or TV show.
3_Animals.jpeg
Animals
  • If you’re making a design for a young child, this is a brilliant way to introduce them to a variety of species. Which will help them begin to learn more as they get older.
  • A great design choice to go for that helps to introduce associative learning is to make stencils for animals you’ll find in different habitats. So, you could make stencils of animals found on farms, in the wild or even in different countries.
  • If your child’s more into the wilder side of nature, then silhouettes of Dinosaur fossils are a great choice of design.
  • With over 1.7 million species discovered, there’s definitely no shortage of designs to go for. Plus, there are plenty of free to print designs all over the internet.
4_Stars.jpeg
Space
  • Why not bring the night sky in without the cold British weather by creating a stencil design of the night sky and galaxy.
  • These designs can vary so you could start out with a few planets and progressively add more as they get older.
  • Plus, these designs tend to inspire your child to want to learn more about planets and the solar system, so it’s a good time to get those fact books out for bedtime reading.
  • If you chose to make stars, some glow in the dark paint can add some depth to your finished work.
5_Dynamic_Print_Patterns.jpeg
Geometric patterns
  • If your child is a little older, then you can’t go wrong with some pattern designs for your stencils.
  • You can use just about any household items with a pattern that you like, whether that’s a piece of chinaware, a roll of wallpaper, or even unique logo patterns on clothes.
  • You’ll also be able to find plenty of pre-made stencil patterns online that can be printed and traced, so it’s worth having a look around to find your favourite design.
AdobeStock_279115435.jpeg
How to make wall stencils
  • The first thing you’re going to want to do is find a stencil design that you like most, that could be one of our picks or something completely different.
  • Once you’ve chosen your preferred design, you’re going to need a few tools and materials to give you the best possible results.
  • There is one thing to keep in mind when choosing your design, as if you’ve chosen a design that joins up, you’ll have to fill in those connecting parts yourself.
  • We recommend using a strong transparent plastic sheet to trace your chosen pattern or design onto, along with a fine line permanent marker to draw it and a sharp utility knife to finish off making your stencil.
  • When drawing just take your time and don’t forget a little mistake just adds character anyway.
AdobeStock_2749800.jpeg
Applying to the wall
  1. Lay a transparent sheet over your design and place four relatively weighty items on each corner, this will help reduce slipping while tracing.
  2. Trace your design using a fine line permanent marker
  3. If you’re finding your chosen design or pattern is too big for the plastic sheet, use separate sheets and overlap a part of the pattern or design so you know where to join them up.
  4. Once you’ve finished tracing your stencil, colour in each section with the colour you wish to use. This will help you visualise how your design will look once you’re finished.
  5. If your design has different colours that are close together, make a stencil for each colour you want to use, which will eliminate any chance of the colours colliding when applying it.
  6. Now, cut out your stencil with a sharp utility knife. Remember to take your time to avoid any unwanted injuries.
  7. With your stencils cut out, they’re ready to go. Stick them to the wall and paint in the gaps with a small brush or sponge. Spray paint work well too.

More inspiration