DIY under bed storage
You can never have enough storage, but it’s surprising how quickly you run out of space. Under the bed is always a good option, however it’s keeping it neat and organised that’s the challenge. These under-bed storage units are the ideal solution for cutting back on clutter. They keep everything tucked away and easy to find, with handy wheels that let you roll it out for easy access.
These instructions are for one unit, but once you have your first you can repeat the process as many times as you’d like to make more than one.
Build guide
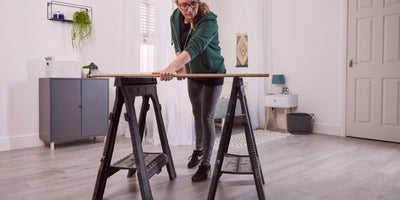
Start by setting up a workbench. The size of your work surface will depend on the size of the wood you’re using, so make sure you’ve got one that can accommodate your materials.
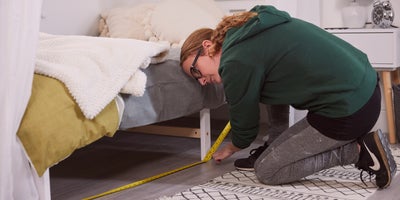
Measure the height, width and depth of the space under your bed to find the dimensions for your units. The size of your storage units will not only depend on how much room there is under your bed, but also how big you want them to be.
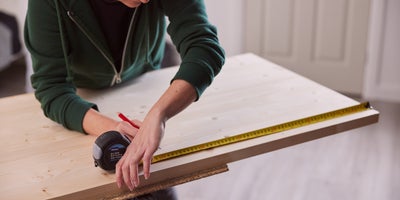
Once you have your measurements, mark the measurements for the base of your unit onto a timber board.
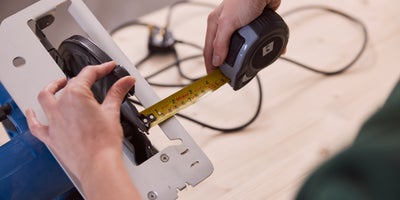
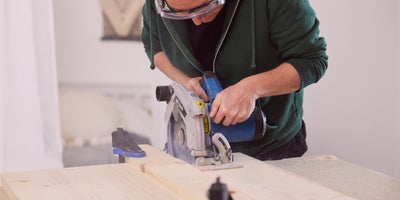
Make sure to measure and adjust for the baseplate on your circular saw, to make sure you’re cutting along the right line. Measure from the outside of the blade to the baseplate, and account for that additional measurement when marking your cutting line.
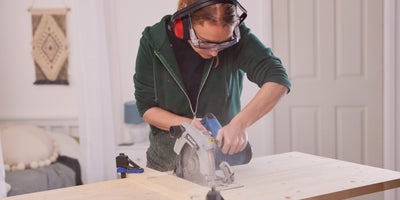
You’ll also need to clamp in a piece of timber to use as your guide rail and cut your base to size.
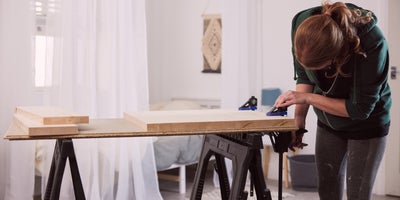
Once you’ve cut your base, you’ll need to do the same for your side faces. Two of them need to be cut to the same length as your base, so start by marking and cutting them first.

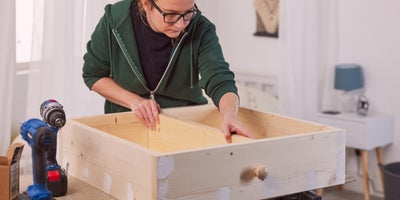
Once cut, lay them in-place so that they’re flush against your base. Measure the distance between the two boards to get the measurements for your other two side faces. Then mark them and cut them to size.
Now you have all your pieces cut, it’s time to bring them together.
Start by clamping your base to the workbench.
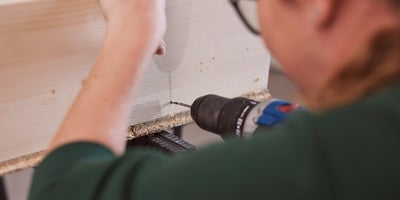
Then lay your first side face in position and drill pilot holes all the way along where the two pieces meet, as well as down either side.
Switch to a countersink drill bit and countersink your pilot holes.
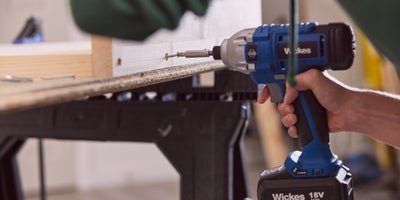
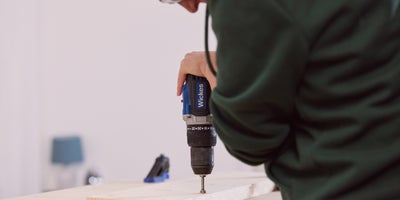
Then use an impact driver and screws to attach the side face to the base.
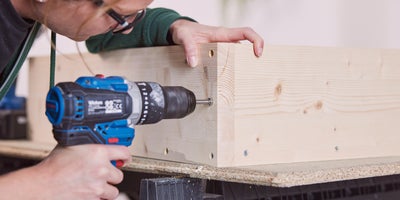
Repeat this for your other three sides.
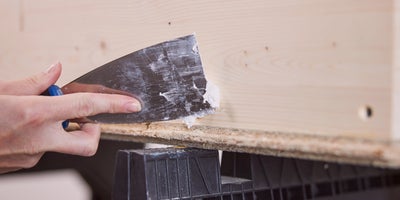
Once you’ve attached your sides, fill the screw holes and allow some time for the filler to dry.
The drying time is the ideal opportunity for attaching a knob or handle to the front of your unit. Find the centre of one of the sides and fit a knob to it.
Then you can use the centre-point you found for your knob to install the central partition in the middle of the unit. This is the same length as your shorter sides, but make sure you account for the height of the base when cutting it to keep the top level. Install it the same way as the side faces, with a screw in each end.
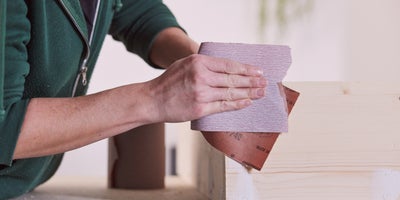
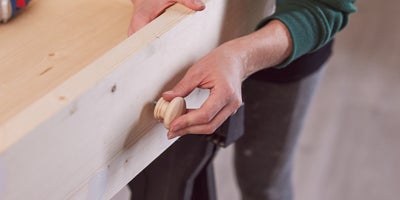
Once the filler has dried, sand down any excess until you have a smooth, even finish. We recommend 240 sandpaper, but you can go higher if you’d prefer.
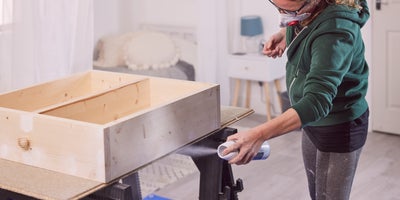
Once you’re happy with the surface, spray your entire unit with an even coat of primer. It’s important to use primer on bare timber before painting, so the paint has a surface to stick to.

After priming, sand the whole thing down. We recommend repeating this process at least two more times so that you have several coats of primer. This is the best way to ensure you have a perfect finish at the end.
Then once you’ve finished your final sanding, it’s time to paint the entire unit. We’ve used spray paint for an even finish, but you can use traditional paint too.
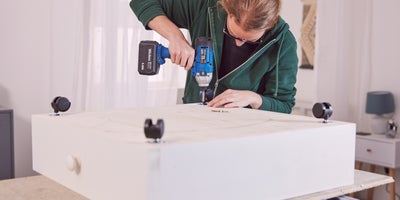
Give your paint time to dry before attaching the casters to the bottom.
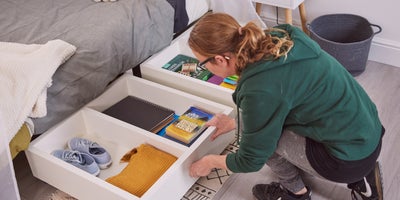
And now your under-bed storage is ready to go. Fill it with stuff you want to stash away and roll it under your bed.