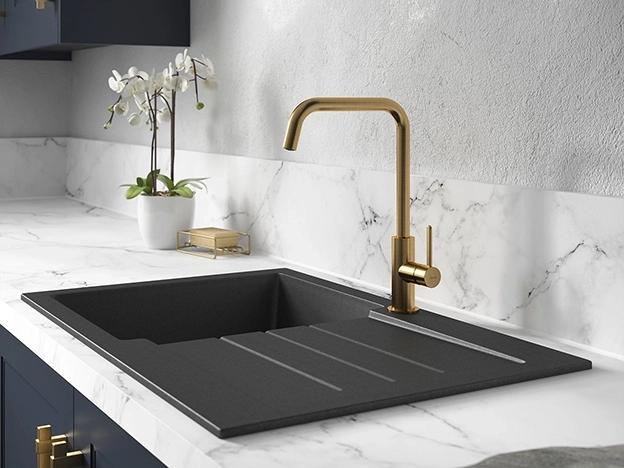
Whether you’re upgrading your current space or planning a full kitchen renovation, it’s time to choose a sink that seamlessly flows with your design. Discover our collection of large and space-saving kitchen sinks at Wickes, available in an array of materials and bowl shapes to suit your needs and preferences.
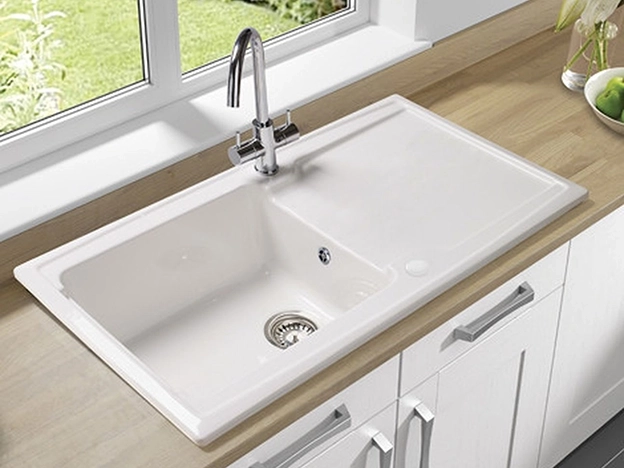
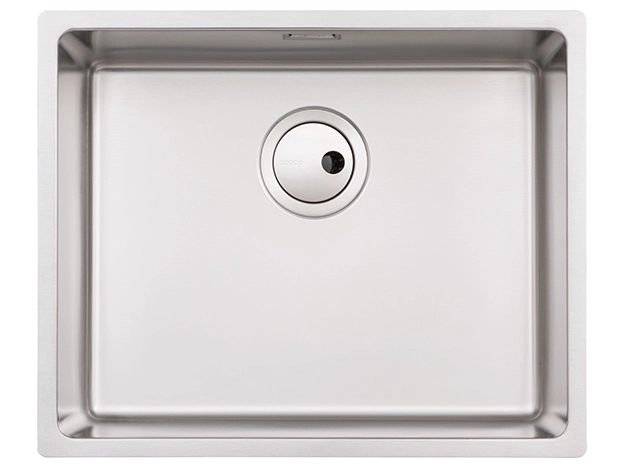
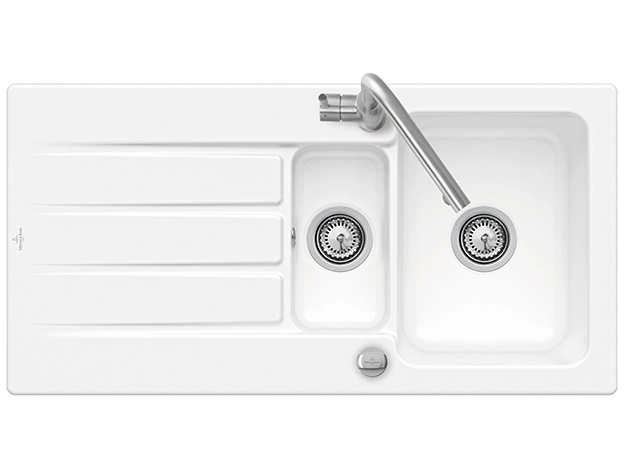
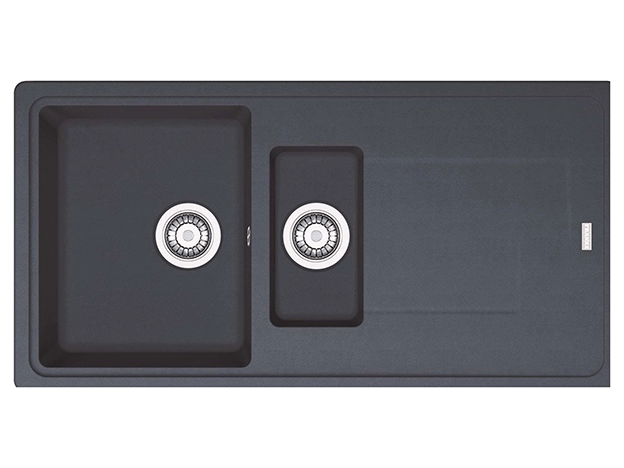
Compliment classic styling with a ceramic kitchen sink that combines superior stain resistance with a smooth surface for easy cleaning. Or opt for stainless steel for easy maintenance and long-lasting assurance against corrosion – the perfect choice for busy kitchens. For the bolder look, our granite and composite black kitchen sinks have a stand-out aesthetic that’s both robust and scratch-resistant for longevity purposes.
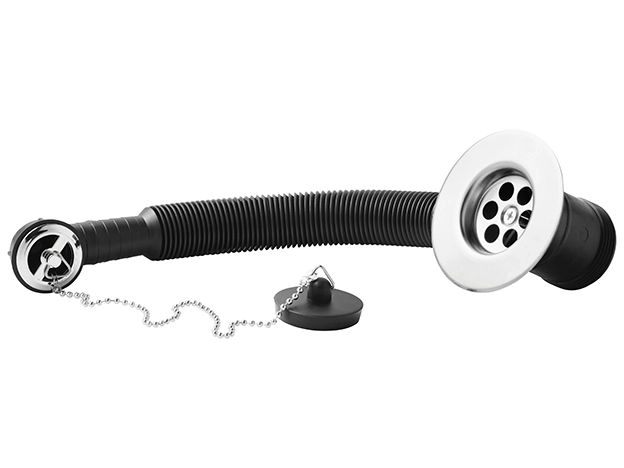
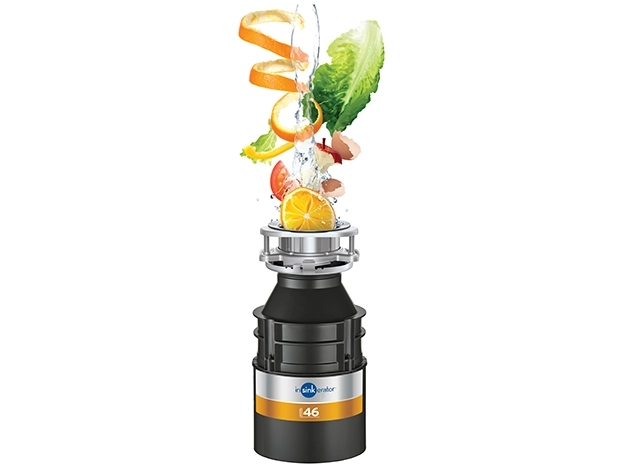
Don’t forget to complete the look of your ideal sink space with our range of kitchen taps and waste disposal units.
Start by removing any visible debris from the drain before plunging the blockage to dislodge any waste that's trapped down the pipe. To help this process, you can pour a mixture of hot water and soap down the drain to break up the grease and grime prior to plunging. If unsuccessful, try a drain auger or chemical cleaner to unblock your sink.
The best and most natural way to clean your kitchen sink is to pour baking soda directly down the drain before switching on the hot water to flush it down. If you’re having issues with unwanted odours, try pouring lemon juice or distilled white vinegar down the drain, wait 30 minutes and then rinse the sink as usual.
To fit a kitchen sink, you’ll want to start by measuring its dimensions and the opening in the countertop. Next, place the sink upside down and begin tracing its outline directly onto the counter before carefully cutting along the guideline using a jigsaw. Once the gap is of the right size, apply silicone sealant around the edge of the opening and slowly fix the sink into place. If you have clips or brackets for extra support, now is the time to secure these. Lastly, connect the drain and water components while making sure there are no signs of leakages.