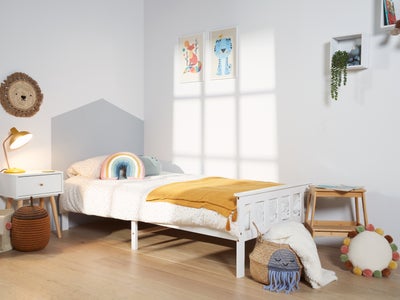
Creating a painted blackboard
Before making a start, create a safe working space around where you’d like to create your headboard by removing the bed, decorations, chairs, or any other obstacles. Bring a tape measure, pencil and spirit level over to your safe working space. You can either follow our measurements if you want your blackboard to be the same as ours. If you want to make your blackboard bigger or smaller, you can use the same methods, as all you’ll need to do is just change your measurements for creating the borders.
Method
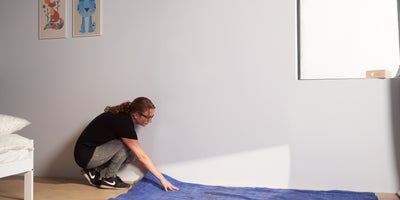
Lay out a sheet of tarpaulin in your working space to protect the floor.
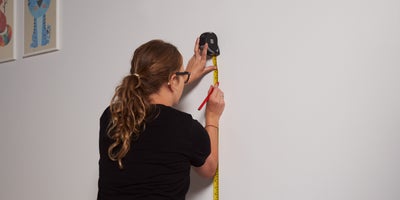
Measure 1.10m up from the floor and mark with a pencil. Then measure 0.7m from the right of the wall, in line with the first pencil mark, then mark your measurement with a pencil.
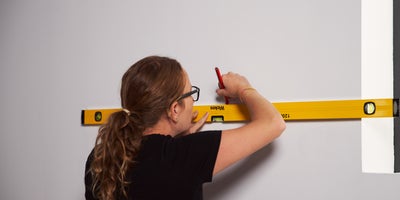
Using a spirit level and a pencil, draw lines to connect your markings, which will create a rectangle border.
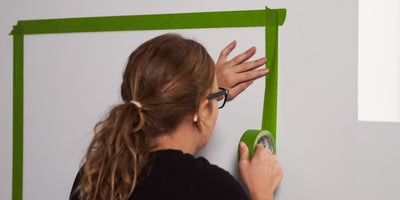
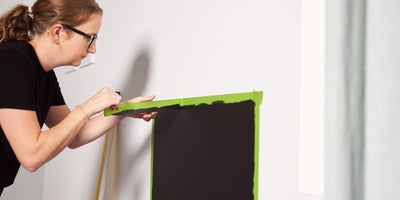
Grab your roll of masking tape and apply strips on the outside of the lines you’ve just made. The tape provides you with not only a clearer, visual guide as to where your edges are while painting, but it also keeps your edges neat and tidy once you’ve finished painting.
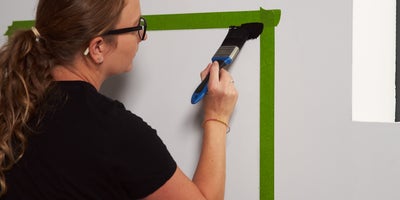
Open your tin of blackboard paint and pour a small amount into your paint tray, then apply paint within your marked out area on your wall.
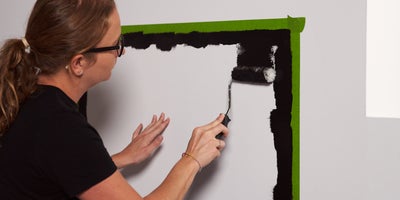
When painting, move the brush down and away from the marked-out area and progressively paint around the edges before painting the rest with a paint roller.
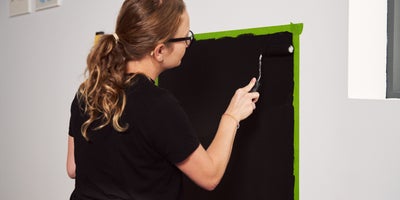
Wait for your first coat of paint to dry before applying a second coating.
Once your paint coats have dried, remove all the tape.
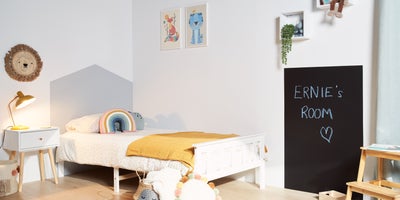
There you have it: you and your child can now draw and write to your hearts content.