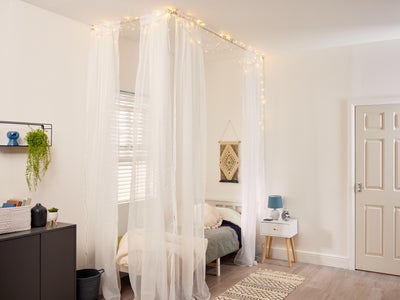
How to create a painted headboard
Whether you’re struggling to find a headboard that’ll fit your child’s bed, or can’t find one with their favourite movie character, why not add a little flair to your child’s bedroom by creating a painted headboard?
Thankfully, creating a painted headboard is a very easy task that anyone can do with the right tools and materials.
Method
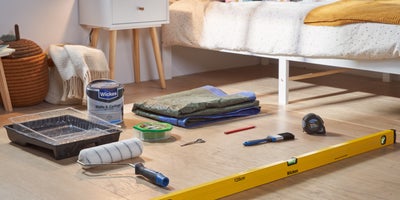
Before making a start, create a safe working space around where you’d like to place your headboard by removing the bed, decorations, chairs, or any other obstacles. Bring a tape measure, pencil and spirit level over to your safe working space.
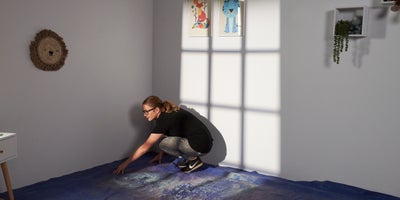
Lay out a sheet of tarpaulin in your working space.
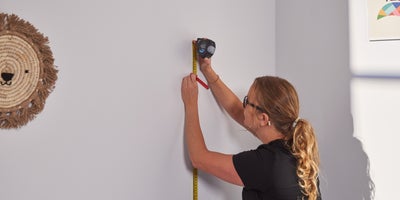
Use a tape measure to measure 1.10m from the right of your wall and make a pencil mark.

Then mark your centre point (55cm) with a pencil.
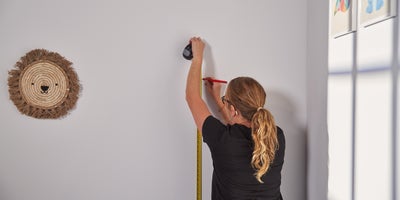
After that, determine the height by measuring 1m up from the floor and make a pencil mark. Measure up from the floor again, in line with your centre mark and make a pencil mark at 1.2m.
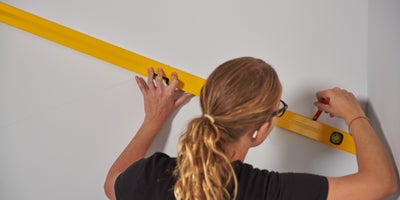
Join your markings together by drawing lines with a spirit level and pencil. Double check your marked lines are straight with your spirit level.
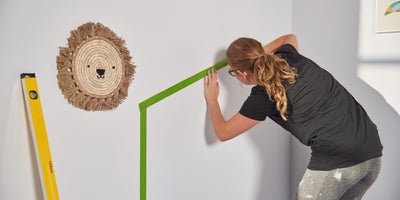
Grab your masking tape and apply strips on the outside of the lines you’ve just made,
The tape provides you with not only a clearer, visual guide as to where your edges are while painting, but it also keeps your edges neat and tidy once you’ve finished painting.
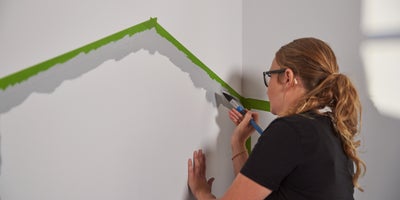
Open your tin of paint and pour a small amount into your paint tray, then apply paint at the edges of your marked out area using your brush.
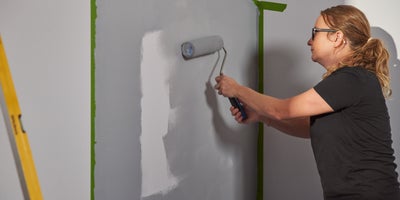
Paint the rest of the area with a small roller for a smooth finish.
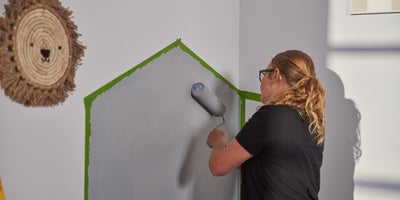
Wait for your first coat of paint to dry before applying a second coat.
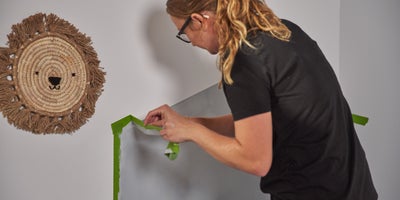
Once your paint coats have dried, remove all the masking tape.
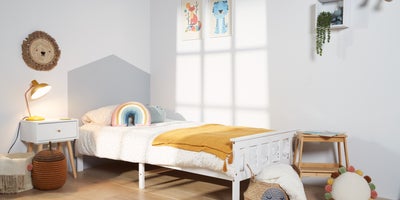
And there you have it. A painted headboard.
You can be as creative as you want. Try using multiple colours or different shapes. You can even add stencils for a personalised painted headboard.