Painting a curvy mural
Painted murals are popping up more and more in homes, particularly within the newstalgia trend. Embrace the retro curves and funky colour palettes to truly capture the spirit of the design inspiration. With some careful planning and painting, you can completely transform the look of your room.
Method
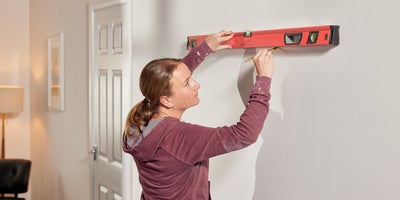
Start by marking out a vertical and horizontal guideline on the wall you’ll be painting, using a spirit level and a pencil. They should meet to form a right angle.
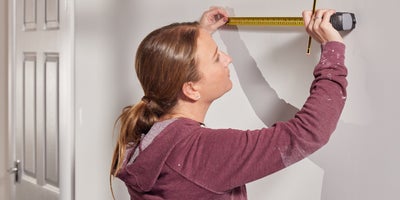
Then measure and mark two more lines so that you have a square of your chosen size. For reference, we measured 50cm down and along from where the first two lines met. Measure the same distance along from the left side of your box and mark it, before joining it to the bottom of your square with a line. Repeat for the opposite side.
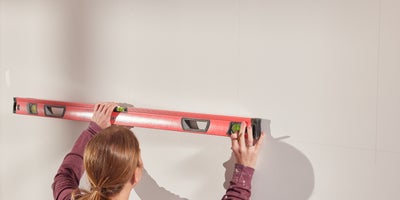
Draw three more identical lines above the one you’ve just drawn, so that they’re spaced out evenly. Repeat for the opposite side.
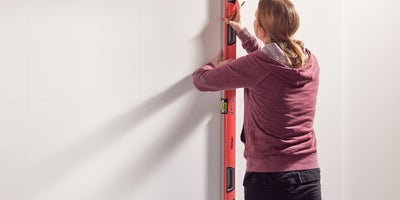
Then line up your spirit level vertically along one of the sides of your square. Draw a line along the outside edge that’s the length of the square. Do this two more times working outwards, using the level as a spacer. Repeat for the opposite side.
Line up your spirit level horizontally alongside the top of your square. Draw a line along the top edge of the level that joins the two outermost lines. Do this to more times working upwards, using the level as a spacer.
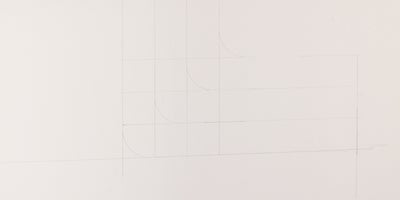
Now that your guide grid is fully marked out, use a roll of tape as a guide to draw your curves in corners of the small boxes you’ve created.
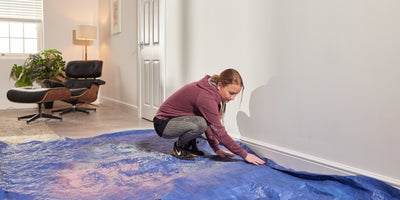
Now all that’s left is to apply your paint.
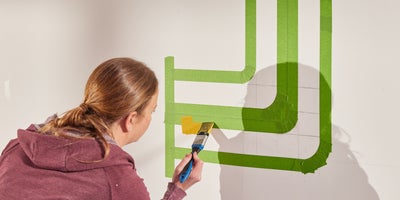
When painting, start at the edge of the tape and brush away from it. This will prevent the paint from seeping underneath.
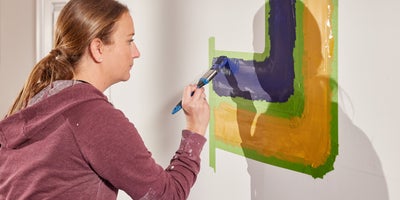
Fill in your mural with your chosen colours. Give it time to dry before applying extra coats, which should effectively cover your pencil marks.
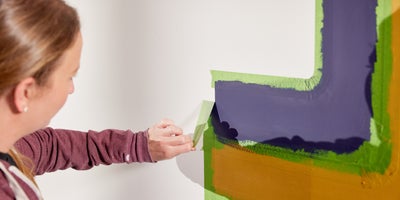
Once you’ve filled in the main sections, remove your tape and give it time to dry thoroughly.
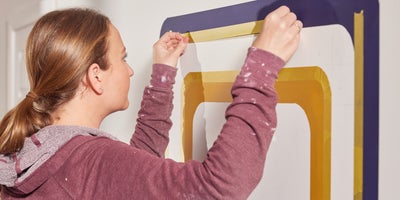
Once it has dried, apply new tape around the gaps, along the edges you’ve already painted. Then fill these in with multiple coats of your chosen paint.
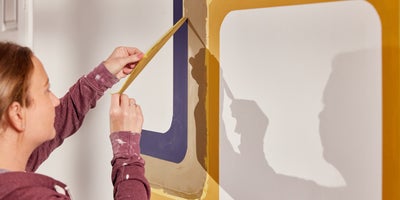
Let it dry and remove the rest of your tape. You can remove any remaining pencil lines with a rubber.
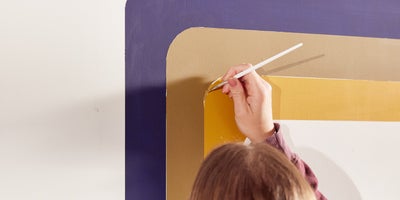
You might find that there are some minor gaps where the tape was. You can touch these up with your paint using a really small brush.
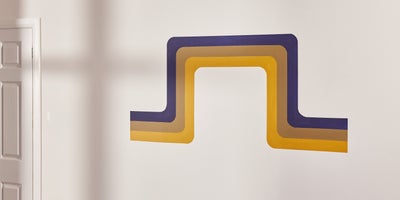
And now you’ve got your very own newstalgia-inspired curvy mural. If you’re feeling confident, try out different colours and patterns to see what you can come up with.


