How to start and maintain a compost heap
- Compost bins (optional)
- "Greens" - Grass cuttings, compostable food waste (do not include greasy/oily waste or meat, fish, dairy, and bones, which can attract pests and animals).
- "Browns" - Recyclable cardboard/paper, egg cartons, dry leaves, twigs.
Maintaining a compost heap is a simple and sustainable garden task that can provide essential nutrients to your soil in an eco-friendly way.
It’s also a great way to recycle excess food waste and other compostable materials.
An ideal location for your compost heap should avoid areas prone to water logging, as well as allow direct access to the earth/soil beneath.
This will aid with both drainage and accelerate the decomposition process, thanks to worms and other microorganisms in the ground.
Method
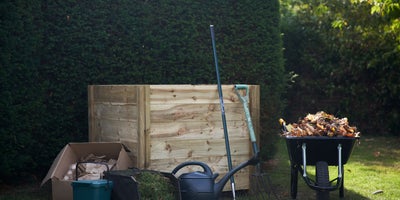
The key to a healthy compost heap requires alternating layers of greens and browns. We recommend a ratio of 1 part green and 2 parts brown to avoid it getting either too dry or too soggy.
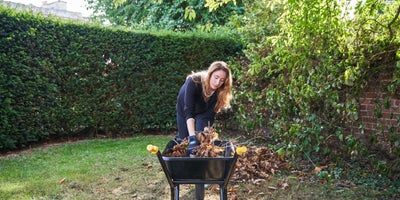
Begin by collecting leaves and sticks with a garden rake, then put them into a wheelbarrow.
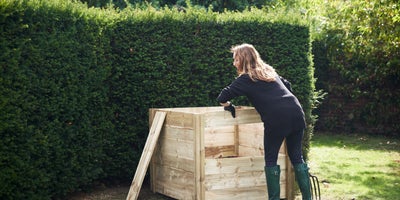
If your compost heap has removable slats, remove these for easier access.
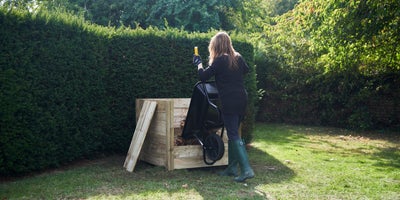
Next, deposit the natural garden material. These are your browns which are rich in carbon and the best way to start your compost heap, as the dry leaves and twigs allow for better air circulation at the bottom.
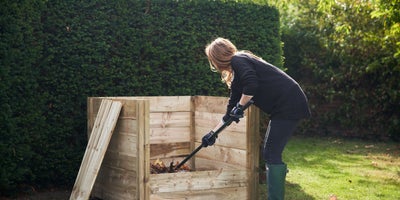
Use your rake to spread and level out the natural material across the heap.
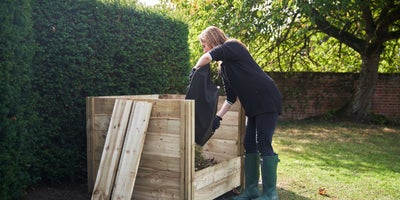
Now it’s time to add some greens such as grass cuttings. Greens are high in nitrogen, equally important for a healthy compost heap. Use your rake to level it all out.
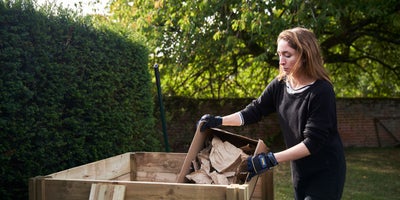
With the greens added, put in another layer of browns such as cardboard. Before depositing it into your compost heap, it helps to tear it into smaller pieces to speed up the composting process.
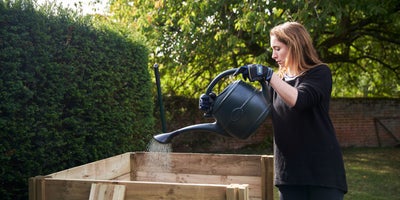
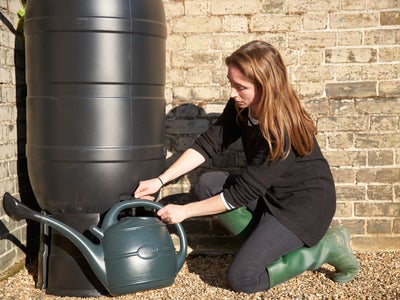
We suggest using a watering can to dampen any cardboard added to your heap during dry weather spells. This helps it break down more easily. A compost heap should be moist but not drenched through.
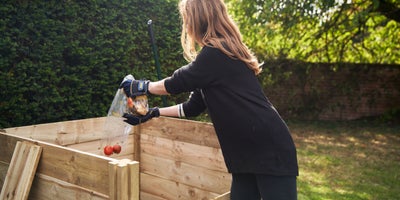
Now add another layer of greens by emptying your food scraps and spreading them out evenly. If your food scraps are in a compostable bag, you don’t need to worry about pouring them out, as the bag will decompose naturally over time.
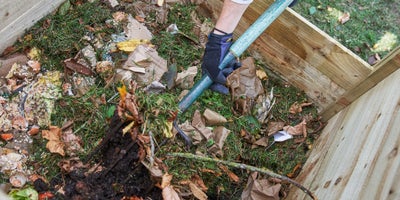
Composting is a slow process, but as the waste begins to break down you should check on your compost heap every few weeks to turn it over. Use a garden fork to lift from the bottom, immersing the top layer, before spreading it evenly across your compost heap.
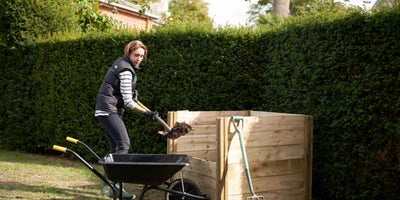
By maintaining a healthy balance between greens and browns, your waste material will gradually break down into high-grade compost, allowing you to add plenty of rich nutrients back into your garden soil and flowerbeds.
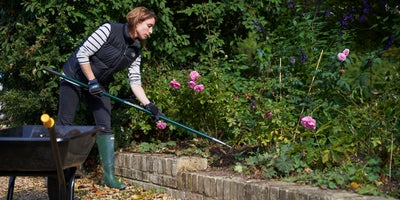
You mix your mature compost into your flower and vegetable beds, gently rake compost into tree beds, blend it with potting soil to revitalize indoor plants, or spread it on top of the soil on your lawn.
