Skip to content Skip to navigation menu
Basket
0

Replacing a toilet might seem like a big job, but with the right tools and instructions, you can do it yourself. This guide will show you how to replace a close-coupled toilet, the most common type in the UK, in a few straightforward steps. But if you're installing a toilet in a new location, it's best to hire a plumber to connect it to the main soil pipe. 

Watch our how-to-video then follow our step-by-step instructions to help you get your new toilet up and running.

Step by step

Step 1. Remove the Old Toilet

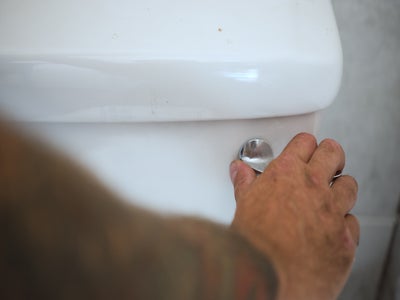
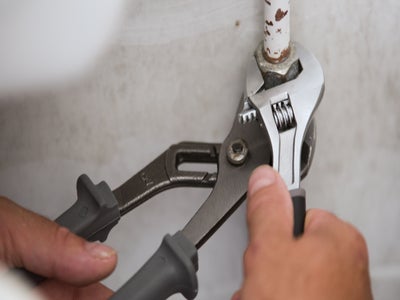
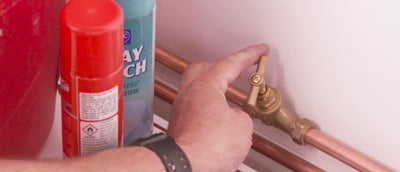
Before removing your old toilet, turn off the water at the mains. The stopcock is usually near the kitchen sink or outside the house. Flush the toilet to empty the cistern, then remove any remaining water with a sponge or towel. Disconnect the water supply with an adjustable wrench and pliers. 

Unscrew the base of the toilet and the cistern from the wall if attached. Gently pull the toilet away from the soil pipe. To block any unpleasant smells, place a cloth over the open pipe. Clean the floor thoroughly and remove old silicone sealant with a sharp utility knife. Finally, dispose of your old toilet at a local recycling centre.

Removing-Existing-Toilet-Step-1.jpg

Step 2: Assemble the Cistern

Assemble the flush mechanism and the internal components of the cistern, following the manufacturer’s instructions. Make sure not to overtighten the fixings. 

Next, attach the large close-coupled washer on top of the pan. Place the cistern on top, ensuring the flush mechanism thread fits securely through the washer. Tighten the provided washers and wing nuts to secure the cistern to the pan.

Removing-Existing-Toilet-Step-2.jpg

Step 3: Connect the Toilet to the Soil Pipe

Insert the pan connector into the soil pipe, ensuring a snug fit. Align the pan with the connector and make sure it sits flush with the waste pipe. A flexible pan connector can be easier to use if space is tight. Ensure the connection is secure and leak-proof.

Removing-Existing-Toilet-Step-4.jpg

Step 4: Level the Pan and Cistern

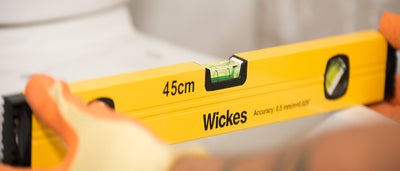
Use a spirit level to check if the pan and cistern are level. If they aren’t, adjust by adding packers underneath the pan until both are level. 

If your cistern has fixing holes, mark their position on the wall with a pencil for later.

Fitting-New-Toilet-Step-6.jpg

Step 5: Secure the Toilet

Slide the toilet out of position and use a cable and pipe detector to check for hidden obstructions before drilling. Mark the fixing points, drill pilot holes, and then drill with a 10mm bit. If you're fixing to concrete, use a masonry drill bit and appropriate wall plugs

Removing-Existing-Toilet-Step-5.jpg

Step 6: Seal Around the Edges

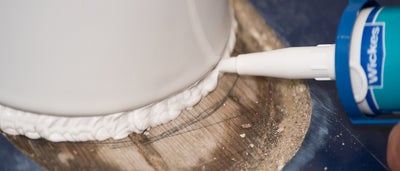
With the toilet in place, apply silicone sealant around the base to provide a watertight seal. Smooth the sealant with a damp cloth for a neat finish.

Fitting-New-Toilet-Step-13.jpg

Step 7: Reconnect the Water Supply

Wrap PTFE tape around the water inlet threads and reconnect the water supply using a flexible connector if necessary – preferably one with a small isolation valve Slowly turn the water supply back on while checking for any leaks around the connections. 

Once the water is back on, install the flush mechanism as per the manufacturer’s instructions. Fit the cistern lid and test the flush to ensure everything is working correctly.

Fitting-New-Toilet-Step-15.jpg

Step 8: Fit the Toilet Seat

Attach the hinges to the toilet seat and secure it to the pan using the provided fixings. Once fitted, apply a final line of silicone sealant around the base of the toilet for a polished look.

Fitting-New-Toilet-Step-17.jpg

FAQs

If you're still unsure about how to fit your new toilet, check out our FAQs for answers to common questions. You'll find helpful tips and solutions to keep your toilet running smoothly.

How do you fit a back-to-wall toilet?

For a back-to-wall toilet, the process is similar, but the cistern is concealed in the wall or within furniture. Follow the manufacturer’s instructions for connecting the flush mechanism and securing the toilet to the wall or furniture unit.

How do you fit a high-level toilet?

High-level toilets require more vertical space. The cistern is mounted higher up on the wall, with a long flush pipe connecting it to the pan. You'll need brackets for securing the cistern and additional steps for fixing the flush pipe. Make sure you measure carefully before drilling into the wall.

How do you remove a toilet seat?

Most toilet seats are secured by bolts underneath the seat at the back of the pan. Use a screwdriver to unscrew the bolts, then lift the seat away. If the bolts are rusty or difficult to remove, apply some lubricant.

How do you tighten a toilet seat?

If your toilet seat is wobbly, check the bolts underneath the seat and tighten them with a screwdriver. Some modern seats have top-fixing bolts, which are easier to access.

Fitting a toilet might seem like a daunting task, but with the right tools and careful steps, you can complete the job without needing professional help. If you’re ever unsure, you can always consult the manufacturer’s instructions or seek professional advice, but most DIYers find that replacing a toilet is a straightforward and rewarding project.