Skip to content Skip to navigation menu
Basket
0

Planning & preparation

  • We are going to show you how to build a radiator cover bench step by step.
  • Radiator cover benches are a great way to transform a room, concealing a radiator and increasing potential storage space. Store everything from games and shoes to spare blankets, pillows and cushions, out of sight and ready for the colder weather.
  • A sturdy piece of furniture in its own right, try installing the bench in a warm forgotten corner or under a window to create a spot for cosy relaxation.
  • Our step by step instructions and cutting list have been designed as a guideline. This build is entirely customisable and bespoke to your radiator and space. If you choose to follow our guide, the radiator bench will measure approximately 648 X 1036 X 952mm.
  • We used Whitewood PSE timber for this build, but you can experiment with other structural materials for different looks.
  • The timber for this project will cost under £130 and take a DIYer with moderate skill approximately 8 hours to build.
  • The cutting list is split into two preparation groups; timber to paint then cut and timber to cut then varnish. We recommend setting aside a weekend for this build, to allow sufficient time for cutting, filling and drying times.

Doing it right

  • Our step by step instructions and cutting list are designed as a guideline to build a radiator bench that will fit over an 800mm wide radiator. However, with some tweaks, the design can be adjusted to fit your radiators and suit your space.
  • To measure your radiators, use a tape measure to find the widest points including pipework or thermostatic valves. Add a buffer of around 200mm to your measurement to ensure there is adequate airflow and the timber is not touching the radiator. Use this measurement to adjust the width of the backrest and bench front panels.
  • If you wish to adjust the timber spacing on this project, you will need to cut your spacers to size and adjust the design before beginning construction. Just make sure to leave enough of an air gap to allow for the radiators heat to circulate.
  • We recommend applying treatments to the timber before construction, as the bench has multiple joints and hard to reach places. This will help save time when it comes to applying the finishing treatments, avoiding any drips or missed areas.
  • Study the instructions before construction to allow for measuring and cutting the timber efficiently. You can save time when cutting identical lengths by making a chop saw stop block.
  • Consider the tolerance, runout and alignment of your power saw blades when making cuts. Depending on the tolerance of your tools, you may find that dimensions are adjusted by approximately 3mm.
  • We decided not to pilot the drill holes on this project as we used broad timber and small screws, however you can choose to do so if you prefer.
  • If you choose to assemble your radiator bench in situ, we recommend laying a dust sheet down to catch any drips or splashes from finishing treatments.
  • Bear in mind that you may need to make some small adjustments to the back of the end panels, to allow for fitting over skirting boards and pipework. It’s a good idea to offer up the end panels to your spaces and make the adjustments, before adding the backrest and bench front panels.
  • As the bench will require various stages of sanding, painting and varnishing, we recommend sweeping away dust and wiping down surfaces between steps.
  • Watch our top tip videos for our Wickes DIY skills, tips and advice.

Staying safe

  • For safety, we recommend wearing protective goggles, a dust mask and heavy-duty gloves when using a chop saw or drill.
  • Inspect the cables and blades of your power tools before they are plugged in, to ensure they are in good condition. If any of the elements need to be replaced, make sure this is done before construction begins.
  • Always check the manufacturer’s label for recommendations before applying any stains, paints or treatments.
  • Ensure that your construction area is well lit and ventilated, especially when treatments are applied.
  • The final constructed bench will be heavy. Have another pair of hands around to help with moving the bench into its final position.
Preparing the timber

View instructions
1.Preparing_timber.jpeg

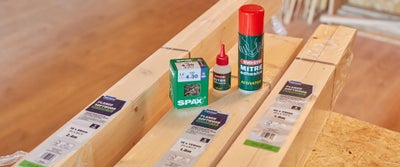
Start by gathering the PSE whitewood timber and placing it on your workbench.

Using the cutting list, separate the timber into two piles; one for painting then cutting and one for cutting then varnishing.

2.Preparing_timber.jpeg

Starting with the painting pile, group your timber by size then use a roller to apply a coat of primer to each length including the ends.

3.Preparing_timber.jpeg

Once the primer has dried, apply an even coat of your chosen paint in the same way.

Allow the paint to dry, then study the cutting list to measure, mark and cut your timber to size. You might find it useful to work with one type of timber first, marking all of the cutting lines before moving onto the next. This will also allow you to make efficiencies to avoid wastage.

4.Measuring_timber.jpeg

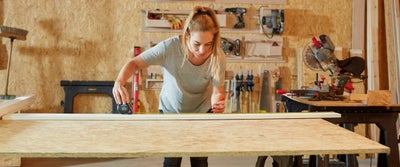
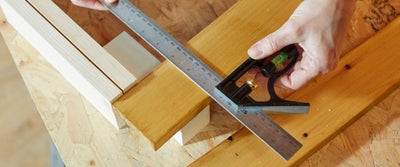
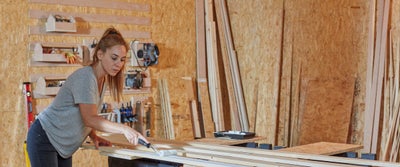
Use your tape measure, combination square and pencil to scribe straight cut lines onto each length.

5.Cutting_timber..jpeg

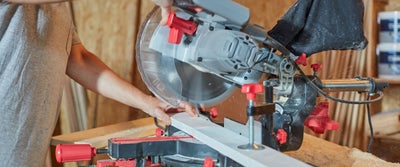
With your chop saw set to a 90 degree angle, cut each length to size then place in a pile, according to the cutting list descriptions. This will ensure that your timber is grouped for ease of construction. You may even wish to discreetly mark the measurement on each length to avoid any confusion.

Before moving on, it’s a good time to prepare your spacers from the offcuts.

We recommend cutting twenty 40mm spacers from leftover 18 X 69mm Whitewood PSE and four 44mm spacers from 44 X 44mm Whitewood PSE offcuts.

Measure and mark the offcuts with your combination square, then cut to size with your chop saw.

6.Preparing_timber.jpeg

Now that all of the painted timber is cut to size, use an electric sander to lightly smooth the cut ends. If you like, you can seal the cut ends by applying undercoat and a lick of paint as before.

Now it’s time to turn your attention to the timber to be varnished. For the best results, it’s better to mark, measure and cut to size before applying the treatments.

7.Preparing_timber.jpeg

Using the cutting list, a tape measure and your combination square, mark each length as before then cut to size with your chop saw.

For cutting multiple lengths to size with a chop saw, you might find that it’s useful to fix a stop block in place. This will allow you to cut multiple identical lengths at speed.

8.Varnishing_timber.jpeg

Arranging the lengths on your workbench, use a paint brush to apply a thin and even coat of varnish to each piece. Remember to coat the ends too, then allow to dry before applying another thin layer to each length.

Constructing the end panels

View instructions

The end panels of your bench are constructed from three components. A structural framework that forms the architecture of your bench; panel boards that clad the framework; and panelling framework that secures and supports the entire panel.

9.Dry_laying_timber.jpeg

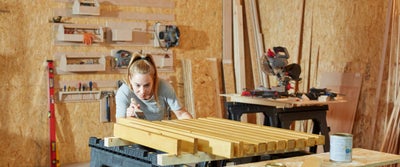
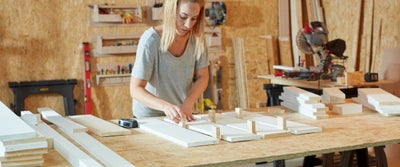
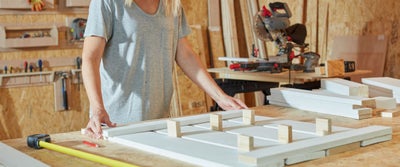
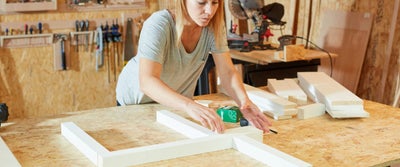
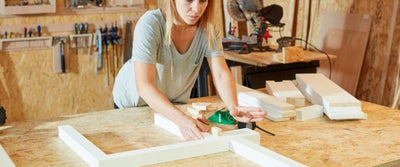
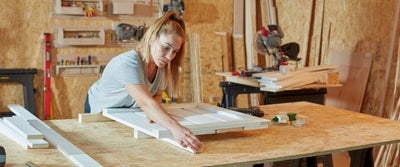
Begin by dry laying four of the 18 X 144mm panel boards on your workbench, using 40mm spacers between each length for precise spacing.

Butt up an offcut against the bottom of the four panels, to ensure that everything is sitting flush and true.

10.Preparing_timber.jpeg

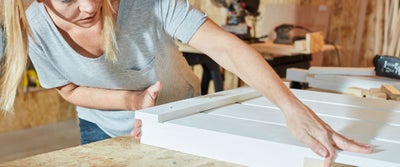
Next, take one of the top lengths of your panelling framework and lay it across the top of your panel boards, so the edges are flush.

11Preparing_timber.jpeg

Then take one of the bottom lengths of your panelling framework and lay it across the bottom of your panel boards in the same way. This piece will be 18mm wider than your panel boards to conceal the front panels, so should overhang at the front of your end panel.

12.Drilling_timber.jpeg

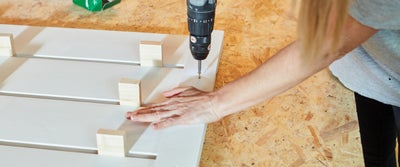
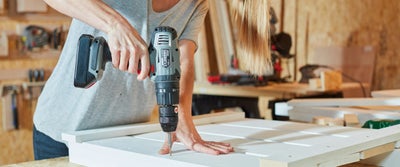
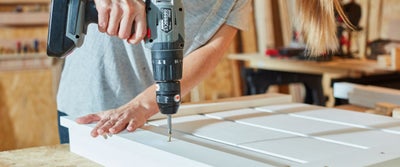
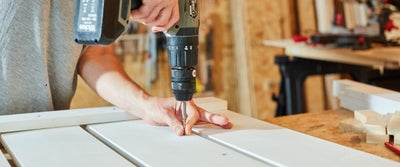
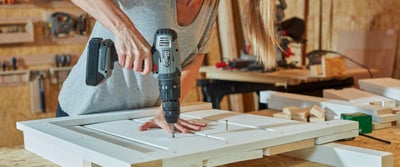
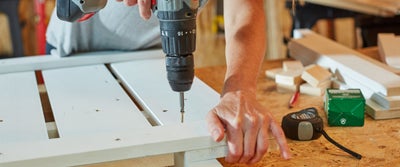
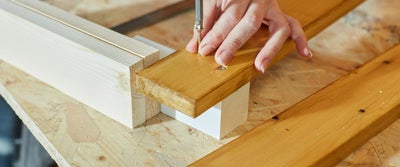
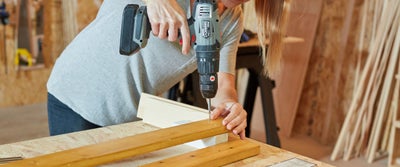
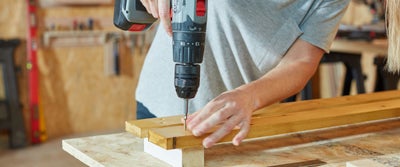
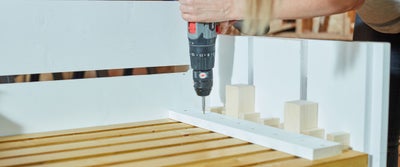
Ensure that the spacers are snug and all of the timber lengths are flush to one another, before fixing the panelling framework into place. Screw down through the top and bottom framework lengths into the centre of the panel board below.

13.Handling_timber.jpeg

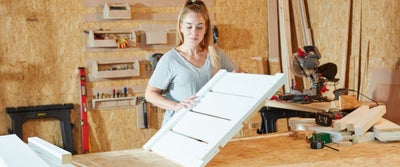
Remove the spacers then set the end panel to one side, to make space for the structural framework timber.

14.Timber_on_workbench.jpeg

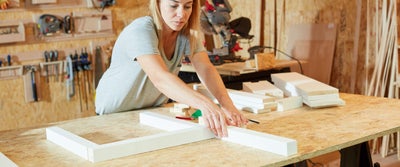
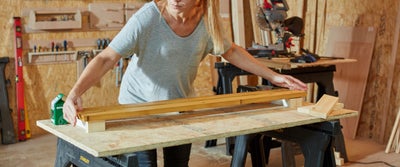
Dry lay one of the long seat lengths, two of the leg lengths and one of the backrest lengths on your workbench, to create the bench structure.

15.Preparing_timber.jpeg

The front leg should be flush with the end of the seat length. To find the back leg placement, use a piece of your shortest length of 44 X 44mm timber and an 18mm spacer. Butt both up so they are flush with the other end of your seat timber, then place the second leg on the inside of the spacer.

16.Preparing_timber.jpeg

The backrest length should be placed so that it is aligned with the edge of the shortest length of 44 X 44mm timber, used to place the second leg. These placements are to ensure that the framework can be secured to the panel boards, allowing for the 18mm gaps.

17.Preparing_timber.jpeg

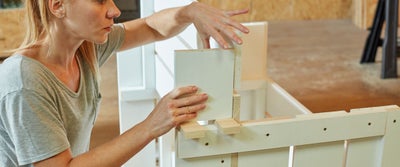
Take the first end panel that you set aside and gently lay it on top of your framework. Run your fingers around the edge to ensure the framework is sitting correctly. The bottom corner of the panel should be flush with the front framework leg.

18.Drilling_timber.jpeg

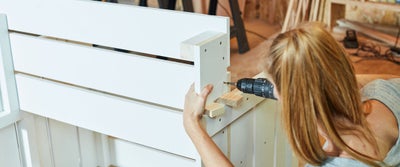
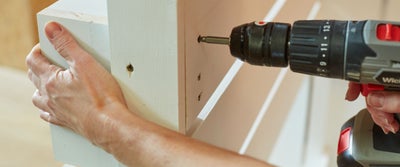
Ensuring that everything aligns, use your drill to screw down 22mm from the edge of the panel board, down into the centre of the front leg. The screw heads should sit just below the surface of the timber.

19.Drilling_timber.jpeg

Now take the third side piece of the panelling framework. Make two small marks to indicate where the screws are fixed into the front leg below. Line up the length so it’s flush with the bottom panelling framework that is overhanging by 18mm. Screw down into the panel board to secure.

20.PReparing_framework.jpeg

To secure the back leg, use your fingers to ensure the edge of the framework is flush with the panel board above, by running your fingers through the 18mm gap.

21.Drilling_timber.jpeg

When you are happy with the placement, screw 22mm from the edge of the panel board down into the centre of the back leg below.

22.Securing_framework.jpeg

Next, secure the horizontal seat framework by ensuring that either end is aligned with the edges of the panel.

23.Drilling_timber.jpeg

Drive a screw through the centre of each panel board and into the seat framework to secure.

24.Drilling_timber.jpeg

Finally, secure the backrest in place using the same fixing principles as with the back leg. When you are happy that the placement is flush to the panel board, secure with wood screws 22mm from the edge to complete the first end panel.

25.Preparing_timber.jpeg

To construct the second end panel, you will need to mirror the steps above. Start by aligning the panel boards as before but fix the longest piece of panelling framework, so it is overhanging by 18mm at the opposite end. Lay your structural framework the opposite way around then use the same principles as above to fix in place.

Once your panels are complete, give your working area and good tidy down.

Constructing the radiator bench

View instructions

If you would like to construct your bench in situ, now is the perfect time to transport the end panels. Just bear in mind that there will be additional filling, sanding and painting, so you will need to lay a dust sheet. If you would rather continue in your workspace, move your panels to the floor for ease of construction.

26.Standing_wooden_panels.jpeg

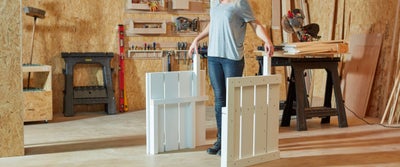
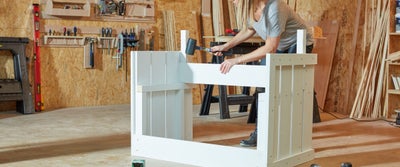
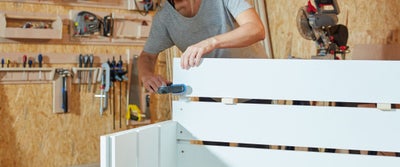
Stand your two end panels on the floor so the structural framework is facing inwards.

Take the first length of your painted 18 X 144mm backrest and front panel timber and position it, so it’s sitting flush with the 18mm panelling framework overhang.

27.Constructing_radiator_bench.jpeg

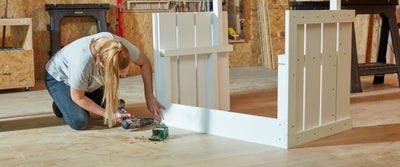
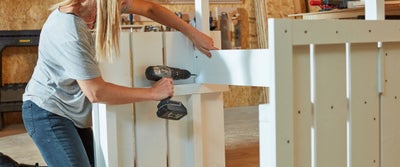
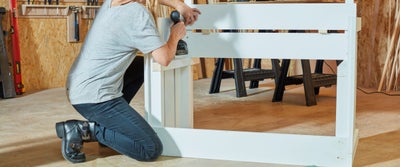
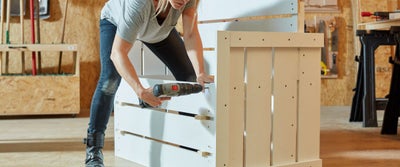
Use wood screws to secure the panel to the front leg of the structural framework at either end.

28.Constructing_radiator_bench.jpeg

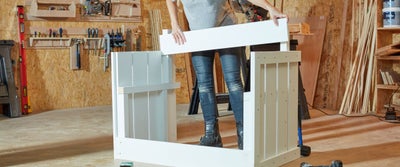
Take another length of your painted 18 X 144mm timber and slot it down through the panel gaps in front of your backrest structural framework.

29.Constructing_radiator_bench.jpeg

This should be a snug fit, so use a rubber mallet to gently knock the panel down until it reaches the seat support and can go no further.

30.Constructing_radiator_bench.jpeg

As with the front panel, secure with wood screws into the backrest timber.

31.Constructing_radiator_bench.jpeg

Lay an 18mm spacer at either end of the secured panel, then slot down the second backrest panel, so it’s resting on top of the spacers. Secure to the backrest framework with wood screws at either end.

32_Constructing_radiator_bench.jpeg

Now using the same technique, lay your third backrest panel on top of two more 18mm spacers.

33.Constructing_radiator_bench.jpeg

As the backrest is shorter than the third panel, use clamps to secure the panel at either end, while you position and fix in place with wood screws.

34.Constructing_radiator_bench.jpeg

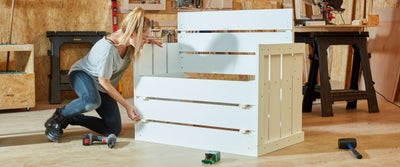
To complete the front of the bench, take your final two panels and use the same principles to space and secure them into place.

35.Constructing_radiator_bench.jpeg

The third front panel should be aligned with the top of the seat structural framework once fixed in place.

Once complete, remove the spacers and set to one side.

Marking measurements for the bench arms

View instructions
36.Radiator_Bench_marking_measurements.jpeg

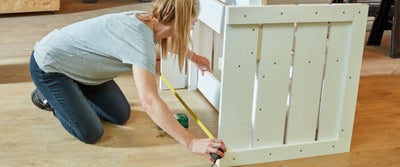
To fit the bench arms, a small notch will need to be removed from each arm. This is to account for the thickness of the backrest panel that slightly overlaps the end panel, and will ensure the arms can slot into place.

37.Radiator_Bench_marking_measurements.jpeg

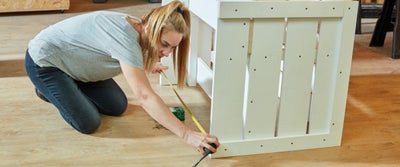
Using your tape measure make two small pencil marks on the end panel, to indicate where the notches will be.

Adding a structural spreader

View instructions

Securing an internal spreader to your bench will help to square up the structure and provide additional support.

38.Constructing_radiator_bench.jpeg

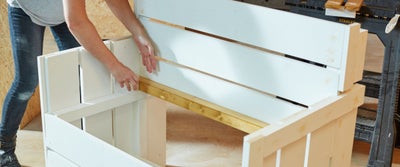
Insert the structural spreader through the back of the bench, so it’s sitting inside the back leg framework.

39.Constructing_radiator_bench.jpeg

Use your tape measure to find the total width of the back of the bench. This should match the width of the front of the bench.

40.Measuring_radiator_bench.jpeg

Now gently shimmy the spacer up diagonally, creating tension at one end so it won’t go any further.

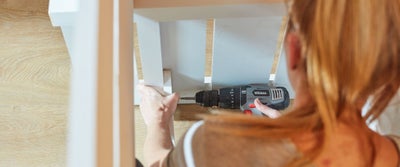
41.Drilling_timber.jpeg

Double-check that the width measurement in the same, then secure the spreader into place, screwing through into the back leg framework at either end.

Build your top cover supports

View instructions
42.Building_radiator_bench.jpeg

The top cover supports will provide a solid base for the varnished top cover lengths to sit on. This support is fixed to the backrest panels, 18mm above the end panels to make room for the armrests.
43.Building_Radiator_bench.jpeg

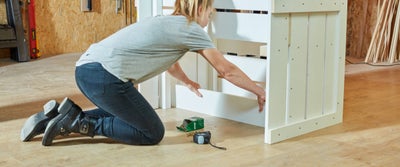
Referring to the cutting list, take one of each of the shorter cover support lengths. Butt the 44 X 44mm length behind the 18 X 144mm timber length, so the top is flush with the edge of the larger piece of timber. Holding the timber firmly in an L shape, secure the pieces together with wood screws.

Place two 18mm spacers on the top of the end panel behind the backrest, then position the secured L shape support on top.

44.Radiator_Bench_Top_Cover.jpeg

With the smaller piece of timber resting on top of the backrest structural framework, screw through the larger top cover support and into the centre of the framework.

45.Drilling_radiator_bench.jpeg

Now take a piece of the largest 18 X 69mm cover support timber. Position it so one edge is aligned with the front of the backrest panels and the rest overlaps the L shaped support. Screw through the timber into the backrest structural framework behind.

46.Drilling_radiator_bench.jpeg

Remove the spacers then drive a wood screw through the front backrest panel, into the smaller piece of the L shape cover support.

Repeat to create a mirrored version for the other end of the bench, securing in place using spacers and the same principles.

Filling the bench holes

View instructions

Now that the main structure of your bench is in place, it’s time to fill the holes for a perfect finish.

47.Wood_Filling.jpeg

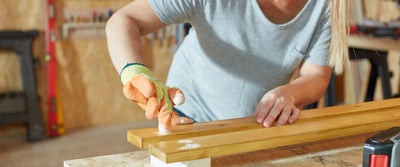
Using white or light wood, wood filler, take a pair of gloves and use your fingers to work the filler into the first hole.

Pack the filler in well until all of the holes have been concealed, then leave the filler to dry.

48.Smoothing_wood.jpeg

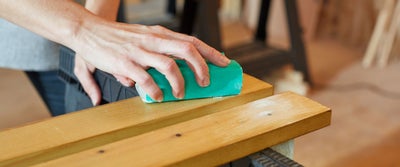
Once fully dry, take a flat sanding block and gently sand over each filled hole, until the surface is smooth. Make sure to keep the sanding block flat, to avoid removing too much surrounding paint or creating an uneven surface.

Making the bench arms

View instructions

Take a piece of your varnished 18 X 144mm timber to create the first armrest and offer it up to your end panel.

49.Clamping_wood.jpeg

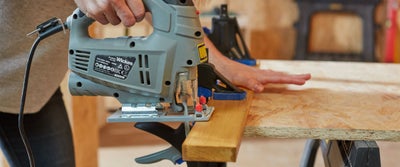
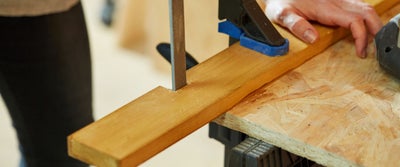
Transfer the pencil notches to the varnished timber using your tape measure, then clamp the timber to your workbench so the notched area is overhanging.

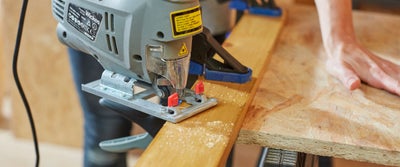
50.Cutting_timber.jpeg

Then, using your jigsaw, carefully cut into the timber to remove as much of the notch as possible without cutting over the marked lines. Cutting slightly within the marked lines or at diagonals will help you avoid making the notch larger than it needs to be.

51.Cutting_timber.jpeg

Placing your jigsaw to one side, use a wood file to carefully tidy up the edges.

Repeat using the same technique for the other bench arm, then place both arms to one side.

Constructing the top cover

View instructions

We have designed the top cover so it slots into place and can be easily removed if you wish to prop it up, letting more warmth into the room.

Take your first length of varnished timber for the top cover and lay it on the supporting batons. To account for the cover supports that you’ve already fixed in place, the supporting batons will need to be positioned correctly, so they slot into place.

52.Measuring_timber.jpeg

Place two 18mm spacers or larger offcuts so they are aligned with the end of the top cover length, then butt the baton up against them. Position your varnished length so it’s flush with the back of the baton, then use your combination square to ensure the baton is correctly placed.

53.Screwing_timber.jpeg

Secure the top cover length to the baton with wood screws.

54.Drilling_timber.jpeg

Repeat at the other end of the length to secure the second baton.

The second length needs to overhang the baton by 18mm so it conceals the backrest panels.

55.Constructing_radiator_bench.jpeg

Place an 18mm spacer or longer offcut at the front of either end of the baton.

56.Constructing_radiator_bench.jpeg

Then lay your second varnished length on top of the baton, so the top edge is flush with the 18mm spacer.

57.Drilling_timber.jpeg

Use your combination square to ensure the batons are still aligned, then screw down through the top support and into the baton at either end.

58.Filling_wood.jpeg

To finish the screw holes, take your light wood filler and a pair of gloves and work the filler into each hole.

59.Smoothing_wood.jpeg

Give the filler some time to dry, then gently sand back the surface until smooth, using a flat sanding sponge.

60.Brushing_wood.jpeg

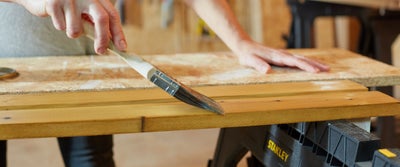
Give the surface and good dust and wipe down, then apply a couple of even coats of varnish with your paint brush.

Assembling the seat

View instructions

Referring to the cutting list, gather the varnished timber slats to construct the timber seat; the 18mm spacers for spacing the slats; the seat support and batons; and the 44mm spacers for positioning the batons.

61.Assembling_radiator_bench.jpeg

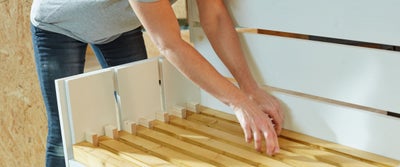
Lay the first varnished slat against the back of the bench with its best side facing down.

62.Assembling_radiator_bench.jpeg

Place an 18mm spacer on the seat support framework at either end of the slat, then lay the next slat in place.

63.Assembling_radiaotor_bench.jpeg

Repeat with the spacers and slats until you reach the front of the bench.

64.Assembling_radiator_bench.jpeg

Once all of the slats are in position, nudge the timber lengths to one end of the bench.

65.Assembling_radiator_bench.jpeg

Place two of the 44mm spacers on top of the slats then offer up the baton, pushing everything towards the end panel so the timber is snug and secure.

66.Drilling_radiator_bench.jpeg

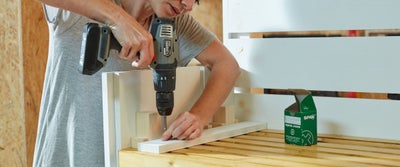
Screw down through the baton and into the centre of each slat using wood screws.

67.Drilling_radiator_bench.jpeg

Nudge all of the slats to the other end of the bench, placing the 44mm spacers and securing the second baton in the same way.

Offer up the 18 X 69mm seat support length to the bench, laying it across the slats diagonally so it’s sitting on top of the batons.

Use your combination square to scribe cut lines on the inside of the batons, then cut to size with your chop saw. The diagonal baton is used to offer additional support to the seat, so it doesn’t matter if the length is a little short.

68.Assembling_radiator_bench.jpeg

As with the batons, secure the diagonal seat support to the slats by drilling through as many of the slats as possible.

69.Assembling_radiator_bench.jpeg

If you would like to finish the baton screw holes with wood filler, now’s the time to fill, sand back and touch up with paint once dry.

Finishing touches

View instructions
70.Painting_radiaotor_bench.jpeg

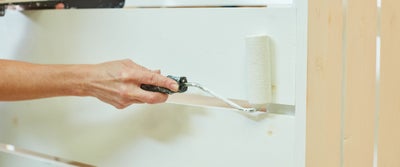
Brush down the entire bench, then use a roller to touch up each of the filled and sanded screw holes.

71.Painting_radiator_bench.jpeg

Leave to dry, then give the bench a good once over with your roller and paint for a fine finish.

72.Assembling_radiator_bench.jpeg

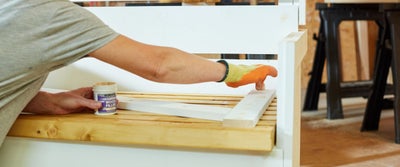
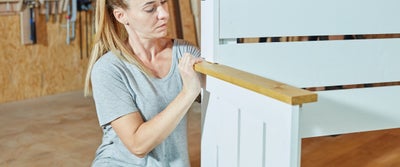
To fit the armrests into place, paint a little PVA glue on the tops of the end panel then use a rubber mallet to gently knock the arms into place, so the notch is snug around the backrest panel. Repeat for the other arm. If you would like to secure the arms with wood screws, you can fill, sand and varnish the holes for a perfect finish.

73.Assembling_radiator_bench.jpeg

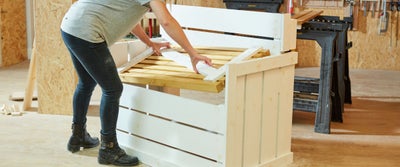
When the top cover varnish has dried, slot your top lengths into place at the back of the bench, so they are sitting securely within the cover supports.

74.Assembling_radiator_bench.jpeg

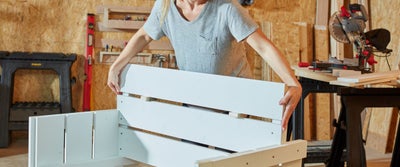
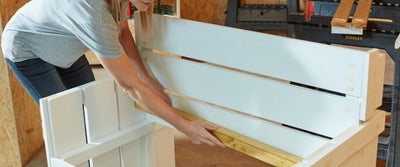
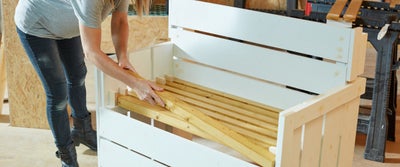
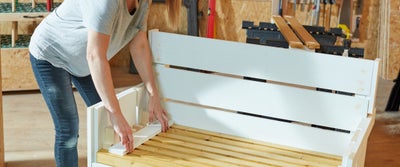
Finally, flip the seat over, laying it in position so its flush with the front of the bench and there’s a small air gap at the back.

75.Sat_on_Radiator_bench.jpeg

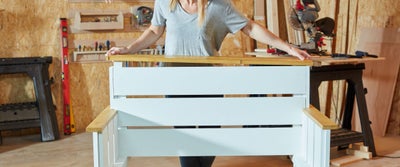
And that’s it, your radiator bench is complete! Once everything is dry, simply slot the bench into position to conceal your radiator and enjoy your new cosy seating.

Aftercare

View instructions
76.Radiator_bench.jpeg

If you plan to install your bench in a busy hallway or kitchen, prime and paint with kitchen emulsion to ensure the surface is greaseproof, washable and stain-resistant.

Over time, if you find your bench becomes scuffed or dirty from use, give everything a gentle sand down and a couple of thin and even coats to completely revive it.

Get creative with your radiator bench

View instructions
77.Radiator_bench.jpeg

Switch up the design to suit your spaces. Experiment with different structural timber for a look and finish that best suits your décor.

Try extending the seating to fit in a long and narrow hallway to provide warm, out of sight storage.

Experiment with paint finishes. Varnish the entire bench seat for traditional styling, or paint the bench in a dark colour or the same shade as your walls, for a nod to the latest trends.

Add discrete cup or rope handles to the seat, for easy lift-off, and try adding chunky hinges to the back of the seat for smooth access to the inside.

Use leftover and offcut timber to create dividers for the inside of the bench, for perfectly slotting in a storage box or basket.

Fitting tabletop hinges and finishing accessories

View instructions
78.Radiator_bench.jpeg

Fit over a radiator in a hallway for the handy boot and coat station. Install hooks above for toasty jackets and hide your shoes inside for hidden storage.

Adapt the shape to fit over a radiator in a bay window, for a cosy and relaxing spot that’s perfect for afternoon reading or a pet bed.

Make a dark corner into a reading nook, adding a lamp and matching shelves to store photos, books and ornaments.

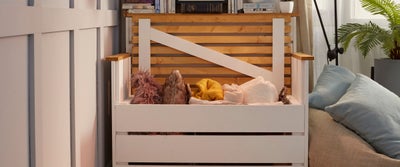
Declutter the airing cupboard and fill your radiator bench with linen, towels, blankets and pillows. Perfectly warmed for guests or when you need to access the spares.

Hide an ugly radiator in a living room, painting the bench is soft colours and adding cushions and throws for comfy additional seating.

Find our favourite ways to use your radiator bench and more inspiration for your home, in our ideas and advice hub.

More inspiration from Wickes