Wall panelling
The easiest way to install wall panels at home is with a kit.
Method
Make sure you have enough space to fit your wall by measuring the space thoroughly beforehand.
If you have a kit, it’s best to follow the supplied instructions. These are the steps we followed.

Apply adhesive to the back of the dado rail, place it in position and use a hammer and small headed nails or panel pins to fix it securely to the wall.
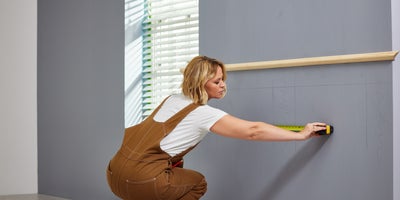
Based on the design you’d like to achieve, measure and mark out the locations of your panels on your wall, making sure that they’re evenly spaced. Use a spirit level to draw straight lines that map out the layout and positions of your panels.
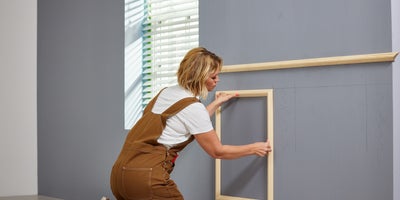
Once you have your framework mapped out on the wall, you can start to attach the panels. Apply adhesive to one piece of your first panel and stick it into place on the wall. Then secure it using the same panel pins or nails you used for the dado rail. Repeat these steps for the other three pieces, so that your first panel is now complete. Do the same for the rest of your panels until they’re all attached to the wall.
Now that your panels are attached, fill any nail holes or gaps in the frames using a ready-mixed lightweight filler.
Apply caulk to the outside and inside edges of the panel, where they meet the wall.
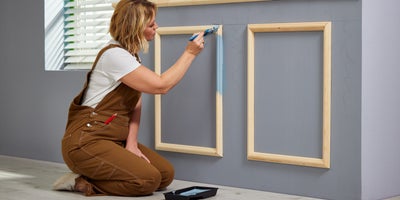
Then sand down any filler before painting the wall and panels with the colour of your choosing.
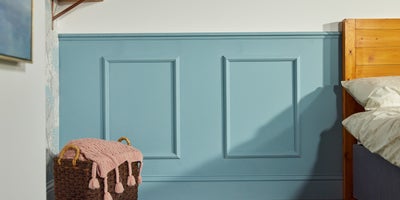
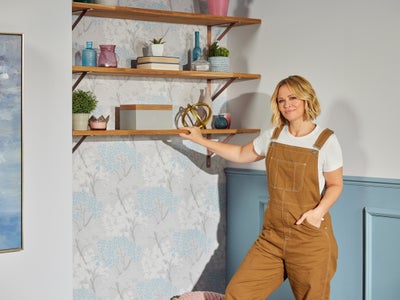
The finished result.
