Gallery wall
What’s great about a gallery wall is that you can design it to perfectly suit your space.
Method

Start by measuring and cutting the timber for your photo shelves. The length and height of your shelves can be completely tailored to suit your space, so it’s entirely up to you. You’ll need three pieces - a back piece that is secured to the wall, a base that you sit the photos on, and then a front piece.
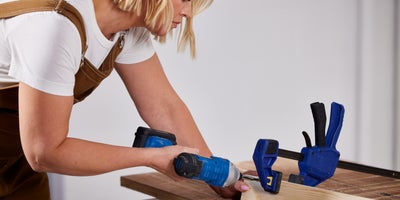
Once you have the pieces for your shelves cut to size, apply wood glue or another adhesive to the back edge of the base length and clamp the back piece to the base so that they form a right angle and the joints and edges are flush. Drill pilot holes through the back and into the base at either end and at the centre point, before fixing them together with screws.
Once your back and base pieces are joined together, apply adhesive to the front edge of the base and clamp the front piece into position. Allow time for the adhesive to fully dry before unclamping.
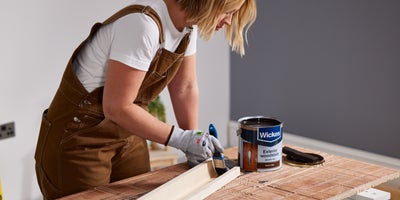
Once they’re assembled, give them a stain or paint them with your preferred colour.
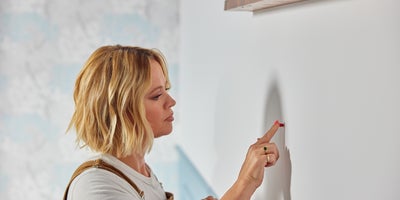
To attach it to the wall, start by drilling pilot holes in the top corners of the back of your shelf. Hold it in position against the wall, using spirit level to make sure it’s level. Then use a pencil to mark through your pilot holes for your fixing locations. Once you have them marked, use your fixings of choice to attach the shelf to the wall.
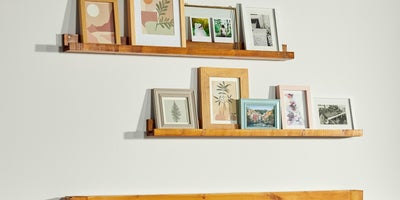
Finish them off by putting together your gallery.
