Construct your own French cleat tool storage system
TOOLS
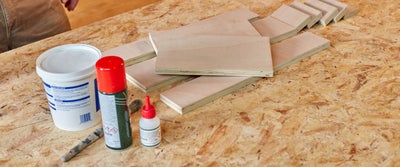
MATERIALS
SAFETY
Planning & preparation
- We are going to show you how to make a French cleat storage system step by step.
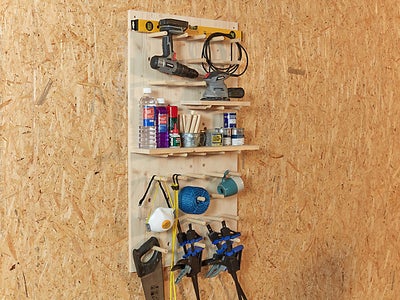
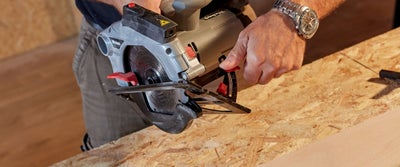
- Simple, stylish and endlessly practical, a French cleat system utilises near-flat vertical lengths of timber with a 45 degree angle cut. These angled cuts are used to hook on accessories that have a compatible 45 degree hook attached, allowing you to tidy your workspace and organise your tools.
- There’s lots of room for flexibility with the scale of French cleat storage systems. They can be made in any length and size to suit your home. Calculate the dimensions of your space to work out the size and number of cleats you can accommodate.
- You can add as many or as few shelves as you like depending on the room you have available, and there’s plenty of room to get creative and come up with a design that suits your space.
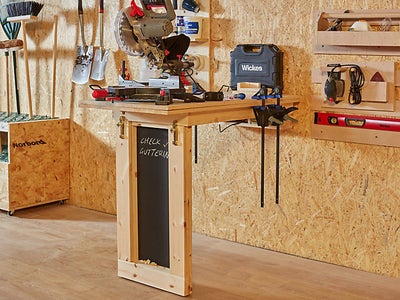
- Once you have built the fundamentals of the cleat system, you can make all manner of bespoke units to suit your needs. With endless design possibilities that can grow with your wall as your toolbox expands; try making tool holders, boxes, hooks and clamp brackets from scrap timber to get started.
- The materials for the cleats and toolbox project will cost under £60 and take a DIYer with moderate skill, approximately 4 hours to build.
Doing it right
- Our step by step instructions are designed as a guideline to build a French cleat storage system and a timber toolbox.
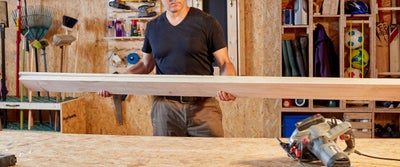
- We have chosen to work with hardwood plywood for this project for its versatility and strength. While you can certainly utilise offcut timber from other projects for the accessories, we would recommend using plywood for the cleats.
- To maximise the sheet timber, we have designed our cleats so that they are 5 inches or approximately 130mm wide. You can easily tweak this measurement to suit your space and custom design.
- For a French cleat system to work, you will need a straight and true surface. If your walls are uneven or you think the system will need some extra support, it can be a good idea to clad the area where the cleats will be mounted first. Use matching plywood or large sheet timber for a contrasting look.
- The cleat system is designed to hold a number of accessories and storage utilities. If you feel that your wall needs additional support, insert wall plugs before screwing through the lengths.
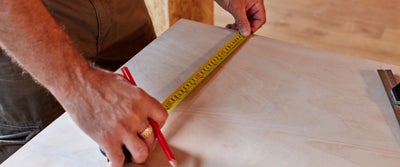
- Study the build instructions before construction to allow for measuring and cutting the timber efficiently. You can save time when cutting identical lengths by making a chop saw stop block.
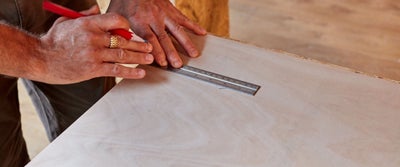
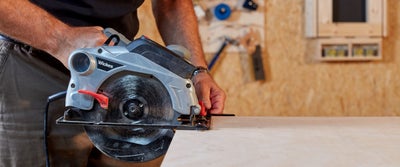
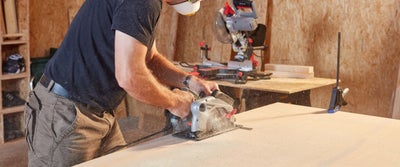
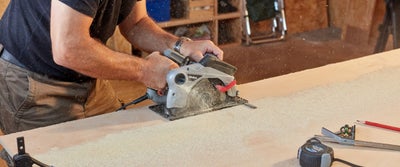
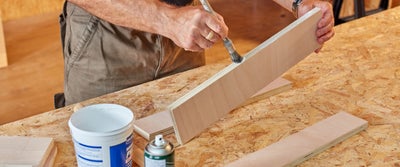
- If you do not have a track rail for your circular saw, mark and scribe and line along the length of the timber and cut slowly for a precise finish.
- Consider the tolerance, runout and alignment of your power saw blades when making cuts. Depending on the tolerance of your tools, you may find that dimensions are adjusted by approximately 3mm.
- We have made a timber jig for this construction to aid speed, accuracy and repetition. If you prefer, you can measure and mark as you work, using a tape measure or metal ruler.
- Watch our top tip videos for our Wickes DIY skills, tips and advice.
Staying safe
- For safety, we recommend wearing protective goggles, a dust mask and heavy-duty gloves when using a chop saw or drill.
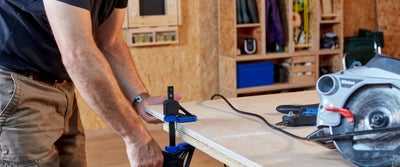
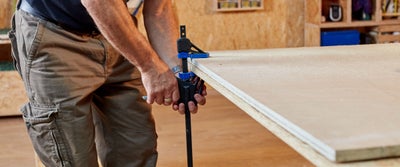
- Check that your materials are securely clamped to your workbench surface before you begin making any cuts.
- Inspect the cables and blade of the chop saw and circular saw before they are plugged in, to ensure they are in good condition. If any of the elements need to be replaced, make sure this is done before construction begins.
- Always ensure that your construction area is well lit and ventilated.
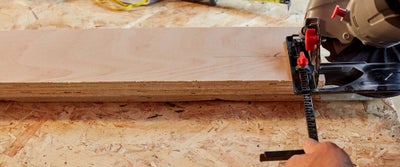
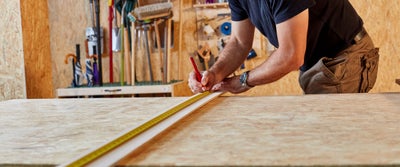
Cutting the timber lengths
View instructions
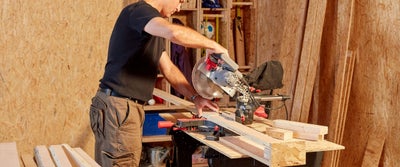
Cutting the 45 degree cleats
View instructions
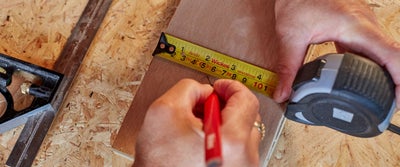
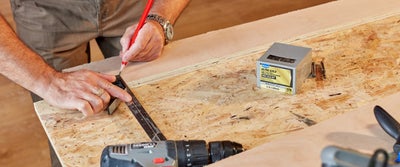
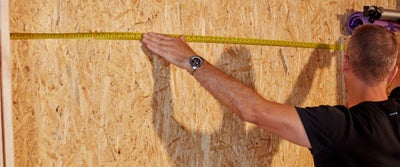
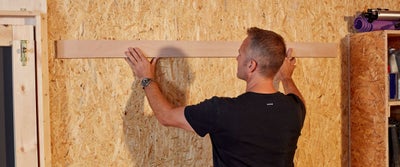
Measuring your wall space
View instructions
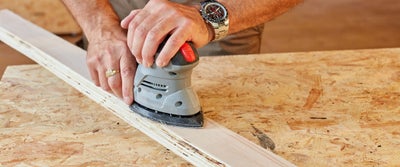
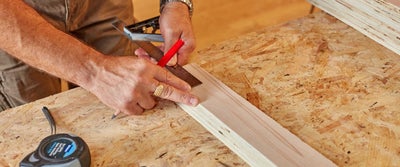
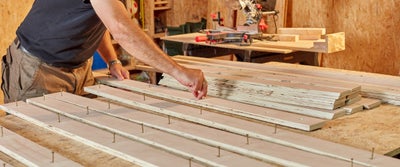
Cutting the cleats to size
View instructions
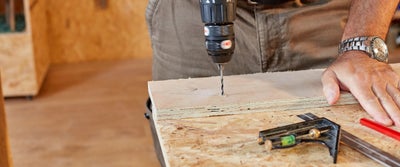
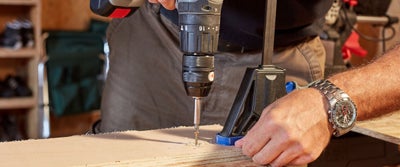
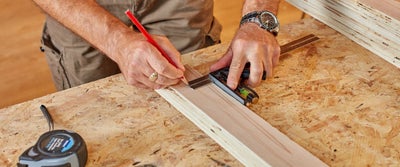
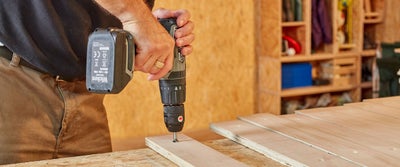
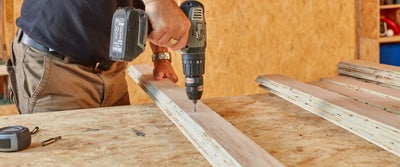
Adding pilot holes for wall mounting
View instructions
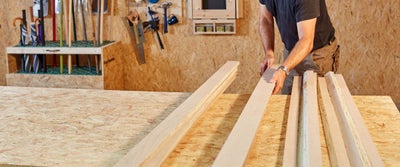
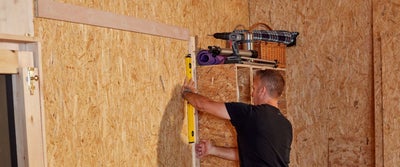
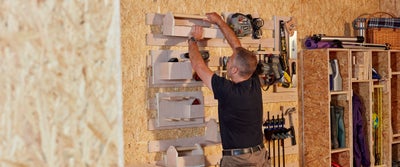
Positioning your cleats
View instructions

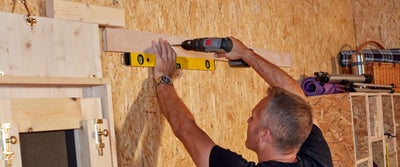
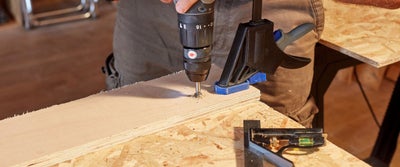
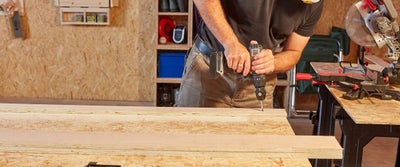
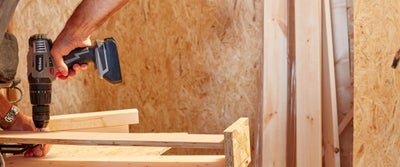
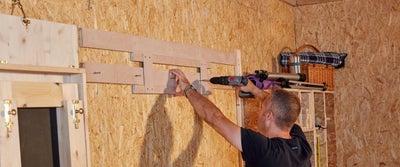
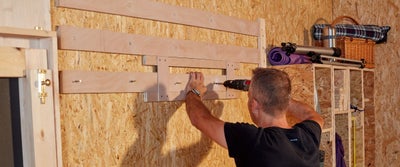
Installing your cleats
View instructions

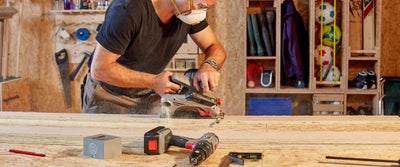
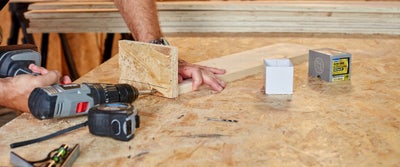
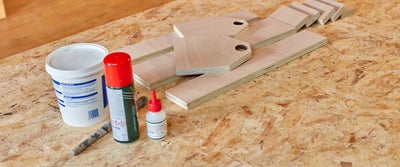
Cutting timber for the storage box
View instructions
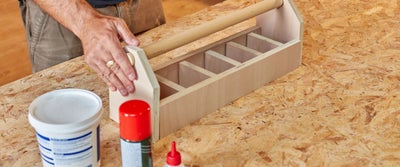
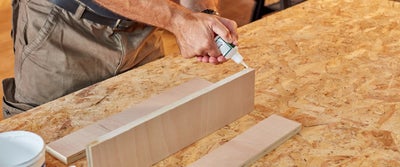
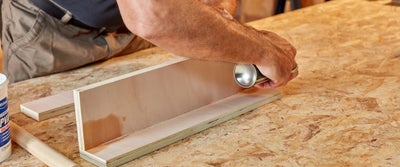
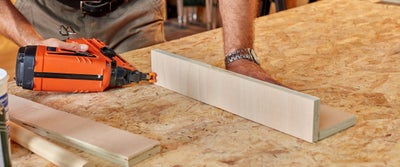
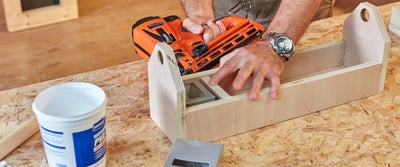
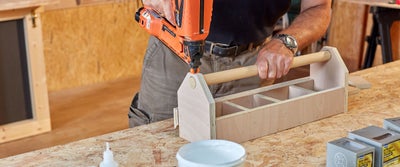
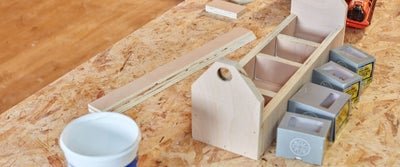
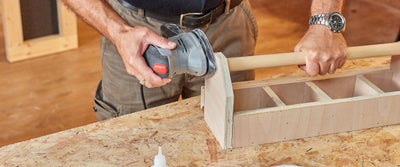
Constructing the storage box
View instructions
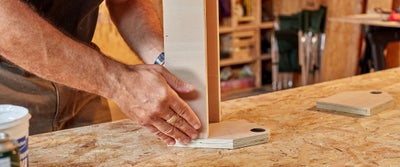
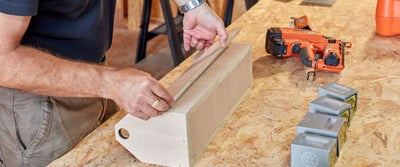
Adding the cleat hook to the storage box
View instructions
Aftercare
View instructions
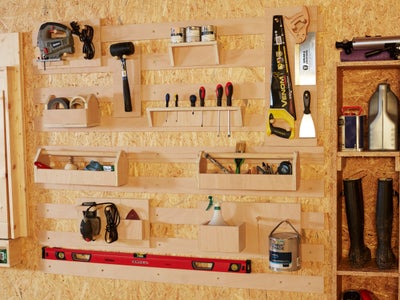
Get creative with your cleat system
View instructions
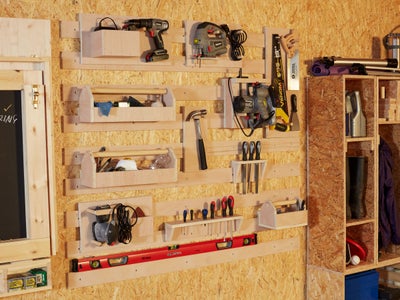
French cleat inspiration
View instructions
More inspiration from Wickes