How to repair walls
TOOLS
- Protective sheet
- Scraper
- Wire brush
- Paintbrush
- Mixing trowel
- Plasterer's hawk
- Plastering trowel
- Plasterer's finishing trowel
- Spray gun
- Bucket
- Cable, pipe & stud detector
- Plasterboard saw
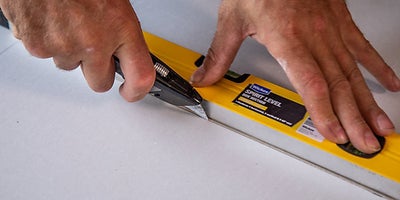
- Retractable knife
- Flexible filling knife
- Medium grade sandpaper
- Sanding block
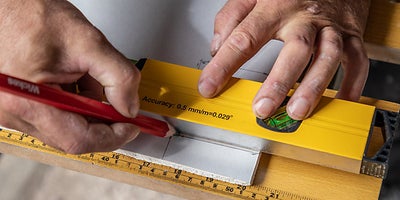
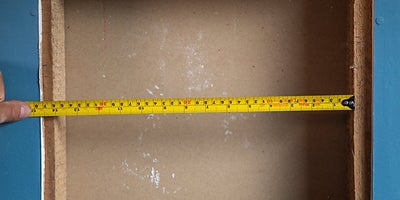
- Tape measure
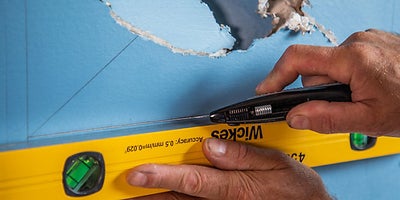
- Metal ruler or straight edge
- Pencil
- Combi drill
- Drill bits
- Long spirit level
MATERIALS
Planning & preparation
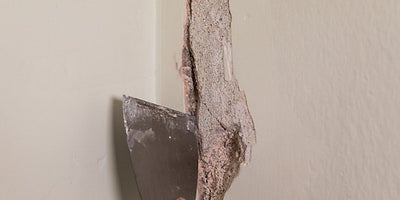
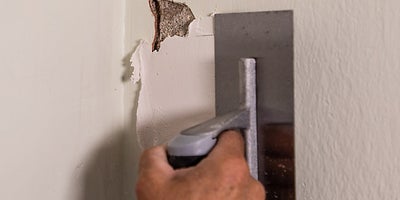
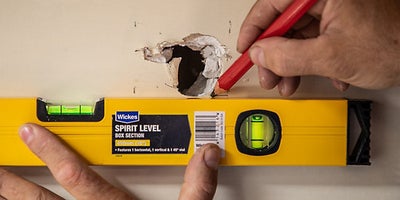
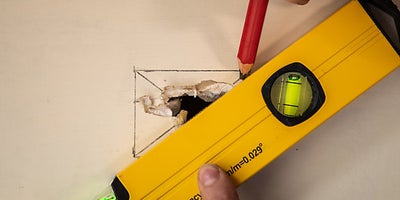
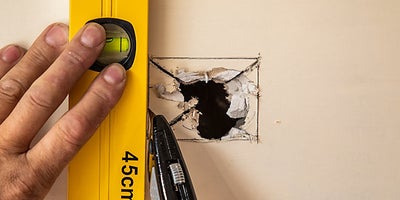
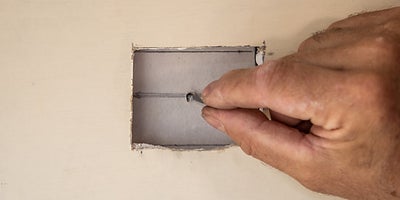
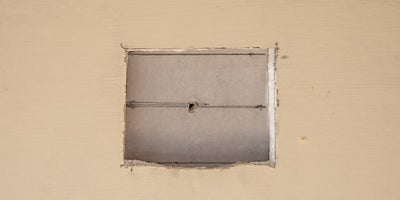
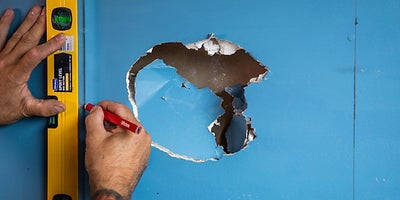
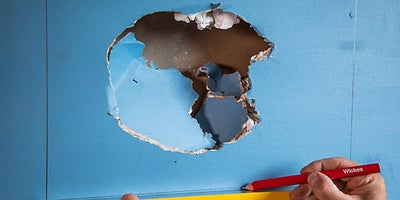
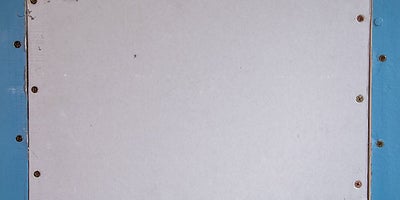
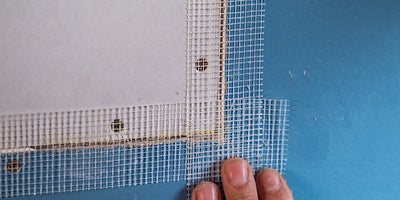
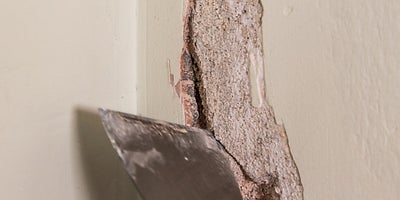
- A wall can become damaged for many reasons, but luckily carrying out repairs is relatively straightforward. Here we will show you how to patch repair a wall, as well as how to repair small and large holes in plasterboard
- Bear in mind that the application method can vary between products, so it’s always best to check the manufacturer’s instructions
- There are many different fillers and plaster products available, so be sure to consider the range and select a product that is best suited to your job. For example, if you only need a small amount, you might find it easier to use ready mixed plaster
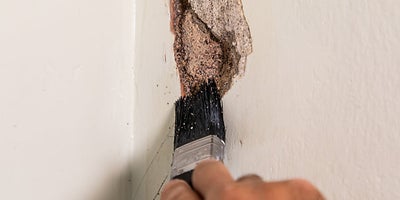
- Thorough preparation is key to achieving a high-quality finish, so be sure to remove all traces of old plaster, dust and grease for the area you plan to repair
- Lay out protective sheets to cover the floor and any nearby furniture
- Turn the radiators off in the room so the plaster doesn’t dry out too quickly
- Some plaster products shouldn’t be applied to a depth of more the 12mm in one go. If this is the case, you may need to make two or more applications
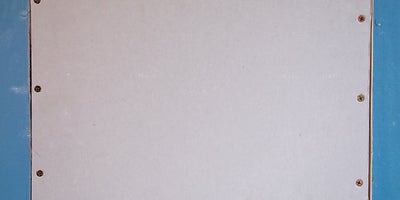
- Most plasterboard comes in either 9.5mm or 12.5mm thickness, so try to replace like-for-like when making repairs
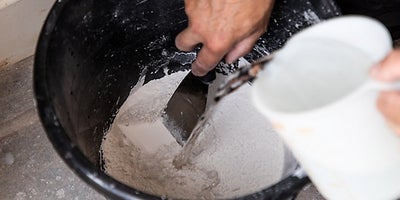
- Have a bucket of water to hand when working so you can clean your trowel as you need to; this will help to avoid lumps and unnecessary work
- For more advice, see our online guides or leaflets ‘How To Plaster a Wall’ and ‘How To Prepare Walls & Ceilings for Decorating’
Do it right
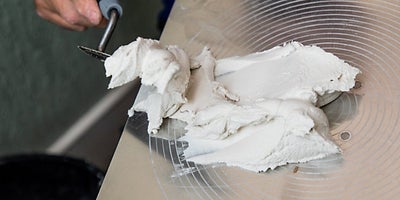
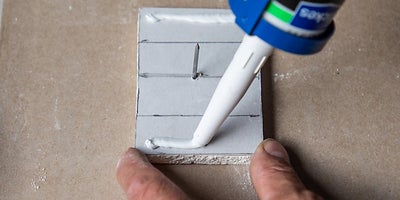
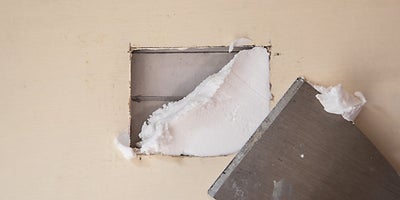
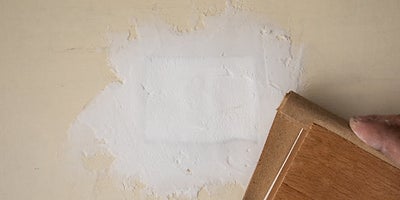
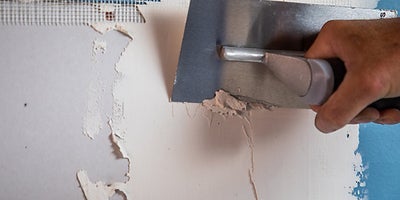
- When working with plaster, it's best to only work with small amounts on the hawk and trowel. Try to build up a rhythm so you can cover the patch repair before the plaster starts to set
- Plaster can dry out quickly, so don’t mix up to too large a quantity at any one time
Staying safe
- If sanding plaster or cutting plasterboard, be sure to wear goggles and a dust mask and try to work in a well-ventilated space
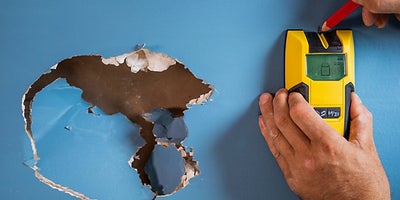
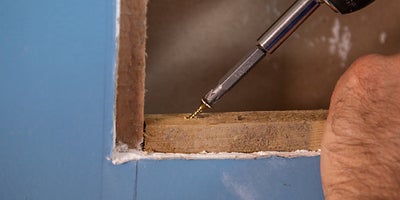
- Always use a cable, pipe & stud detector before cutting or sawing into areas you’re repairing
- When mixing or applying plaster, wear safety goggles, a dust mask and protective gloves
Aftercare
- Allow the plaster to dry naturally, so avoid putting your heating on high for a few days
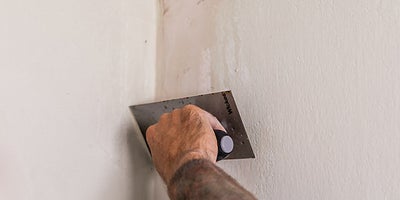
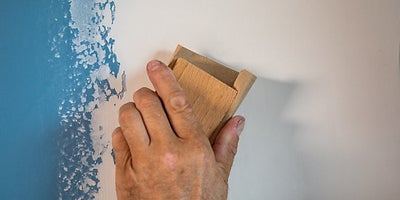
- To prepare the surface for painting, sand with a fine grade sandpaper
- If you are planning to paint the wall, it’s a good idea to apply a sealer or primer paint to help your finishing paint to adhere