Skip to content Skip to navigation menu
Basket
0

Planning & preparation

  • Here we will show you how to fit guttering and downpipe. We are using standard Half Round guttering which is durable, lightweight and suitable for most situations. However, if you live in an area of excessive rainfall, or have a larger than average roof, then you may want to install high capacity guttering instead
  • Before starting, you’ll need to remove and dispose of all your old guttering. As it is relatively light, removing existing PVCu guttering is quite straightforward, but cast iron guttering is much heavier so it’s best to ask for help to remove it
  • Guttering is available in a range of lengths, colours, profiles and materials, including lightweight cast iron effect guttering, so be sure to consider the range and choose a product that is most suitable for you
  • Carefully plan your installation using the component diagram, as this will help you to be accurate when selecting the quantity and type of products required
  • Blocked guttering can cause damp problems, so if you experience significant leaf fall, then consider fitting a leaf protection system

Do it right

  • To ensure rainwater runs freely, you should allow a fall of 1:350 (about 3mm per metre) towards the outlet
  • Guttering is generally sold in 2m or 4m lengths and is easily cut to size with a hacksaw, but be sure to de-burr any cut surfaces with a file or sandpaper
  • If you live in an area that is prone to regular heavy snowfalls, position fascia brackets so they are no more than 400mm apart
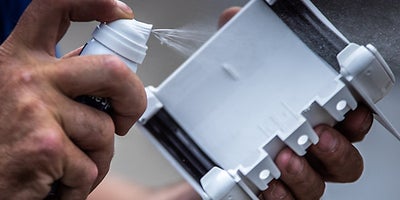
  • We would recommend using a specially designed silicone spray lubricant to help make fitting a little easier
  • Consider installing a water butt to harvest rainwater for use in the garden or greenhouse

Staying safe

  • Wear safety goggles when drilling or sawing
  • Wear protective gloves when removing and handling the guttering
  • If working at height, hiring scaffolding is recommended. Alternatively, if you’re using a ladder, take care when using it and be sure to move it regularly to avoid overstretching. It's best to have someone holding the ladder while you work

Aftercare

  • Clear the gutter of debris to prevent blockages from forming
  • If there has been a period of extreme weather, it’s advisable to inspect the gutter and brackets for any damage
  • If you’ve fitted a white or light coloured gutter, you may need to wash them down with warm soapy water from time to time
Step by step

Step 1

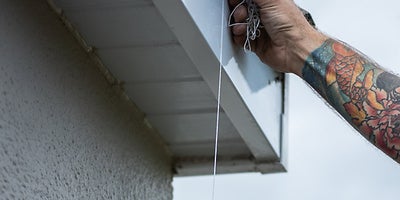
To establish the position of the running outlet or stopend outlet, hang a plumb bob from the fascia so that it hangs directly over the drain.

1.How-To-Fit-Gutter.jpeg

Step 2

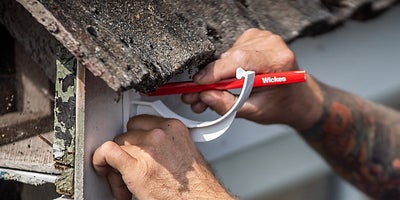
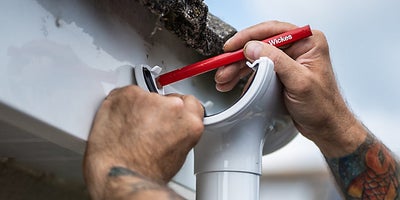
Use a pencil to mark the positioning of the outlet and its fixing holes onto the fascia, ensuring that it is no more than 50mm below the level of the roof.

2.How-To-Fit-Gutter-2.jpeg

Step 3

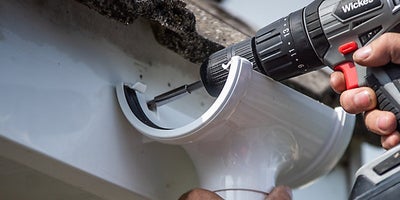
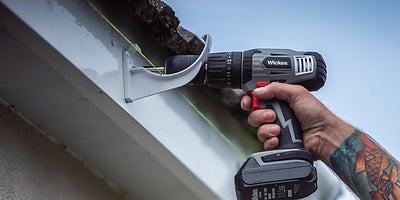
Drill pilot holes then fit the outlet, being sure to use the screws recommended by the manufacturer and taking care not to over-tighten.

3.How-To-Fit-Gutter.jpeg

Step 4

Measure from the outlet to around 100mm from the opposite end of the fascia. Position and fix a fascia bracket at this point, ensuring that it is higher than the outlet and the fall to the outlet is about 3mm per metre. If your outlet is situated in the middle of the fascia, repeat this process at both ends.

4.How-To-Fit-Gutter-4.jpeg

Step 5

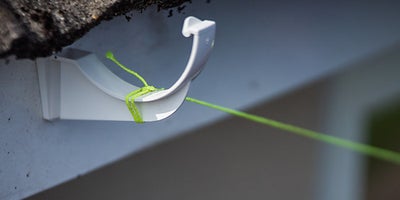
Tie a string or a brick line from the fascia bracket(s) to the outlet and pull it tight.

5.How-To-Fit-Gutter.jpeg

Step 6

Using a spirit level, check that the string runs slightly downhill from the fascia bracket(s) to the outlet by roughly 3mm per metre.

6.How-To-Fit-Gutter.jpeg

Step 7

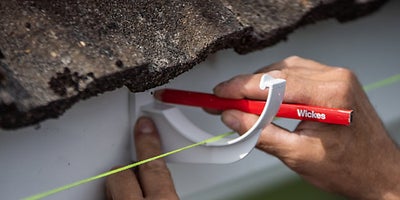
From the fitted fascia bracket, measure and mark the position of the remaining brackets. They should be just touching the string to maintain an even fall and should be no more than 1m apart and no more than 150mm from any angle or stopend.

7.How-To-Fit-Gutter.jpeg

Step 8

Fix the remaining fascia brackets as before, being sure to follow the manufacturer’s instructions and take care not to over-tighten.

8.How-To-Fit-Gutter.jpeg

Step 9

Before fitting the guttering, lubricate the gutter seals with a silicone spray, as this will help to make fitting easier and will aid with expansion and contraction. Repeat this for all gutter seals as you go.

9.How-To-Fit-Gutter.jpeg

Step 10

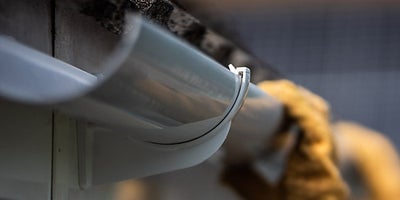
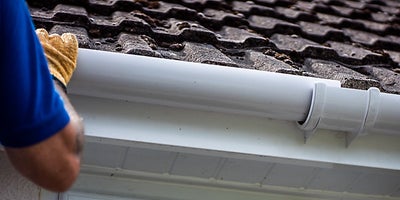
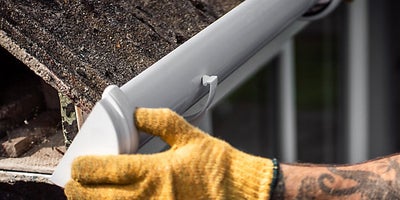
Working from the outlet towards the highest point, fit the first length of gutter by tilting it so that it sits beneath the back clip, then push down at the front to ‘snap’ it into position.

10.How-To-Fit-Gutter.jpeg

Step 11

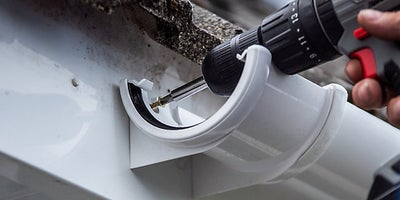
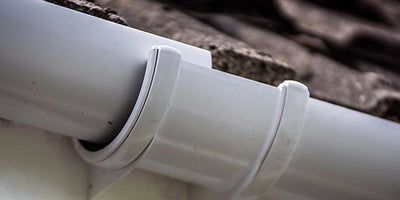
At the end of the first piece of guttering, fit a union bracket by screwing it into the fascia. Be sure to use the screws recommended by the manufacturer.

11.How-To-Fit-Gutter.jpeg

Step 12

Fit the next section of gutter into the union bracket, being sure the joints line up with the insertion depth that is marked onto the fittings.

12.How-To-Fit-Gutter.jpeg

Step 13

Continue to join the lengths of gutter in the same way.

13.How-To-Fit-Gutter.jpeg

Step 14

Measure the final gap then, using a hacksaw, cut a piece of gutter to length.

14.How-To-Fit-Gutter.jpeg

Step 15

Finally, fit an external stopend to complete the gutter run.

15.How-To-Fit-Gutter.jpeg

How to fit a Downpipe

Step 1

Using a plumb bob that hangs from the outlet to the drain as a guideline, draw several marks onto the wall to show where the downpipe will run.

16.How-To-Fit-Downpipe.jpeg

Step 2

Using a straight edge, join the marks to create a vertical line that shows where the centre of the downpipe will be.

17.How-To-Fit-Downpipe.jpeg

Step 3

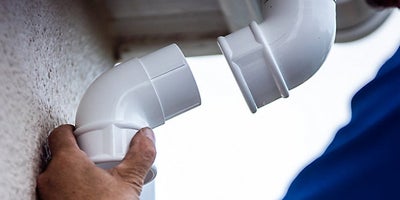
If an offset is required, you can either use an adjustable offset bend or two offset bends and a short piece of pipe (if necessary). Ensure a 6mm gap is left at the top of the downpipe for expansion.

18.How-To-Fit-Downpipe.jpeg

Step 4

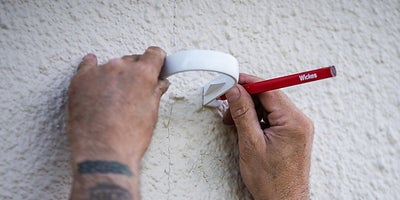
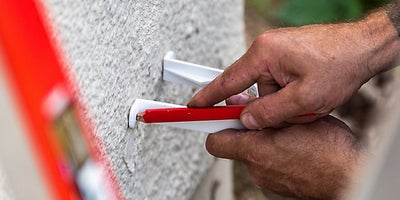
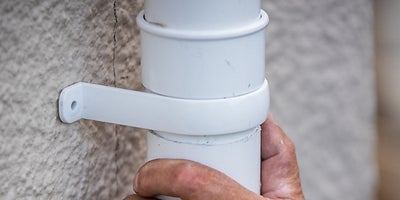
Starting at the top of the wall, position a downpipe pipe clip centrally over the pencil line. Use a pencil to mark the position of its fixing holes onto the wall. If offset bends are required, position a downpipe clip directly below the bend.

19.How-To-Fit-Downpipe.jpeg

Step 5

Repeat this process down the wall, allowing spacing of no more than 1.8m between pipe clips.

20.How-To-Fit-Downpipe.jpeg

Step 6

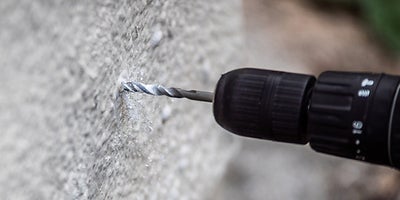
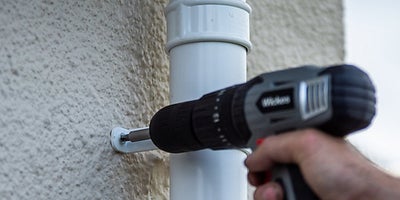
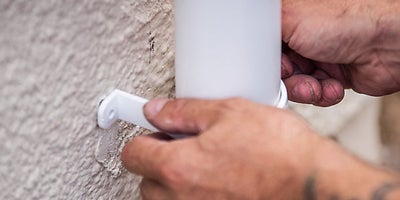
Using a combi drill and the drill bit size recommended by the manufacturer, drill the fixing holes and insert appropriate wall plugs.

21.How-To-Fit-Downpipe.jpeg

Step 7

Working from the outlet towards the drain, fit the first piece of downpipe.

22_How-To-Fit-Downpipe.jpeg

Step 8

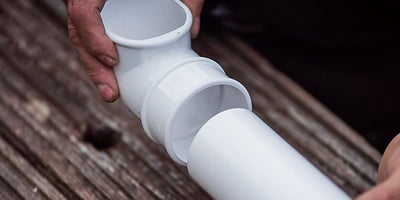
If you need to add an additional length of downpipe, join the two parts with a downpipe pipe socket and pipe clip. To allow for expansion, leave a 10mm gap between the end of the pipe and the bottom of the pipe socket. Then attach a pipe clip over the joint.

23.How-To-Fit-Downpipe.jpeg

Step 9

Continue to attach the pipe clips down the length of the downpipe.

24.How-To-Fit-Downpipe.jpeg

Step 10

If required, fit a downpipe shoe to direct the flow into the drain. Attach a downpipe clip directly below the socket of the shoe.

25.How-To-Fit-Downpipe.jpeg