How to Fit a Bath & Taps
Fitting a bath might sound like a big job, but with the right tools and a bit of guidance, it’s a DIY task you can take on yourself. Installing a new bath not only transforms your bathroom but also gives you a sense of achievement, knowing you’ve done it on your own. Plus, you'll save on labour costs, which is always a win.
Watch our quick how-to video for an overview, then follow the detailed guide below for step-by-step instructions to help you along the way. All you need is some simple tools and the right technique.
Here, we'll show you how to install and seal a standard bath. If your bath has a different design, always check the manufacturer's instructions as the fitting requirements may vary.
If your new bath is replacing an existing one and the pipework only needs minor adjustments, it’s a fairly straightforward task. But, if the position of the bath is changing, or if new plumbing needs to be installed, it's best to call in a qualified plumber to help.
Step-by-Step
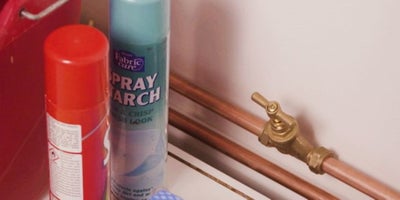
Step 1. Prepare the area
Clear the space where you’ll be fitting the bath, ensuring it’s clean and level. Remove any old fittings, debris or obstructions. A level floor will make installation easier and prevent future drainage problems. Turn off the water supply at the mains before carrying out any plumbing work. If you’re removing an old bath, use a pipe, cable, and stud detector to check the wall for hidden hazards before drilling.
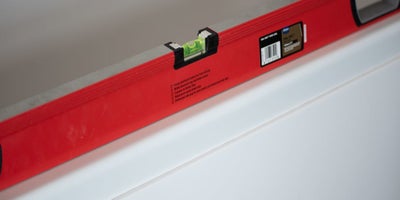
Step 2. Position the bath
Carefully move the bath into position. Use a spirit level to make sure it’s perfectly even. If the bath is slightly off, adjust the feet until it’s level. This will help avoid any drainage issues later on.
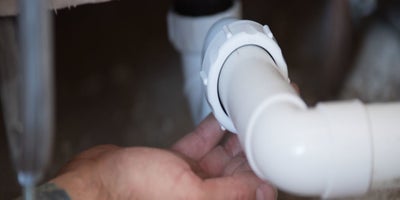
Step 3. Install the waste and overflow
Now, attach the waste and overflow pipes. Follow the manufacturer's instructions, making sure all connections are secure to prevent leaks. These pipes are crucial for ensuring water drains properly, so take your time here. Apply a small amount of silicone to the supplied washer and secure it with the provided screw. Double-check that all connections are watertight.
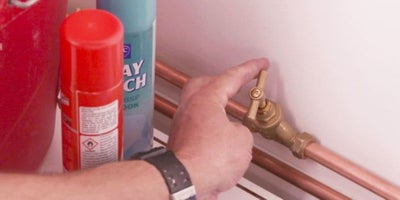
Step 4. Connect the plumbing
Using your adjustable wrench, connect the bath taps or mixer taps to the water supply. It’s often easier to do this while the bath is on its side or leaning against a wall. Wrap PTFE tape around the threads to create a watertight seal and be careful not to overtighten the fittings. A snug fit is all you need.
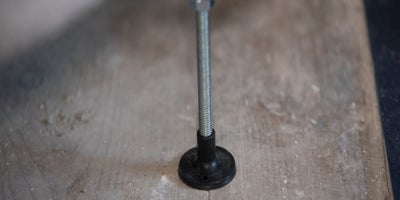
Step 5. Secure the bath
Once the taps and waste are in place, secure the bath to the wall using the brackets provided. Use screws to fix the feet into position on the floor, ensuring the bath is stable and level.
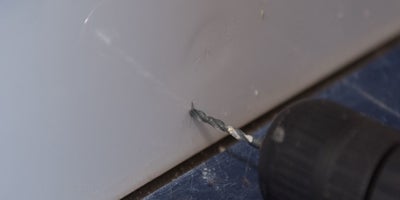
Step 6. Fit the bath panel
If you’re adding a bath panel, measure the space to ensure it fits snugly. Follow the manufacturer's instructions to attach it securely with brackets or clips. Make sure the panel sits flush against the bath for a tidy finish.
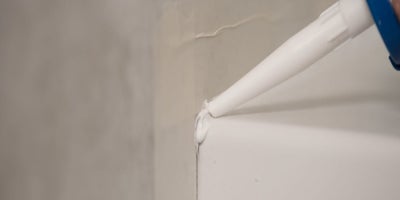
Step 7. Seal around the edges
Finally, fill the bath with water to prevent the silicone sealant from pulling away when in use. Apply a bead of silicone sealant where the bath meets the wall. This will prevent any water from leaking through gaps. Use your finger or a sealant tool to smooth the edges for a neat finish or mark the area with masking tape before you start. Allow the sealant to dry before draining the water.
FAQs
If you're still unsure about how to fit your new bathtub, check out our FAQs for answers to common questions. You'll find helpful tips and solutions to keep your bath running smoothly.
How do you fit bath taps to a new bath?
Fitting bath taps involves positioning them correctly in the pre-drilled holes of the bath. Before securing, apply PTFE tape to the threads to ensure a watertight seal. Use an adjustable wrench to tighten the fittings, taking care not to overtighten, which could damage the pipes. Once the taps are in place, connect them to the water supply using flexible hoses and check for leaks.
What’s the best way to secure a bath to the wall?
Securing a bath to the wall involves attaching wall brackets to the side of the bath that sits against the wall. Once the bath is level, mark the position of the feet and brackets on the floor and wall, then drill holes with a combi drill and insert wall plugs if necessary. Secure the bath with self-tapping screws, making sure the bath is level and stable before finishing.
How do you fit a bath mixer tap?
To fit a mixer tap, first position it in the pre-drilled holes of your bath. Apply PTFE tape to the threads, then secure the tap with the supplied fixings, tightening with a wrench. Connect the hot and cold water supplies to the corresponding inlets on the mixer tap, making sure the connections are firm. Test the taps for leaks once installed and ensure the water flows evenly from both hot and cold outlets.
How do you fit a bath panel?
Fitting a bath panel is straightforward, but you'll need to measure the space carefully. Begin by trimming the panel if necessary to fit your bath's dimensions. Most bath panels are fixed using clips or brackets that attach to the underside of the bath or a batten on the wall. Secure the panel in place, ensuring it’s flush with the bath and the floor. Finally, check the edges for any ga
By fitting your own bath, you’re not only saving on installation costs, but you’re also adding a personal touch to your bathroom renovation.
For all the tools and materials you’ll need to complete the job, visit Wickes.