Skip to content Skip to navigation menu
Basket
0

Planning & preparation

  • We are going to show you how to make a two-piece garden storage solution step by step.
  • Having a dedicated place to store your tools maximises the room in your workshop, giving you more space to get creative with. The tool wall rack is constructed from studwork CLS timber and features bespoke timber hooks, so you can hang your large and heavy tools. The portable storage unit is built from studwork CLS frames and OSB 3 panels, that hold repurposed driveway grids to store your tall garden tools and equipment.
  • The materials for these projects will cost under £125 and will take a DIYer with moderate skill, approximately 4 hours to build.
  • The wall rack is entirely bespoke and can be made to fit your available space. The constructed portable unit can also be tweaked to your needs, however if you choose to follow our cutting list, it will measure 610 X 1112 X 610mm.
  • To amend the design, simply measure your wall space for the tool rack and the length of your longest tool for the portable unit.
  • While the driveway grids are a great choice as they slot perfectly into your frames, you could also make the grid system divider from Pine Stripwood Moulding.

Doing it right

  • Our step by step instructions have been designed as a guideline to build a bespoke tool wall rack, while the portable unit is also supported by a cutting list.
  • We have chosen to work with studwork CLS timber and OSB 3 for their versatility and affordability, however you can use any sort of timber to suit your space. Using offcut timber from other projects is a great way to repurpose leftover pieces.
  • The tool wall rack is designed to hold a number of heavy and bulky items. If you feel that you need additional wall support, use wall plugs and additional screws through the rail for a secure fit.
  • Study the cutting list before construction to allow for measuring and cutting the timber efficiently. You can save time by scribing identical measurements across all of the relevant pieces of timber at once, while a chop saw stop block will allow you to make identical cuts at speed.
  • Consider the tolerance, runout and alignment of your power saw blades when following cutting lists. Depending on the tolerance of your tools, you may find that the cutting list dimensions are adjusted by approximately 3mm.
  • Watch our top tip videos for our Wickes DIY skills, tips and advice.

Staying safe

  • For safety, we recommend wearing protective goggles and heavy-duty gloves when using a chop saw or drill.
  • Check that your materials are securely clamped to your workbench surface before you begin making any cuts.
  • Inspect the cables and blade of the chop saw and circular saw before they are plugged in, to ensure they are in good condition. If any of the elements need to be replaced, make sure this is done before construction begins.
  • Always ensure that your construction area is well lit and ventilated.

Cutting list

View and download the cutting list here
Measuring out the rack

View instructions
1.Measuring_timber.jpeg

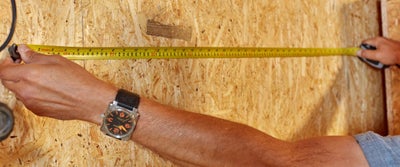
Begin by measuring the width of the space in which you plan to install your tool wall rack and make a note of the measurement.

2.Measuring_plyboard.jpeg

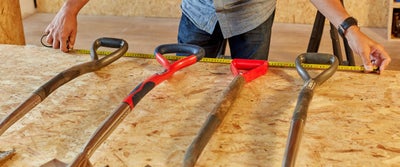
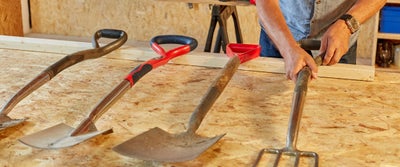
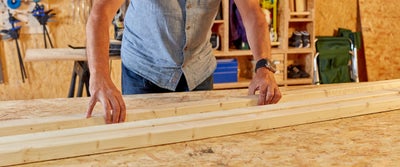
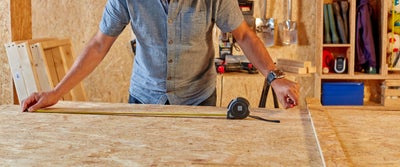
Lay the tools that will hang from the rack next to each other on your workbench. Use your measuring tape to configure their placement so they are the same width as your wall space.

3.Toolrack-measuring3.jpeg

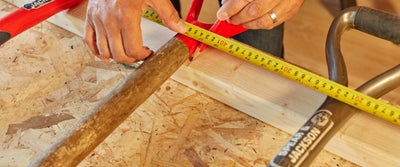
Offer up a piece of the studwork CLS timber and place your tools on it just below their handle. This will give you a rough idea of the space each tool will require on the rack.

4.Measuring_toolrack.jpeg

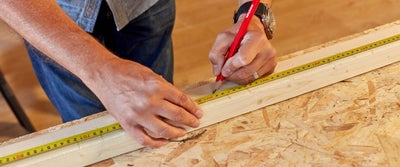
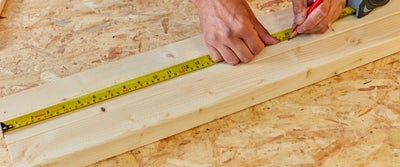
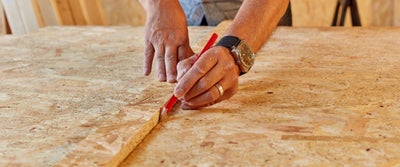
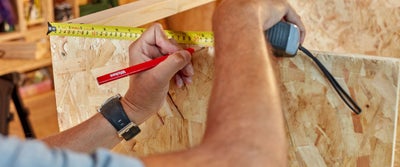
Measure out the width of your wall space on the piece of studwork timber, marking your chosen length and the position of the tools with a pencil. It’s worth using a tape measure if you want them to be evenly spaced, however bear in mind that some larger handled tools may require more room on the rack.

5.Measuring_toolrack.jpeg

Measure and mark the position of each tool slot, so that you know exactly where they’re going to be.
6.Assembling_toolrack.jpeg

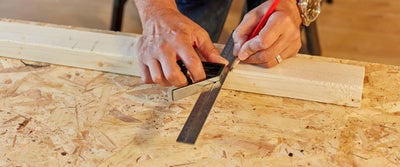
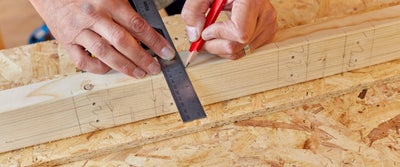
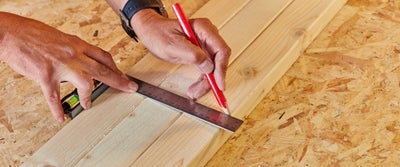
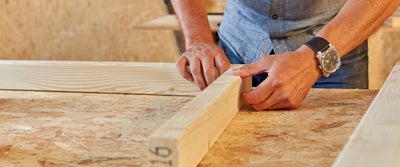
Taking your combination square, scribe a straight line with your pencil through each mark.

7.Toolrack_measuring.jpeg

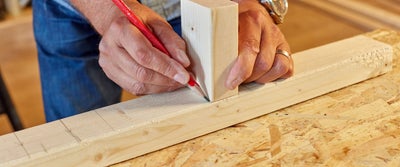
Take an offcut of your studwork timber and place it on either side of the tool spaces. Make marks along the outside edge on each side of the tool spaces, to indicate where the timber hooks will adjoin to the rack.
8.Toolrack_measuring.jpeg

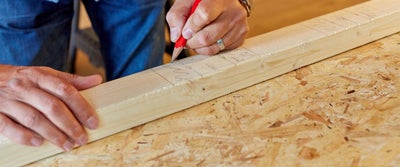
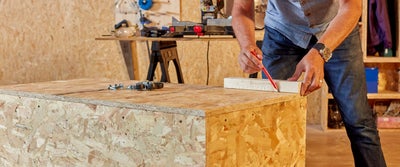
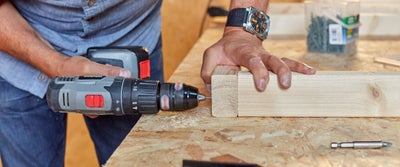
Crosshatch the spaces where the timber joints will be located. This visual guide will ensure there is no confusion when it comes to affixing the timber hooks.

Preparing and cutting the back rail

View instructions
9.Toolrack_measuring.jpeg

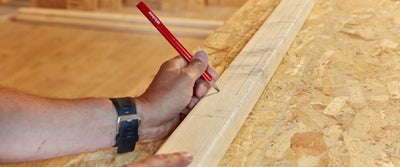
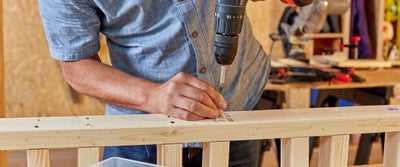
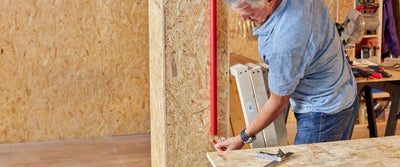
Place a piece of offcut timber beneath the piece you’re working on to avoid marking your workbench when drilling the pilot holes. Using your finger as a guide, trace two parallel pencil lines along the length of your timber for your pilot hole placements.

10.Drilling_timber.jpeg

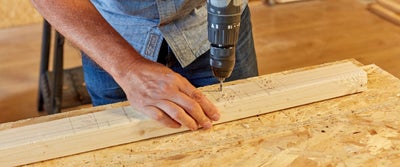
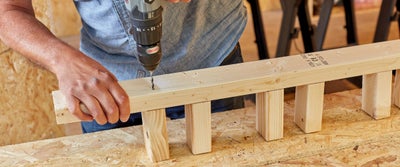
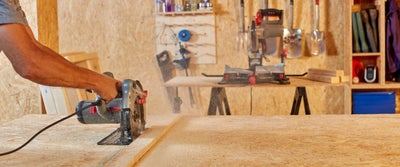
Drill a 90 degree pilot hole into each of the guidelines, through the centre of the marked positions where your timber hooks will be affixed.

11.Sanding_timber.jpeg

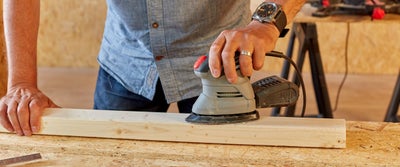
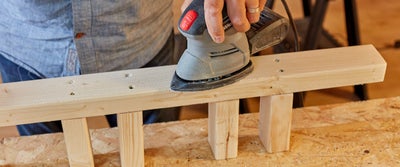
Using your palm sander or a small piece of 120 grit sandpaper, sand over your pilot holes to remove any rough edges.

12.Cutting_timber.jpeg

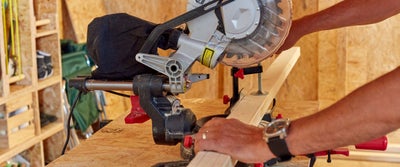
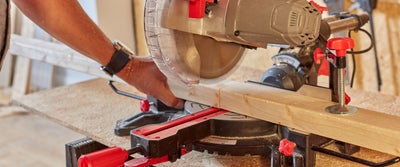
Clamp the back rail in position to your chop saw so that it’s safe and secure and then cut the timber to your desired length. Finish by giving the cut end a once over with your sander.

Creating your hooks

View instructions

For repetitive and identical cuts, we recommend working with a stop block on your chop saw. Taking your offcut from the back rail or a new piece of studwork CLS timber, decide on the length of your hooks then clamp an offcut stop block to the saw fence at your chosen length.

13.Angling_chopsaw.jpeg

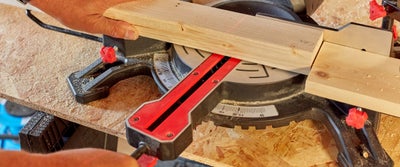
Lining up a new piece of studwork to the blade, change the angle of your chop saw to 10 degrees and cut through.

With your timber still in place, change the angle of your chop saw back to 90 degrees and square off the end. Repeat this process to cut all of your angled hooks.

14.Preparing_sandpaper_machine.jpeg

Give the cut edges of your hooks a good sand with 120 grit sandpaper, smoothing out any rough or frayed timber edges.

15.Sanding_wood.jpeg

You might also like to lightly sand the offcut 10 degree wedges and put them aside. They might come in handy for future projects including laying floors and hanging doors.

Preparing to glue

View instructions
16.Measuring_wood.jpeg

Using your combination square and a pencil, extend the tool spaces and hook marks on your back rail through to the underside.

17.Preparing_wood.jpeg

Lightly sand the front of the rail to tidy up the pilot holes and remove the pencil marks.

Attaching the hooks

View instructions
18.Glueing_wood.jpeg

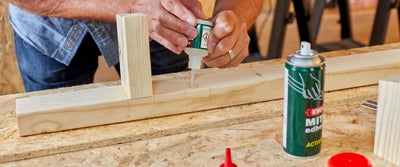
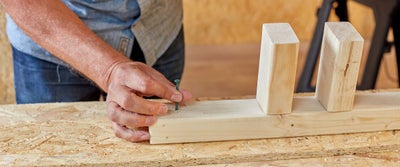
The timber hooks are fixed to the back rail with butt joints. To aid placement when securing these joints, apply mitre adhesive glue around the pilot holes of the hooked sections.

19.Spraying_adhesive_on_wood.jpeg

Working quickly, spray mitre adhesive activator to the angled end of your first hook.

20.Spraying_wood.jpeg

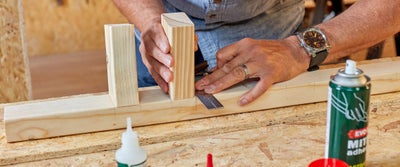
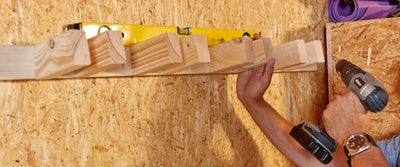
Using a combination square to make sure it’s straight, place the hook in position over the pilot holes then use your fingertips to check that it’s sitting flush to the rail.

21.Assembling_toolstore_rack.jpeg

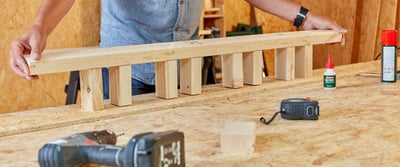
Repeat this process until all of the hooks are glued into position, then carefully turn the rack over.

22.Assembling_toolstore_rack.jpeg

Using your drill, extend the pilot holes through the back rail and into hook butt joints.

23.Assembling_toolstore_rack.jpeg

Screw through each butt joint securing the hooks to the rail, making sure the heads of the screws are sitting flush to the timber.

24.Smoothing_wood.jpeg

Once all of your hooks are screwed in, give the back surface a quick sand to ensure that it’s smooth.

Fixing the rack to the wall

View instructions
25.Assembling_toolstore_rack.jpeg

Turn your rack back over and then drill a pilot hole at either end of the length, inserting two screws by hand.

26.Assembling_toolstore_rack.jpeg

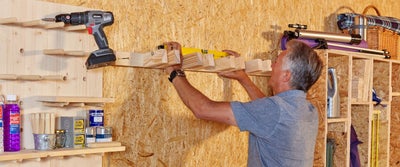
With your spirit level to hand, offer up the rack to your chosen wall space and adjust until the rail until it is level.

27.Assembling_toolstore_rack.jpeg

Using your drill, tighten the first screw then check the spirit level before securing the second.

28.Toolstore_rack_on_wall.jpeg

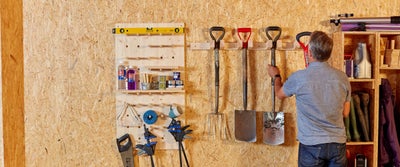
There you have it, your garden tool wall rack is complete!

Deciding on your portable storage unit design

View instructions
29.Ground_base_grids.jpeg

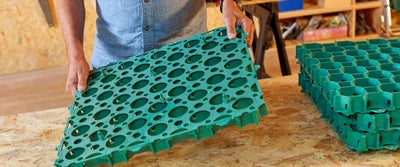
This portable tool storage unit is designed to house tall outdoor equipment in a simple slot and store system. We have chosen to repurpose driveway and ground base grids to utilise their interlocking cells.

30.Measuring_groundbase_grids.jpeg

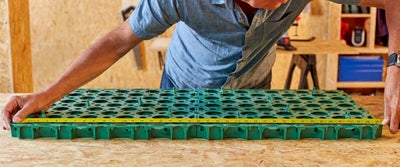
Begin by connecting two of your driveways grids and measure the length. We have chosen square grids with a combined length of one metre.

Cutting and assembling the frames

View instructions
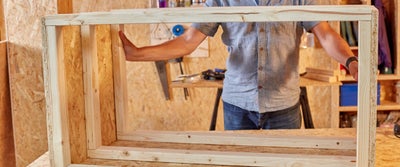
31.Assembling_timber_frames.jpeg

Gather the studwork CLS timber for your frames and place them on your workbench.

32.Measuring_timber.jpeg

Referring to your cutting list, measure and mark the short frame length on your studwork timber.

33.Measuring_timber.jpeg

Scribe a straight line through the mark with your combination square to indicate the cut line. For efficiency, you can save time by scribing identical measurements across all of the relevant pieces of timber at once.

34.Cutting_timber.jpeg

Moving to your chop saw, clamp the first length of timber in place so it’s safe and secure then cut through your marked line, repeating for all of the short lengths.

35.Cutting_timber.jpeg

Repeat this process to measure, mark and cut the longer frame lengths to size, before sanding the cut ends to remove any frayed edges.

36.Assembling_timber.jpeg

Clearing down your workbench, begin assembling your frames by butting up the first longer length to a shorter length.

37.Assembling_timber_frames.jpeg

To help prevent the timber from splitting when drilling, hold the timber firmly in place then use your drill to make a pilot hole through the joint.

Secure the joint with a screw then bring another long length into place. Secure the joint before slotting in and securing a short length to create a frame.

38.Assembling_timber_frames.jpeg

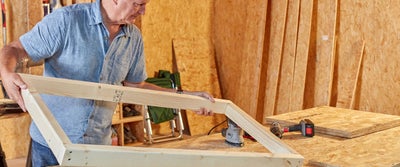
Repeat this process to construct three timber frames for the portable unit.

Working out the maximum unit height

View instructions

If you would prefer to follow our portable storage guideline, refer to our cutting list dimensions. If you wish to adjust the dimensions or tweak to bespoke requirements, you will need to work out the maximum height that your unit can be.

39.Measuring_timber.jpeg

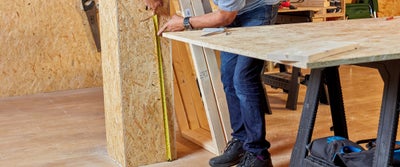
Taking the longest tool that will live in the storage unit, hold it against the wall of the area it will live in. Ensuring the top of the tool is touching the ceiling, make a small mark at the base, on the wall.

40.Measuring_timber.jpeg

Measure the height from the floor to the mark you made on the wall. This height will be the tallest your frame can be including the castor wheels.

Cutting out the end and bottom panels

View instructions
41.Measuring_timber.jpeg

Place a sheet of the general purpose OSB 3 board on your workbench. Refer to the cutting list end panel dimensions or measure out your maximum unit height from the bottom of the panel and mark.

42.Measuring_timber.jpeg

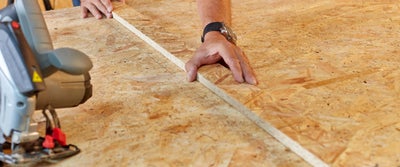
Use an offcut straight piece of timber to scribe a straight cutting line that runs through the marks you’ve made.

43.Cutting_timber.jpeg

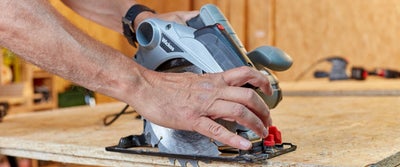
Line up the end of your sheet material with the end of your workbench to check the depth of your circular saw blade. Because the sheet is too large to overhang, you will need to check if it will cut into your workbench surface. You may wish to lay another material under the timber to protect your workbench.

44.Measuring_timber.jpeg

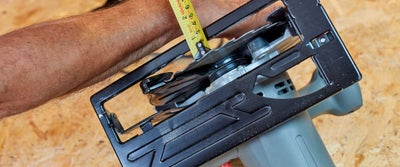
Measure the distance from the outside of the blade to the edge of the shoe plate on your circular saw. This will give you the measurement that you need to adjust the cut by to account for the circular saw plate.

45.Measuring_timber.jpeg

Measure this distance from your scribed cutting line, then make marks and draw a line through with your straight edge offcut.

46.Measuring_timber.jpeg

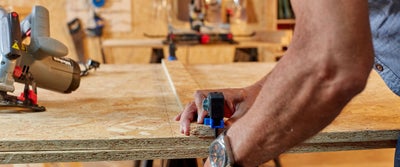
Align your straight edge offcut to the outside edge of the new line and clamp in place. This will allow you to use it as a guide rail to make sure that your cuts are straight and accurate.

47.Cutting_timber.jpeg

Running the circular saw shoe against the rail, cut your OSB 3 board along the cutting line.

48.Preparing_timber.jpeg

Referring back to the cutting list or your tweaked dimensions, cut this longer piece to create the two end pieces. Sand all of the sides to remove any sharp edges from your cuts, before placing them to one side.

49.Preparing_timber.jpeg

Referring to your cutting list or tweaked maximum dimension, repeat the measure, marking and cutting process to create the panel for the front of the unit. This panel is approximately half the height and the full length of the finished rack.

50.Preparing_timber.jpeg

To cut the base panel to size, refer to the cutting list or take one of your frames and lay it flat on your workbench and OSB 3 timber. Measure, mark and cut the board to size using the same principles so that it matches the dimensions of the frame.

Constructing the unit

View instructions
51.Assembling_tool_store_rack.jpeg

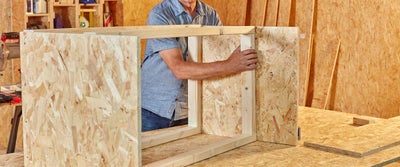
The unit is constructed using butt joints. Stand one of your frames on its side on your workbench, then take one of your end panels and hold it in position.

52.Assembling_toolstore_rack.jpeg

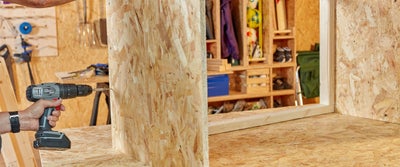
Using your drill, secure the first panel by screwing through the OSB 3 into the framework. Repeat this process at the other end with the second panel.

53.Measuring_timber.jpeg

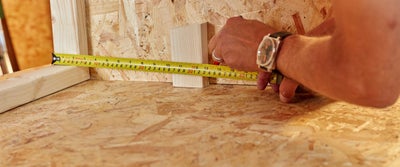
Laying the frame on its side, measure and mark the halfway point on the top of both of the end panels.

54.Measuring_timber.jpeg

Do the same for the bottom of the end panels, using a timber offcut to mark the width of the frame. This measurement should match the height of the half-sized panel you cut earlier.

55.Assembling_tool_store_rack.jpeg

Bring the second frame to your workbench and move it into position so it is sitting in line with your half way marks.

56.Drilling_timber.jpeg

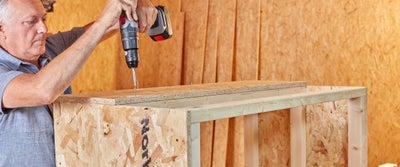
Using your drill, fix the frames in place by driving screws through the end panels and into the timber.

57.Assembling_tool_store_rack.jpeg

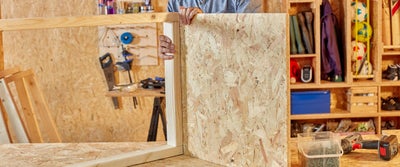
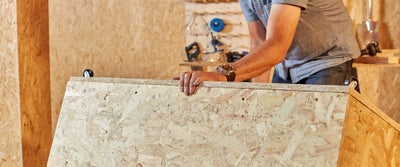
Turn the unit around and screw the final frame into position, so it’s flush with the top of the end panels.

58.Drilling_timber.jpeg

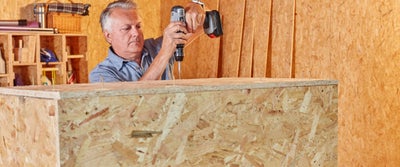
Once the frames are secured, secure the half-sized front panel by screwing it into the timber frames.

59.Drilling_timber.jpeg

Lastly, turn the unit again so it is face down then place the cut base OSB 3 board on top, securing with screws into the frame.

Installing the castor wheels

View instructions
60.Preparing_timber.jpeg

Carefully move the unit to the floor and position it so that the base is facing up. Take an offcut of wood and line it up with one of the corners. Mark the inside edge then move the offcut to the other side of the corner and do the same thing, forming a cross. Repeat this process for all four corners.

61.Drilling_timber.jpeg

A drill jig can help to guide your drill bit at a 90 degree angle into the timber. You can make a drill jig with two pieces of overlapped offcut timber that are bonded with adhesive. Place your drill bit in the centre of the cross and butt up the jig before drilling a pilot hole down into the frame.

62.Hammering_timber.jpeg

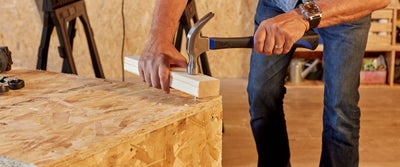
Insert the bit for your first castor wheel and hammer it into place, using a timber offcut to avoid damaging the metal. Repeat this for all four castors.

63.Assembling_tool_store_rack.jpeg

Install the four castor wheels and turn the unit over so that it’s standing the right way up.

Fitting the driveway grids

View instructions
65.-B-portablestorage-castorwheels5.jpeg

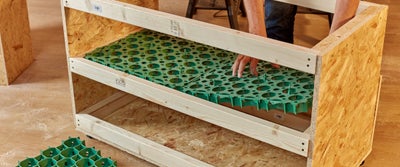
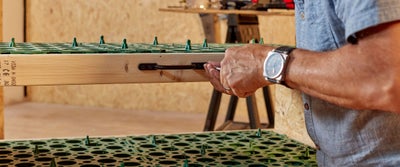
Begin fitting the driveway grids starting with the middle rack. Simply turn them upside-down and lower them into place, connecting the two grids in the middle.

65.Assembling_tool_store_rack.jpeg

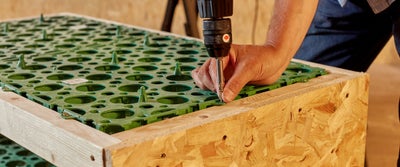
Drill pilot holes into the frame timber through the tabs of the driveway grids then screw them into place. Repeat this process for the top rack.

66.Assembling_tool_store_rack.jpeg

To make moving the unit even easier, you can also attach a pull handle to the front or side panels.

67.Assembling_tool_store_rack.jpeg

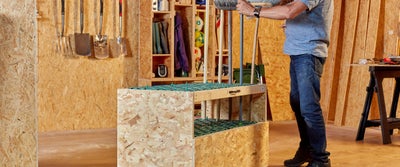
And that’s it, your portable tool storage unit is complete.


Aftercare

View instructions

For a perfect finish, give your storage units a good sand down between stages to remove any rough or frayed timber edges.

Check the manufacturer’s label for recommendations before applying any stains, paints or treatments, should you choose to paint or stain the timber projects.

Get creative with your garden storage

View instructions

Both of these builds are entirely customisable and are great projects for utilising leftover timber.

The wall rack can be made to any length to suit your space. You could even mount a double rack to hold hand tools above your larger garden equipment.

The timber hooks for the wall rack do not need to be equally spaced and can be fixed in any configuration to suit your tools. Add double hooks to slot through the handle of your lawnmower for a secure fit.

The portable unit design can also be tweaked to suit your custom needs. Create a square unit or add further driveway grids to create a longer storage solution.

Depending on the height of your longest tool, you could convert the space between the bottom frame into a shelf, to house cables, extensions and boxed parts. Or add further frames to add more support to larger or top-heavy tools.

Add a handle from a leftover project or utilise thick rope to create handles at either end of the unit. Use a flat wood spade bit or large drill bit to create a hole in the end panels that is large enough to feed the rope through. Secure with knots on the inside and seal or bind the ends to prevent fraying.

If you wish to make the supporting grids from timber rather than utilising driveway bases, try cross lap jointing 2-3mm PSE timber with a depth of around 2-3mm, or install rows of hardwood dowel moulding for longer organised areas.

Leave the timber in its natural state or utilise leftover paints from previous projects to add a fun pop of colour to your garage or shed.

Garden storage inspiration

View instructions

Garden tool storage makes a fantastic addition to any garage or shed, offering an incredibly helpful way to keep busy areas neat and tidy and maintain some much-needed organisation.


Hang your forks, spades, hoe and lawnmower from the rack, to free up valuable floor space in your garage or shed.

The wall rack doesn’t just have to hold spades and garden forks. You can design it to hang sports equipment such as tennis rackets or cricket bats, or make the slots between the hooks smaller, to hang small hand tools and equipment.

Utilise empty slots on the wall rack to store and organise your offcut timber. Design the hooks so the slots are of varying sizes to fit PSE lengths, dowel, canes and timber board.

Store your patio and lawn tidy equipment in the portable rack, wheeling the unit out so you have easy access to your brooms, rakes and edging tools.

For more storage inspiration and ways to utilise space in your home, visit our ideas and advice hub.

More inspiration from Wickes