Skip to content Skip to navigation menu
Basket
0

Planning & preparation

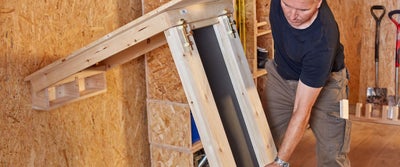
  • We are going to show you how to build a wall mounted drop down table step by step.
  • Drop down tables are a handy addition to your home, offering endless functions and a minimal footprint. When the table is hooked against the wall, you can maximise your floor space and utilise the chalkboard for family notes and reminders. Or lock the drop down leg in place and enjoy an extended tabletop, worksurface or prep area.
  • Our step by step instructions and cutting list have been designed as a guideline. This build is entirely customisable and bespoke to your space, however if you choose to follow our build, the drop down table with measure approximately 1155 X 600 X 935 open and 90 X 600 X 1300 closed.
  • Constructed using good quality timber, the table is attractive enough to be stored in plain sight, or you can choose to paint or treat the wood to suit your space.
  • We have used Redwood PSE timber and general purpose timberboard for this project, however you can experiment with different structural materials and surfaces for the tabletop.
  • The materials for this project will cost under £150 and take a DIYer with moderate skill approximately 1 to

Doing it right

  • Our step by step instructions and cutting list are designed as a guideline to build a wall mounted drop down table. These are also sometimes called Murphy tables.
  • Once constructed the table will be heavy and may require wall plugs to anchor the screws. Depending on where you mount the table, ensure you use suitable wall plugs for your surface.
  • Study the build instructions before construction to allow for measuring and cutting the timber efficiently. You can save time when cutting identical lengths by making a chop saw stop block.
  • Consider the tolerance, runout and alignment of your power saw blades when making cuts. Depending on the tolerance of your tools, you may find that dimensions are adjusted by approximately 3mm.
  • The blackboard will need to be constructed prior to your build, to allow sufficient time for the glued sheets to dry. Ideally, this should be a day or two before you begin the table construction.
  • The blackboard can be removed entirely if preferred or replaced with a number of surfaces including a mirror, corkboard or sheet metal.
  • We recommend dry laying the cut timber at various stages throughout the build. This can help you to avoid any potential issues with misalignment or miscalculations.
  • When installing the drop down table, consider its use as this will affect the mounting height. We would recommend wall mounting the top of the bracket box at 915mm for kitchen counters and 965mm for workbench use. You may wish to tweak the length of the leg design for taller permanent fixtures.
  • Watch our top tip videos for our Wickes DIY skills, tips and advice.

Staying safe

  • For safety, we recommend wearing protective goggles, a dust mask and heavy-duty gloves when using a chop saw or drill.
  • nspect the cables and blades of your power saws before they are plugged in, to ensure they are in good condition. If any of the elements need to be replaced, make sure this is done before construction begins.
  • Always ensure that your construction area is well lit and ventilated.
  • Depending on the materials you use, the table can be very heavy during the last stages of construction and final fitting. Ensure you have another pair of hands around should you need some assistance.
  • Always check the manufacturer’s label for recommendations before applying any stains, paints or treatments.

Cutting list

View and download the cutting list here.
Constructing the blackboard

View instructions

If you choose to include the blackboard in your table leg, it will need to be constructed prior to the build. To allow sufficient time for the glued sheets to dry, this should ideally be glued a day or two before you begin.

To make the blackboard, begin by cutting your general purpose hardboard to size, as per the cutting list. Make sure you keep these offcuts as they will be used on the bracket box as packers between the hinges. If you choose not to make the blackboard, you will need offcuts of a similar thickness.

1.Plywood.jpeg

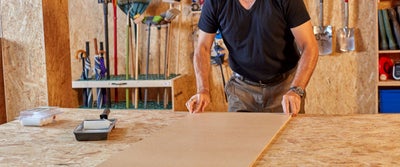
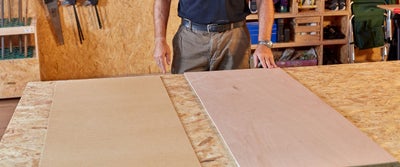
Lay the sheet of the hardwood plywood and the sheet of trimmed hardboard side-by-side on your workbench. Make sure that the textured side of the hardboard is facing up.

2.PVA_on_plywood.jpeg

Apply a liberal coat of PVA glue to both sheets using a roller or brush, making sure to go right to the edges.

3.Sticking_plywood_together.jpeg

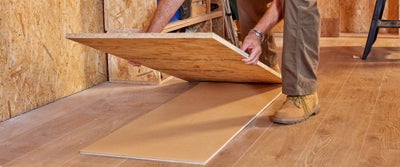
Once the glue is applied, turn the hardboard over and line it up with your sheet of plywood. Stick them together and apply even pressure to make sure that they’re firmly in place.

4.Constructing_plywood.jpeg

Move the sheets to an even surface and apply as much evenly weighted pressure on top as possible. A large offcut sheet is ideal if you have one to hand.

Leave them as long as possible or overnight, to allow the glue to dry properly.

Cutting the bracket box and drop down leg frames

View instructions
5.Cutting_timber.jpeg

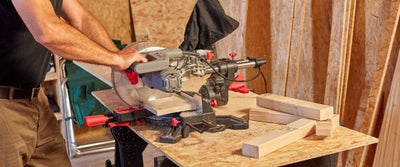
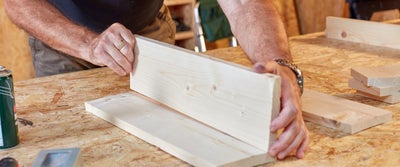
To cut the timber for the wall mounted bracket, you will need to cut one length of 94mm Redwood PSE to size. Using your chop saw, cut each length to size then set the pieces aside.

You will also need to cut the laminated blackboard offcut into three pieces, to be used as bracket packers. Referring to the cutting list, measure and mark the lengths.

6.Measuring_timber.jpeg

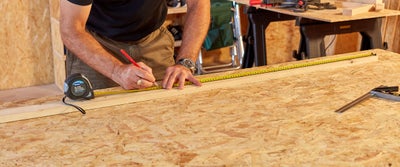
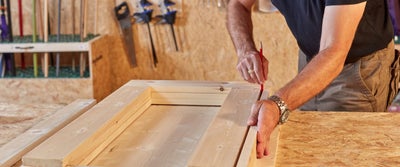
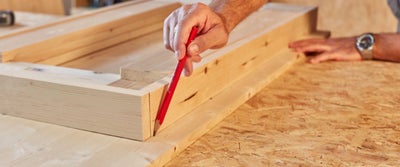
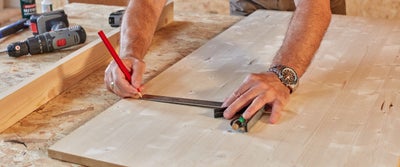
To build the frames for the drop down leg, you will need to cut three lengths of 94mm Redwood PSE to size. Referring to the cutting list, measure and mark the lengths, scribing straight and accurate lines with your combination square.
7.Numbering_timber.jpeg

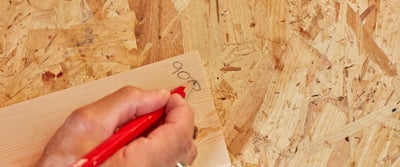
Using your chop saw, cut each length to size, marking the dimensions and frame number with a pencil on each as you go.

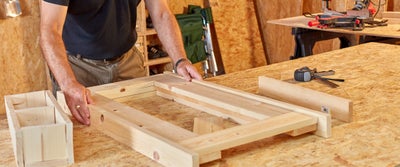
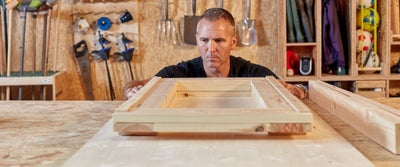
8.Dry_laying_timber.jpeg

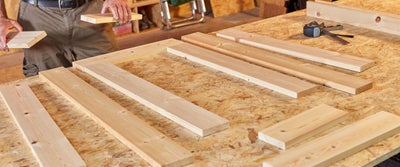
Dry lay the cut timber pieces for each frame on your workbench.

9.Structuring_timber.jpeg

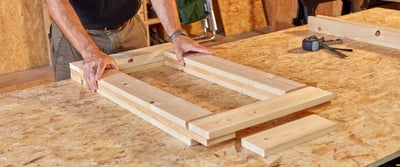
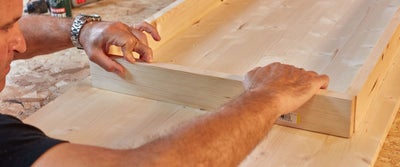
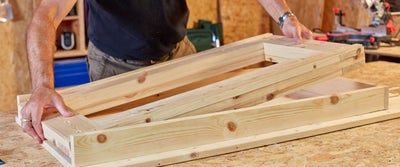
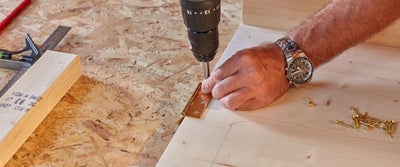
Using the cutting lists, lay the frames on top of each other in the following order to create the leg structure. First, lay frame 3 (1x 458, 2x 712) ensuring the open length is at the top, then frame 2 (2x 270, 2x 900), and lastly frame 3 (2x 458, 2x 712).
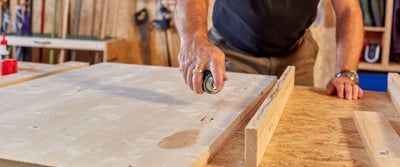
10.Structuring_timber.jpeg

Once you have layered the drop down leg frames, dry lay the timber for the bracket box in position, as well as the tabletop supporting framework. This will allow you to make sure that all of your cuts are correct.

Assembling the drop down leg frames

View instructions

To fix the frames of the drop down leg together, you will need to secure the lengths with screws in various stages to account for the overlapping timber. Each layer of timber should conceal the screws from the previous layer. On the last layer, the screws will be obscured by the blackboard.

11.Assembling_drop_down_leg_frames.jpeg

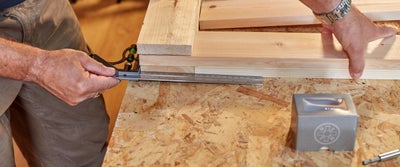
Beginning at the bottom of the frames and working towards the top of the leg with the open length, remove a side piece of frame 1 and set aside. Use your combination square to make sure the lengths are sitting at a right angle.

12.Drilling_timber.jpeg

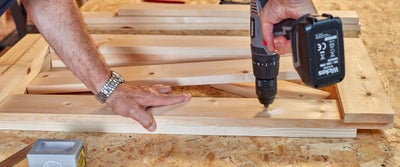
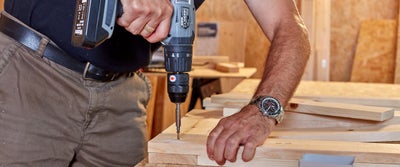
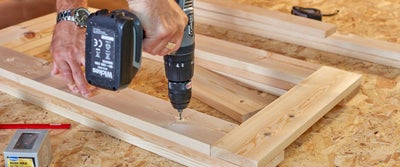
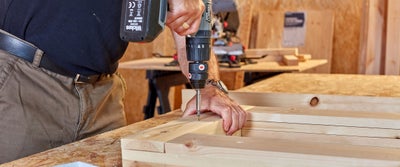
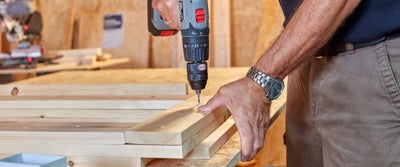
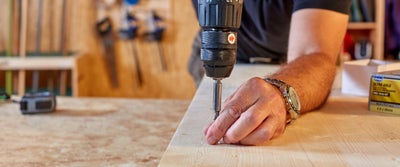
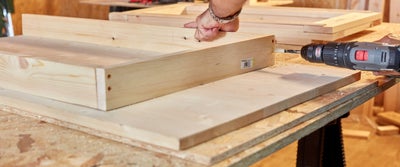
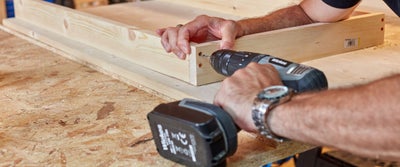
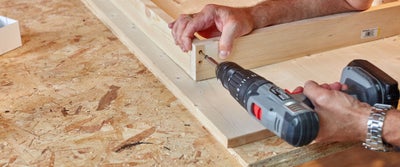
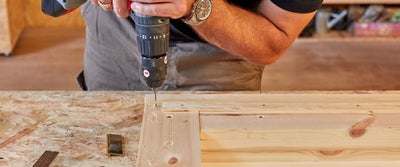
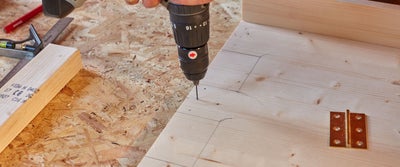
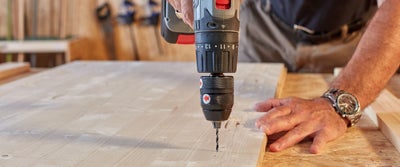
With your drill, make two pilot holes, drilling through frame 2 into frame 3 ensuring that you do not go all the way through to your workbench.

13.Drilling_timber.jpeg

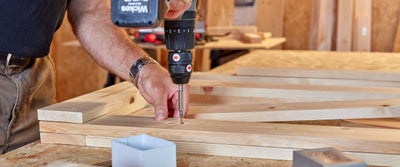
Countersink each hole, so the head of the screw will sit slightly below the surface of the wood, then secure the holes with wood screws.

14.Drilling_timber.jpeg

Repeat this process, screwing through the bottom corner of frames 2 and 3. Ensure at each stage you are checking the corners are at a right angle with your combination square.

15.Drilling.timber.jpeg

Replace the set-aside piece of frame 1 back into the structure, making a small mark on the timber to indicate where the screws are positioned underneath. Using your drill, pilot, countersink and screw down through frame 3 into frame 2.

16.Drilling_timber.jpeg

Repeat this process on the parallel side of the frame, before securing the bottom piece of frame 3 to frame 2 with several screws.

17.Drilling_timber.jpeg

Now move to the top of the leg and repeat the process securing frames 2 and 3. When drilling and screwing the central piece, be sure to position an offcut of timber underneath for additional support. This will allow you to drill into the central piece of frame 2 by pushing down on the offcut.

Fixing the stripwood moulding and painting the blackboard

View instructions
18.Stripwood_moulding.jpeg

Now that you have your main structure for the drop down leg, put it to one side and begin to prepare your pieces of pine stripwood moulding. This will act as a small frame to house the blackboard.

19.Cutting_wood_with_saw.jpeg

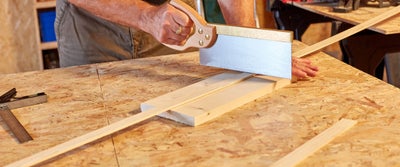
Referring to the cutting list, measure and mark the stripwood moulding then cut it neatly to size with a tenon saw.

20.Assembling_droptable.jpeg

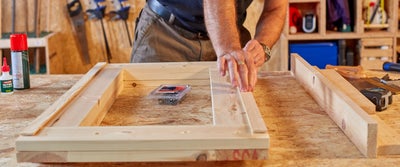
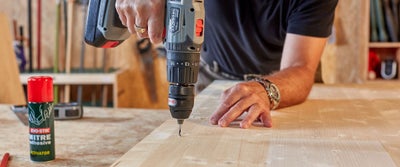
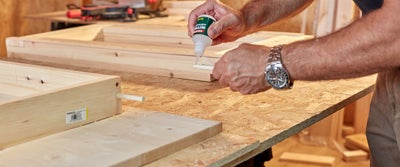
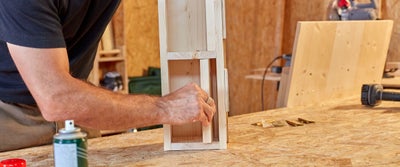
Apply mitre adhesive glue along the entire lengths of your cut pieces of moulding, spraying the activator directly to your frame. Holding the strips in place to firm up, ensure they are flush with the bottom and side of the frame, leaving a small space at the top.

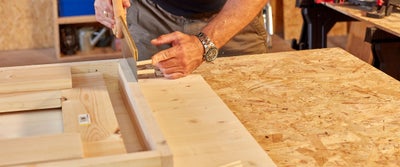
21.Hammering_timber.jpeg

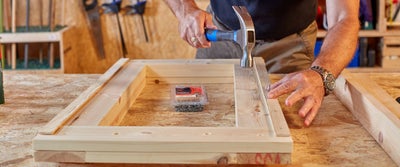
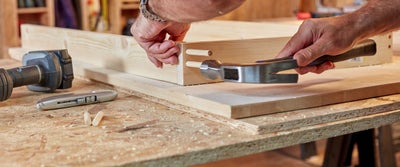
Fix the moulding strips into place by hammering panel pins through the centre of the strips at a distance of roughly 10cm apart.

If you intend to paint, stain or varnish the table, this is the perfect time to do so, to the leg.

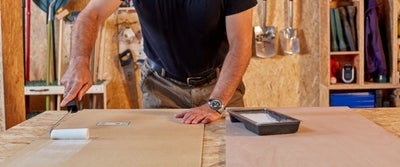
Now that the frame has been constructed, take the plywood and hardboard sheets you stuck together for the blackboard and place them on your workbench.

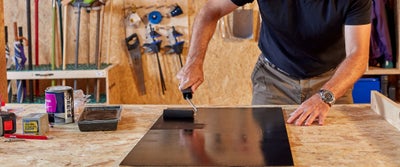
22.Applying_blackboard_paint.jpeg

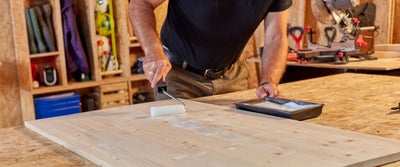
Take your roller and apply your first coat of blackboard paint, allowing it to dry before applying a second coat.

Building the bracket box

View instructions
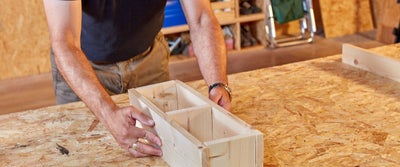
23.Building_bracket_box.jpeg

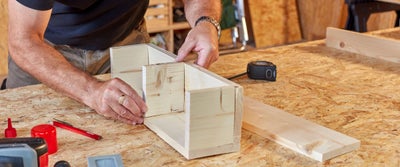
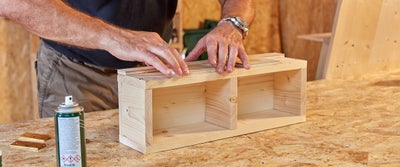
Take the three larger rectangular pieces of 94mm Redwood PSE timber that you cut earlier for your bracket box and dry lay them out on your workbench.

24.Building_bracket_box.jpeg

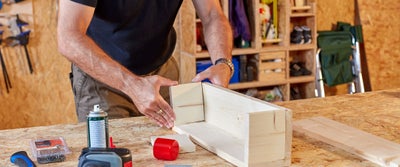
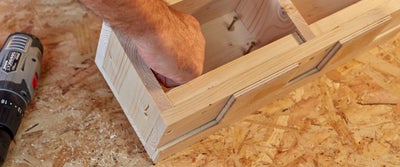
Begin by fixing two of the rectangular pieces together. Apply mitre adhesive glue and mitre adhesive activator to the edge of one of your pieces, holding it in place to create a right angle.

25.Building_bracket_box.jpeg

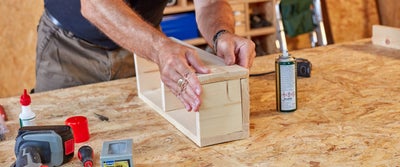
Now taking your smaller bracket pieces, apply glue to one short and one long side of each, then attach at either end of the rectangles.

26.Building_bracket_box.jpeg

Measure the length of your bracket box to find and mark the centre, before gluing the third smaller piece into place.

27.Assembling_bracket_box.jpeg

Now you can fix the last rectangular piece in place on top. Add glue along the rectangular piece’s edge and to the top of the three small pieces, before spraying with activator and then holding the top piece in place to firm up.

28.Drilling_bracket_box.jpeg

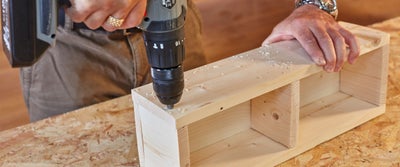
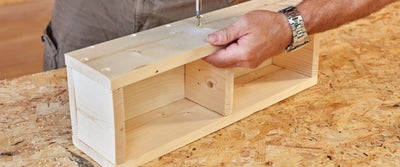
Drill two pilot holes into each of the smaller sections through the top piece, adding six equally spaced pilot holes to the back rectangle.

29.Assembling_bracket_box.jpeg

Countersink each hole with your drill bit before driving through wood screws so the heads are sitting just below the surface.

Dry laying hinges on the bracket box

View instructions
30.Sanding_wood.jpeg

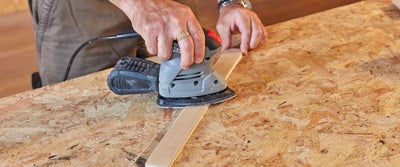
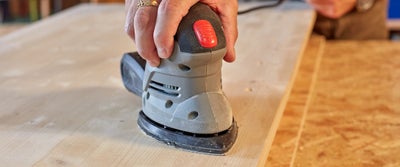
Now that the bracket box is assembled, go over your offcut packers with a palm sander for a smooth finish.

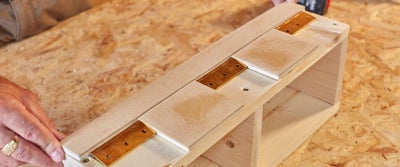
Dry lay them in position on the top of the bracket box so that the long cut is flush with the back edge of the box. Place the first closed butt hinge in the centre of the bracket, so the knuckle is butted up against the long cut.

31.Applying_brackets_to_wooden_frame.jpeg

Place the two smaller packers either side of the hinge, then place a closed hinge on the outer sides of each. The knuckle of the outer hinges should be butted up against the long cut with one side of the hinge plate against the smaller packers. These won’t be fixed in place until later on.

Building the tabletop

View instructions
32.Measuring_timberboard.jpeg

Place a sheet of your general purpose timberboard on your workbench. Measure its width to find and mark the centre of one end.

33.Measuring_timberboard.jpeg

Measure the width of the bottom end of the drop down leg and make a mark on frame 3 at the centre point.

34.Assembling_drop_table.jpeg

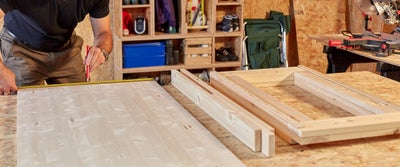
Lay your drop down leg on the timberboard, so that the two centre marks are aligned, the bottom of the leg is flush to the bottom edge of the board, and all of the edges are square and true.

35.Assembling_droptable.jpeg

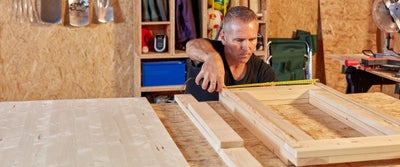
Dry lay the three pieces of 69mm Redwood PSE timber around the leg, in position for the tabletop supporting framework. Using a carpenter’s pencil or a piece of shim as a spacer, ensure that there is equal space between the leg and the frame all the way around.

36.Assembling_drop_Table.jpeg

Applying pressure to stop them from moving, scribe a line around the outside edges of the framework onto the tabletop.

37.Measuring_timber.jpeg

Setting the framework and leg to one side, measure the thickness of your framework timber pieces and half the measurement. With your tape measure or combination square, use this measurement to add five or six spaced marks along the inside of each scribed outline. These marks will show you where the pilot holes need to go, so they pass through the timber board and into the centre of the framework.

38.Drilling_timber.jpeg

Place a scrap sheet of timber between your tabletop timberboard and your workbench, then drill through each mark.

39.Spraying_adhesive_glue_on_timber.jpeg

Once your pilot holes are drilled, apply mitre adhesive glue along the first length of framework timber and mitre adhesive activator directly to the timberboard.

Lay the piece of timber flat and line it up along your scribed outline, then roll it over onto the glued edge, so that it’s sitting straight and in position.

40.Assembling_drop_table.jpeg

Repeat this to stick the other two pieces of your framework, then carefully turn the tabletop over.

41.Drilling_timber.jpeg

Drill down through the visible tabletop pilot holes into the timber framework.

42.Sanding_timber.jpeg

Countersink each hole, then go over the tabletop with a sander to remove any rough edges and give them a smooth finish.

43.Drilling_timber.jpeg

Drive a screw into each hole, so the head of the screw is sitting just below the surface of the tabletop. Then turn the tabletop over again.

Plugging the framework screw heads with dowel

View instructions

We are now going to plug the framework holes with a small piece of wooden dowel, to disguise the screws for an invisible finish.

44.Preparing_drill.jpeg

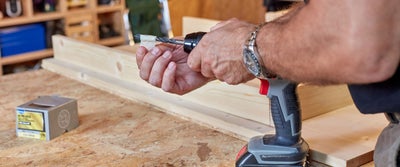
Taking a drill bit that is the same size or slightly larger than the screw head, wrap a piece of masking tape 10mm from the end. This will act as a guide when screwing the framework into place.

45.Assembling_drop_table.jpeg

Using your drill, make two shallow holes into either side of the top piece of supporting framework, only drilling as far as the masking tape.

46.Drilling_drop_table.jpeg

With a smaller drill bit, pilot hole through the centre of shallow holes into the longer framework timber.

47.Drilling_drop_Table.jpeg

Now drive wood screws into the holes, ensuring the head of each screw is driven in as far as the larger hole with allow.

Take a piece of wooden dowel that is a similar size in diameter to the screw. If you need to, shave away a small amount of timber from the dowel with your retractable trimming knife for a tight fit.

48.Hammering_dowels.jpeg

Holding the framework, gently tap the dowel as far as it will go into the hole, with a hammer.

49.Glueing_dowels.jpeg

Remove each piece of dowel and apply a spot of mitre adhesive to the end, before hammering them back into place and leaving them to dry.

Fitting the hinges to the drop down leg

View instructions
50.Assembling_drop_table.jpeg

To fit the drop down leg to the tabletop, lay the leg inside the framework.

51.Assembling_drop_table.jpeg

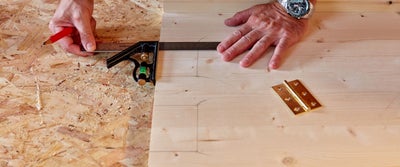
Taking your hinges, place one in the centre of the top of the frame and another two at either end of the width. Use your combination square to ensure that the knuckle of each butt hinge is flush with the edge of the timber.

52.Assembling_drop_table.jpeg

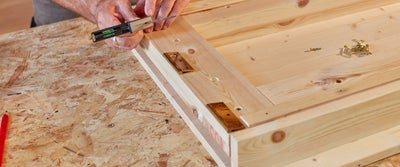
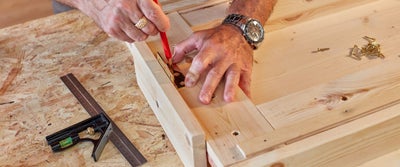
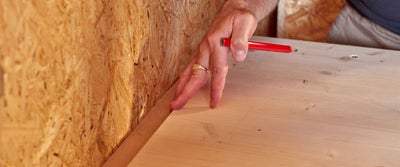
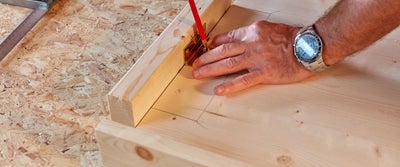
Using an offcut, open each hinge to 90 degrees, then with a pencil draw through the holes of each to the mark the positions of the screws.

53.Drilling_drop_table.jpeg

Temporarily remove the hinges to drill your pilot holes for the butt hinge locations, before putting them back in the correct positions.

54.Assembling_drop_table.jpeg

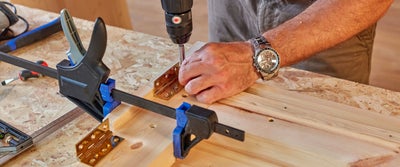
To ensure each hinge is perfectly placed for screwing, clamp an offcut into position and open the hinges to 90 degrees, before driving a wood screw into each pilot hole.

Fitting the drop down leg to the tabletop

View instructions
55.Assembling_drop_table.jpeg

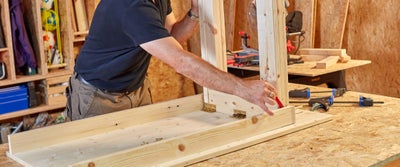
Stand the leg up in its final position at the other end of the framework. Use a pencil to check that there’s a small, even pencil-width gap between the leg and the framework.

55.Assembling_drop_table.jpeg

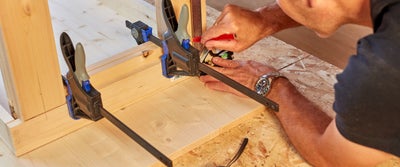
Clamp the leg in its upright position to the top piece of the supporting framework.

56.Assembling_drop_table.jpeg

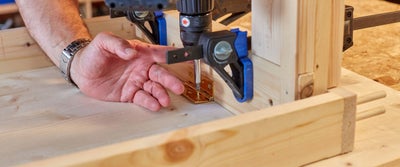
With the leg clamped to the framework and the hinges open and in position, drill pilot holes into the tabletop through each of the hinges. Then screw each hinge into place on the tabletop before removing the quick clamps.

57.Assembling_drop_table.jpeg

Now that your drop down leg has been fitted, use your tenon saw to remove the excess length of plugged dowel, so they are flush with the surface of the frame. Sand over the dowel plugs for a smooth finish.

Finishing the drop down leg

View instructions

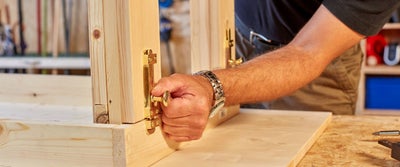
Fitting locking bolts to the drop down leg ensures that the table is fully secure when opened and prevents the leg from being accidentally kicked away.

58.Assembling_drop_table.jpeg

With the drop down leg clamped in position to the supporting frame, use your combination square to find the centre point on each side of the drop down leg. Scribe a line on the leg continuing down slightly on to the supporting framework.

59.59.Drilling_timber.jpeg

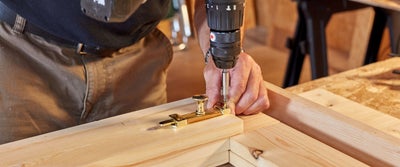
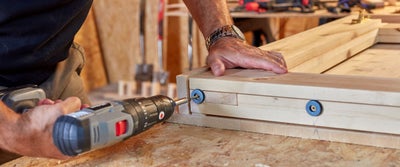
Laying the table leg down again, align each bolt so it is centered over the scribed line and flush with the end of the leg frame. Use a screw or small drill bit to mark through the hole to help guide your screws, then screw both bolts into place.

60.Drilling_timber.jpeg

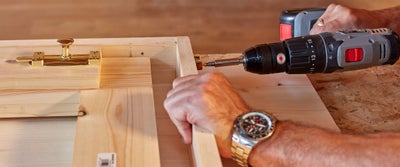
Align the bolt counterpart to the top edge of framework. Make marks with the screws through the holes as before, then drill into place to secure.

61.Assembling_drop_table.jpeg

Lift the left again to ensure the closure is secure on both sides of the leg.

62.Assembling_drop_table.jpeg

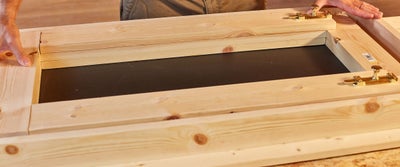
To complete the drop down leg, offer up your painted blackboard to the inside of the drop down leg.

63.Assembling_drop_table.jpeg

Holding it in place, drill evenly spaced pilot holes around the edges, securing the blackboard to the frame with wood screws.

Finishing the bracket box

View instructions

Returning to finish the bracket box at this stage helps to avoid any potential issues with misalignment or miscalculations.

64.Assembling_drop_table.jpeg

Working to the same dry lay configuration as earlier, place the hinges in position to assist with spacing. Then use mitre adhesive glue and activator to stick the offcut laminated packers into place.

Once the packers are secure, mark the screw locations for your butt hinges. These will be fixed in place during the final stages.

65.Assembling_drop_table.jpeg

Now take the two 69mm Redwood PSE timber bracket supports. This additional layer of timber is used for extra strength and stability.

66.Assembling_droptable.jpeg

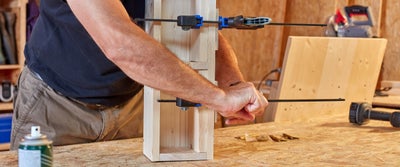
Apply mitre adhesive to the top of both sections and activator to the inside of the bracket box. Once in place, secure by clamping the supporting pieces to the bracket box.

67.Assembling_drop_table.jpeg

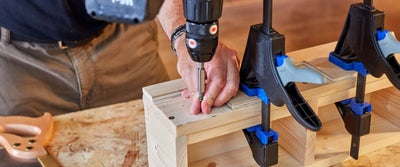
With the clamps in place, drill a pilot hole either side of both smaller packers. Secure by driving a wood screw through the bracket box and into the supporting pieces.

Fixing the bracket to the wall

View instructions

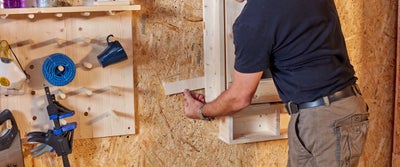
Once you have decided where you would like to mount your drop down table, find the exact height for your bracket box position by measuring the length of the drop down leg, plus the thickness of the feet that you will affix shortly. This will be around 900mm.

68.Measuring_timber.jpeg

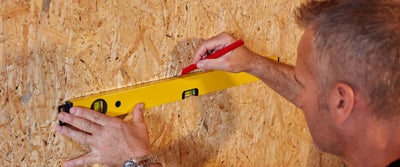
Using this dimension, measure up from the floor and use your spirit level to scribe a straight line on the wall.

69.Assembling_drop_table.jpeg

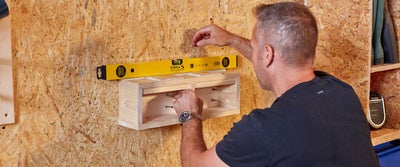
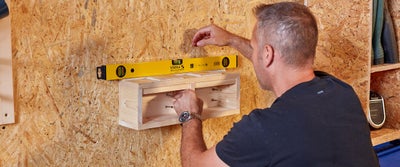
Make four pilot holes into the back of each of the bracket box sections, finishing with a countersink. Then twist a screw partially into each hole by hand.

70.Assembling_drop_table.jpeg

Hold the bracket box in position, so the top of the box is aligned with the scribe on the wall. Use your spirit level to check against the horizontal line on the wall, making sure that it’s exact and correctly lined up.

71.Assembling_drop_table.jpeg

Fix the bracket box to the wall by driving in the partially-inserted screws until secure.

Fitting tabletop hinges and finishing accessories

View instructions
73.Assembling_drop_table.jpeg

Open your tabletop and drop down leg before moving it into position against the wall, resting the table on top of the bracket box.


74.Assembling_drop_table.jpeg

Leave a gap between the wall and the top edge of the tabletop to account for a little more than twice the depth of the tabletop.

75.Assembling_drop_table.jpeg

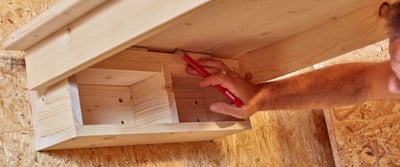
From beneath the table carefully scribe a line along the front edge of the two packers on the underside of the tabletop. These marks will help you align the hinges.

76.Assembling_drop_table.jpeg

Lift the tabletop back off and place it on your bench, lifting the leg into the upright position. Using your combination square, draw from the scribed packer lines to the edge of the tabletop, replicating the size and shape of the packer pieces.

77.Assembling_drop_table.jpeg

As with the bracket box, place an offcut of timber against the edge of the tabletop then align the first hinge at a 90 degree angle against the offcut.

78.Drilling_timber.jpeg

Use your pencil to mark the hole locations, then drill through each to make pilot holes. Repeat with the other two butt hinges.

79.Drilling_timber.jpeg

Run your palm sander over the holes, then drive wood screws into each, securing the three hinges in place.

80.Drilling_timber.jpeg

Once the hinges are secured and the drop down leg has been lowered, you can stick magic glide adhesive feet to the base of your drop down leg. These will help to reduce the noise of moving parts and protect your floor. Once in position just above the hinges, make a pilot hole through each then secure with a screw.

Now is also a good time to attach a latch or hook, to secure and prevent the tabletop from falling forward when stored against the wall. Measure and mark the halfway point at the top of the table, then screw the hook plate into place so it’s flush against the edge.

Fixing the drop down leg and table to the wall mounted bracket

View instructions
81.Assembling_drop_table.jpeg

Take the closed drop down leg and table back over to the wall and rest the entire structure on top of the bracket, holding the table and leg in the upright position.

82.Assembling_drop_table.jpeg

Use an offcut shim that’s the same thickness as the tabletop, to ensure that there is an even gap between the tabletop and the wall, all the way around. This gap is important as the second timberboard sheet still needs to be fitted to the tabletop.

83.Assembling_drop_table.jpeg

Repositioning the offcut shim so that it’s between the tabletop and the wall near the latch, insert the hook through the tabletop hook plate. Mark the screw locations on the wall, then remove the tabletop and secure the hook in place with wood screws.

84.Assembling_drop_table.jpeg

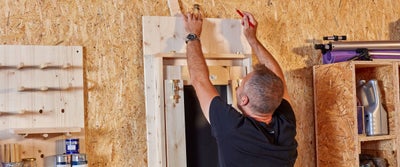
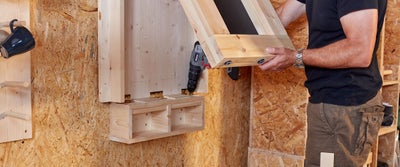
Move your tabletop back into the upright position on top of the bracket box. Allow the hinges to dangle and fall into place between the packers, as you lower the tabletop onto the bracket box, which will support the weight. Once they’re in position, secure the tabletop to the wall with the latch and carefully lift the drop down leg.

85.Assembling_drop_table.jpeg

Using the pencil marks made earlier as a guide, drill pilot holes through each of the hinges, inserting screws by hand before driving them in to secure.

86.Assembling_drop_table.jpeg

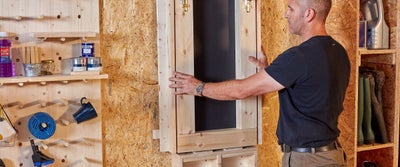
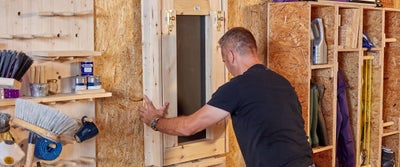
Lower the drop down leg back into position. Release the latch and gently lower the table into position, locking the drop down leg into place using the deadbolts.

Adding the final and finishing tabletop

View instructions

By adding a second layer of general purpose timberboard to the tabletop, you’re able to cover the structural screw holes for a more decorative and durable finish.

87.Applying_adhesive_on_timber.jpeg

Lay your second sheet of general purpose timberboard on your workbench. Use a paintbrush or roller to apply a generous coat of PVA glue to the timberboard, doing the same to the tabletop timberboard.

88.Assembling_drop_table.jpeg

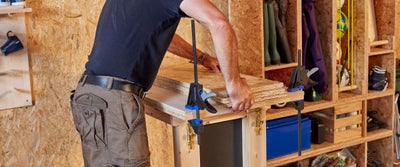
Lay the top sheet onto the tabletop so that both glued surfaces meet. Make sure that they’re properly aligned before fastening with clamps on the sides. If you have offcut timber to hand, apply as much evenly weighted pressure on top as possible.

89.Assembling_drop_table.jpeg

Give the glue plenty of time to dry, and there you go, you have your very own drop down table.

Get creative with your drop down table

View instructions

Depending on where you mount the table, experiment with other tabletops for a different look. Try pine or oak timberboard, plywood, OSB 3, or sheet metal.

Add a larger tabletop to the structural timberboard to suit your spaces. If you’re feeling adventurous, make tweaks to the structural framework and leg to bespoke the design to your home.

You can use any type of bolt to secure the leg in place when the table is set up. Depending on your home and style, try something delicate and ornate or go for a heavy-duty flat or tower bolt. Match or contrast your bolts to the mounted latch too.

If you would prefer, you can forgo the blackboard and leave the leg structure open or fill the open leg with an alternative surface. Add a noticeboard corkboard, sheet metal for magnets and reminders or mirrored sheeting to help open up your spaces and bounce light around the room.

Add handles to either side of the drop down leg, to aid lifting the left into position.

Get creative with interior wood paint, varnish and wood stains. Try painting the table the same colour as the wall for seamless blending when folded away; go natural and enhance the grain with wood varnish and wood stains or make a feature of it and go for bold and bold feature colours.

90.Kitchen_worktop.jpeg

Drop down table inspiration

View instructions

A wall mounted drop leaf table is a fantastic choice for compact areas, maximising valuable floor space and giving you endless flexibility.

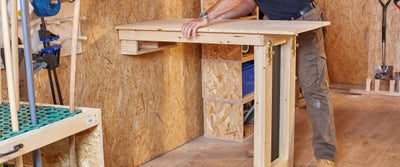
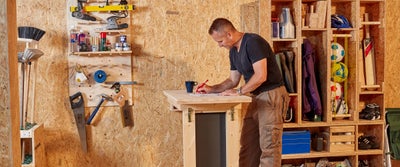
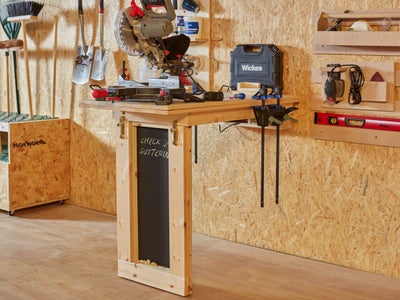
Open up your workshop with a hinged drop down workbench. Utilise floorspace with efficient against the wall storage and when folded out, enjoy a sturdy worktop. Adjust the width and height to suit your space.

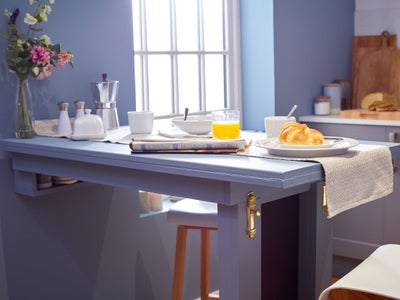
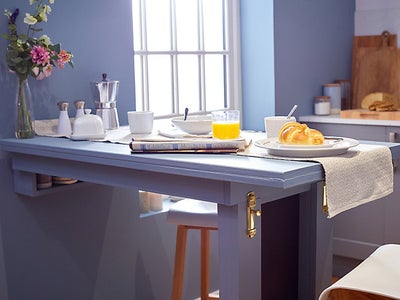
Maximise wall space in compact kitchens with a minimalist foldaway drop down table. Mount the table for use as a breakfast bar, dining table or extension of your worktops. Varnish, oil or paint the surfaces with wipeable and waterproof treatments for long life use.

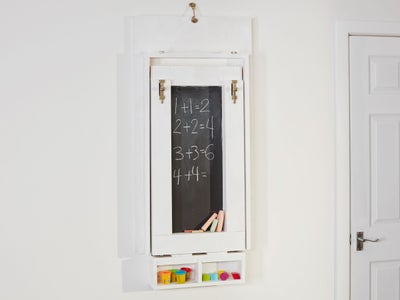
Create a homework or colouring station in a child’s bedroom or study for dedicated activities. Utilise the blackboard or add reminders and family notes to a corkboard or magnetic noticeboard in the leg.

Get creative with the design and make smaller square versions to mount as bedside tables. A great choice for smaller bedrooms, add your table lamp and current read or fold away for additional space either side of the bed.

Make a wide and shallow version to use as a hallway console. A great addition that can be mounted above unused radiator space, fold out the table to house your landline phone, keys, letters, notes and flowers.

For more inspiration and to find our favourite ways to style a drop down table, visit the ideas and advice hub.

91.DIY_workstation.jpeg
92.Chalkboard_on_wall.jpeg

More inspiration from Wickes