Scandi plaster art
- Blank canvas
- Interior plaster
- Dust sheet
- Paint
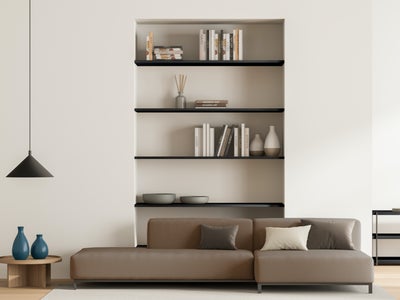
An easy and affordable way to add some finishing touches to your Scandinavian design-inspired home is with plaster art. It takes a few simple tools and materials, turning them into a statement-piece for your walls which you can completely customise with your own patterns and colours.
Method
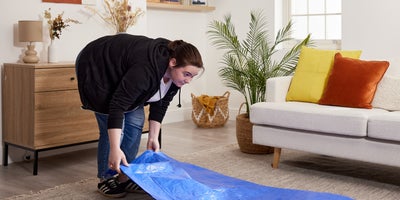
Start by preparing your space- lay down a dust sheet to avoid getting plaster on your floor or surrounding furniture.
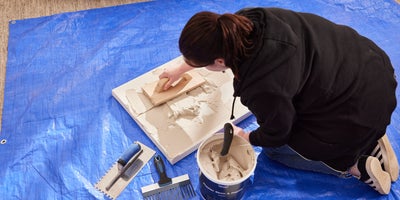
Once you’re ready to go, start applying a consistent layer of plaster to your canvas. Drop on a good-sized amount, then spread it across the surface using a poly float.
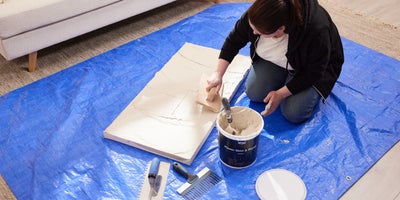
Once you’ve completed your coverage, use a plastering trowel and brick trowel to give it a nice smooth finish. You can also use the brick trowel to scrape away any excess plaster, especially from around the edges of the canvas.
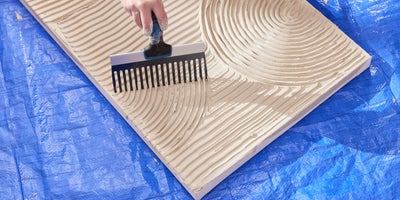
Now you can get completely creative with your own designs. It all comes from creating lines, shapes, and grooves in the plaster, so take your scarifier and start expressing yourself.
There’s plenty of room for experimentation and, as long as your plaster is still wet and pliable, you can smooth it over and start again if you’re not completely happy with your designs.
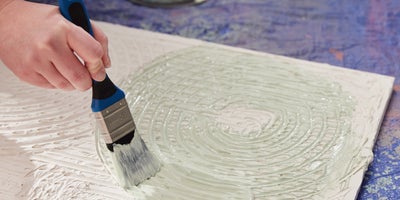
Once you’re happy with your designs, you can bring it to life with a splash of colour.
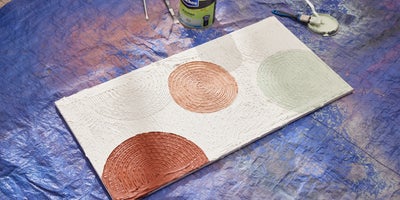
You could leave the background neutral and highlight certain areas in your chosen shade, or go for one colour all over.
Consider the colour scheme of the room and let it guide your choices.
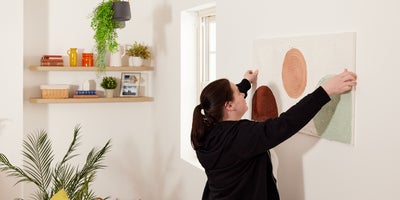
And there you have it- your very own Scandi-inspired plaster art to hang proudly in your home.
