Skip to content Skip to navigation menu
Basket
0
Main_header_image-Scandi-AlcoveShelf.png
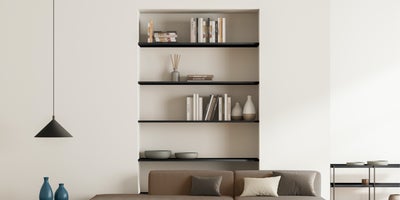
A beautiful, contemporary addition to any room, alcove shelving can easily be customised with different colours, finishes, and decorations.
Otherimage1-Scandi-AlcoveShelf.png
Modern alcove ideas

An alcove presents plenty of potential. See it as a window of opportunity that’s both aesthetically on-trend and practical. Doing something with it makes use of a space that’s otherwise not doing much. One very effective solution is alcove shelving. You can lean more into the design or space-saving storage element based on your needs and preferences, either will add an extra dimension to your home. They’re built into the wall and are ideal for storing anything from books to photos, plants, ornaments and more. What’s more, they are relatively easy to build and don’t require a lot of materials or tools. The result is a beautiful, contemporary addition to any room that can easily be customised with colours, finishes, and decorations. 

Otherimage2-Scandi-AlcoveShelf.png
Measuring

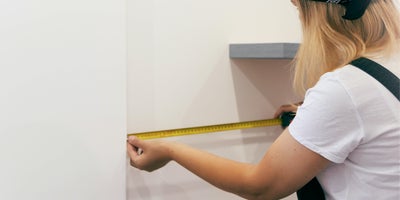
Start by thinking about your space and getting out your tape measure. Think about the size of the alcove in relation to what you’re going to be putting on the shelves and how many shelves you want. If they’re going to primarily be used for books, then maybe it’s worth having a larger gap between them for taller books. Once you’ve made a decision of where they’re going, draw lines along the wall with a pencil for each shelf. Then measure the depth of your alcove or how deep you want the shelves to be.

Otherimage3-Scandi-AlcoveShelf.png
Choosing your wood

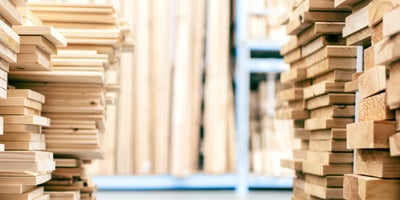
When choosing your wood, it’s worth considering any other timber you have in the room already. You ideally want to keep it consistent if possible, however that only really applies if you’re not going to be painting them. One way you can do it is to use MDF for your shelves, and then prepare timber to make a frame for the shelf to sit on within your alcove. Then you might also want to include a fascia, but that’s up to you. When making your choice, think about how sturdy you need them to be and ultimately how you want them to look. 

Otherimage4-Scandi-AlcoveShelf.png
Cut to length

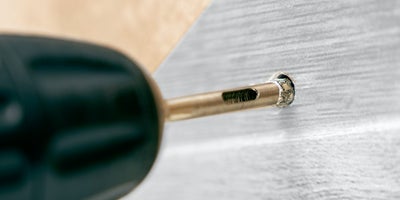
Now you’ve got your wood, you can cut it to length. As a guide, if you’re making two shelves you’ll need four long pieces the width of your alcove, which will run along the entire back wall and at the front of the frame. Then you’ll also need four short pieces the depth of the alcove, minus the depth of the front and back pieces of wood. These are for the sides of the frame. Then you’ll need two pieces that are your actual shelves. If you’re cutting MDF, make sure to do it outside. The last thing you want is MDF dust getting everywhere inside your home.

Otherimage5-Scandi-AlcoveShelf.png
Constructing the shelves

Fit your frame first, starting with the back piece using the lines you’ve drawn for guidance. Then attach the two sides before finally attaching the front of the frame. Then screw your shelves onto your frame - if you find it tricky to do it vertically, screwing in slightly diagonally will be fine. Once you’re done, repeat the process for your other shelves. Then you can get everything finished up by covering your screw holes with filler. After that, you can add any sort of finishing touches to bring them in-line with the rest of your décor, whether it’s a coat of paint or some varnish to give it a natural sheen.

More inspiration