DIY Reusable Gift Box
Our homemade gift box is ideal for any type of present, whether it’s a festive hamper packed full of wines, cheeses and chutneys, or a toy basket for little ones. It adds an extra special personal touch and can be completely designed and decorated bespoke to any gift you’re giving.
Before you do anything, make sure your mitre saw is screwed into-place on your workbench.

Then begin measuring and marking your timber according to however big or small you want to go with them. Our measurements are listed below, but this is a rough guide and the dimensions of your gift box can be personalised completely.
6 x 270mm - sides
6 x 370mm - sides
3 x 334mm – base
4 x 242mm – corner posts
27mm spacers

Once you’ve made your marks, cut your timber to size. You’ll need 6 smaller side pieces, 6 longer side pieces, 3 base pieces and 4 corner posts.
Once you’ve got your pieces cut, you can start with assembly.

Begin by taking two longer sides and two smaller ones. Apply glue to the ends of your smaller lengths and stick them in place between the two longer ones so that the edges are flush.

Secure them with clamps and wipe away any excess glue with a cloth, then give your glue time to dry.

Once your frame has dried, stand it up on your workbench and clamp it into place so it’s secure.
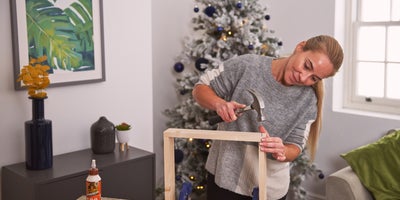
Hammer a pin into each corner where the joints are. Then do the same for the opposite end.
Repeat this process two more times so you end up with three fully assembled frames.
Then lay one of your frames down on your bench. Apply glue to the ends and one side of your first base piece. Lay it flush at one end of the frame and press it in place.
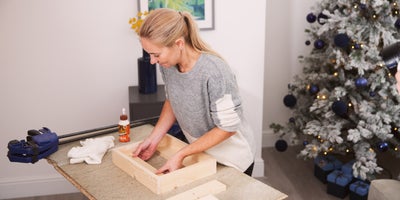
Then do the same for the other end of the base.
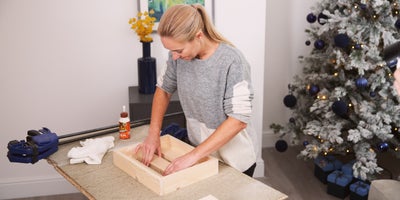
Glue either end of the final length and lay it so that it’s evenly spaced in the centre.

Then clamp everything together and allow the glue to dry. If you don’t have enough clamps or clamps that are big enough, ratchet straps are a good alternative. Once everything is being held together, wipe away any excess glue.

After gluing them, secure the base with pins by hammering them in at either end.
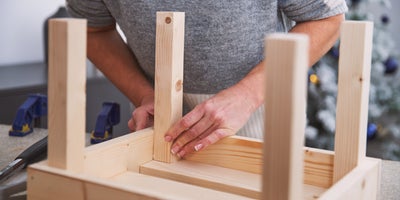
Add glue to the points of contact on your corner posts, so that they stick to the base and the sides. Stick and hold them firmly in place with clamps, wipe away any excess glue and then let the glue dry.
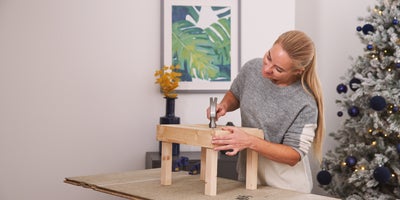
Then flip it over so that it’s stood up on the corner posts and secure them in place with a pin in the bottom of each post.
Bring in some pre-cut blocks to use as both spacers and supports. The size you make them will be the size of the gaps between your side frames.
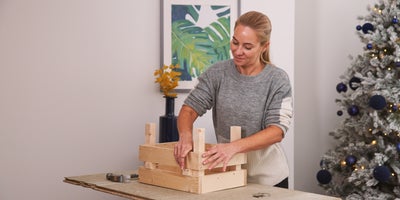
Place one in each corner, then lower your second side frame into place until it’s sat on top of the blocks.
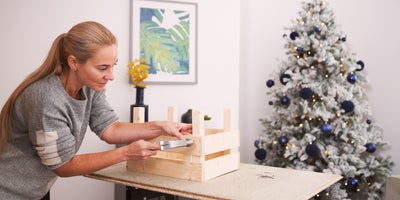
Secure it to each of the corner posts with pins.
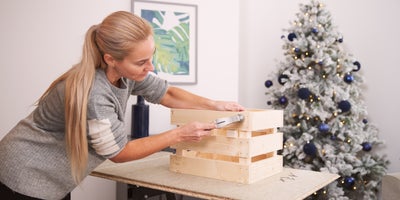
Then do the same for the final side frame, and you’re all done with assembly.
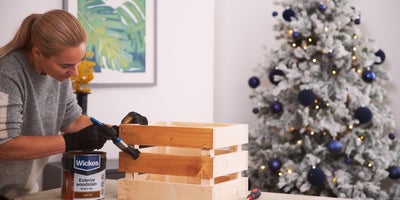
Now you’ve built your gift box, you can decorate it however you’d like. We opted for a natural finish by applying wood stain to give it a nice tint and sheen. This can be applied by either a brush or a rag.
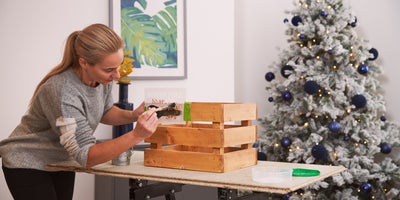
We then used pre cut stencils to add postage stamps from the North Pole, but you can decorate however you like.
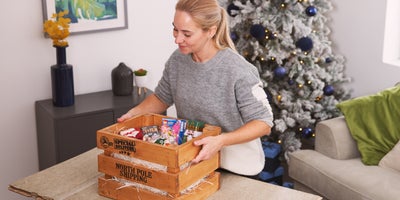
And there you have it. Fill your box with goodies and make it a yearly tradition.
