Skip to content Skip to navigation menu
Basket
0

Putting up a garden fence

Garden fencing provides privacy, protection from the elements, and it can be used as a landscaping feature or as a support structure for plants. Wooden panel fencing is the most popular type used for property borders. It’s fairly easy to erect, and with correct maintenance it will last years.

This guide will explain how to build a new fence using Postcrete for setting the posts. We’ll also cover how to install fence panels, gravel boards, and trellis to your new fence.

    Planning your new fence

    Planning your fence properly is very important and will save time and trouble later on. It means you can be accurate with all the materials you need, saving on cutting and wastage. If your fence is marking a property boundary then we recommend that you talk to your neighbours first and let them know your plans.

    • Does an existing fence need removing first? Whose property is it on, yours or your neighbours?
    • Do you need access to their garden to install your fence?
    • In most cases, you don’t need planning permission to erect a fence less than 2m high, but it’s best to check with your local planning authority if you’re unsure of restrictions.
    • You may need planning permission if your fence will border a Public Right Of Way.

    Although it’s possible to build a fence all year round, try to avoid very hot, cold, or wet weather conditions. Early spring or late autumn are ideal times as they cause the least disturbance to plant and soil health.

    Use a CAT detector to scan for underground pipes and cables before you start. If you do find any cables, you will probably need to reconsider your plans.

    Use pegs or bamboo canes and string to mark out where your fence line and posts will be. Most fence panels are sold as a standard 183cm wide, but other sizes are available. Use a batten that’s cut to the same length as your panels as a guide, and carefully mark out where the centre point of each post will be.

    If you are using concrete or Postcrete to secure your posts then you will need a post hole 450-600mm in-depth, and a fence post up to 8ft high. Be sure to check the manufacturer’s instructions of concrete or Postcrete, and plan accordingly before you buy the timber.

    Similarly, adding gravel boards or trellis will affect the height of your fence and the length of the fence post you need. Again, make sure you have measured and planned accurately before you buy your timber.


      How to put up a fence

      When putting up fencing, there are a few basic rules you should follow to ensure a stable and durable end result. Even though the fence posts are already treated, it’s a good idea to soak the base of the posts into wood preservative before installation.

      Always use treated wood and exterior grade screws to prevent premature rotting and rusting. Even if you are installing a pressure-treated fence panel it should be raised a minimum of 50mm above the ground to help prevent rotting.

      If you are installing a fence onto a sloping area, keep the fence panels along a horizontal line but fill the angled gap at the base by cutting a gravel board to size. Some heavily sloped areas will require a different method of installation, so seek specialist advice on how to build your fence in those instances.

      Although it’s possible to erect a fence on your own it’s always safest to get somebody to help you.

      When using Postcrete wear a dust mask, safety goggles and protective gloves, and be sure to follow the manufacturer’s instructions. Wear protective gloves when handling wood and applying wood preserver. Offcuts of timber should be disposed of safely – your local recycling centre should be able to help and advise.

        How to fit fence posts

        Step 1

        Once you have scanned the area for cables and marked out the fence line with bamboo poles and string, you are ready to install your new fence. Remove any rocks or debris from the area and carefully dig up any small plants or shrubs that you want to replant once the fence is in position.

        1.Removing_debris.jpeg

        Step 2

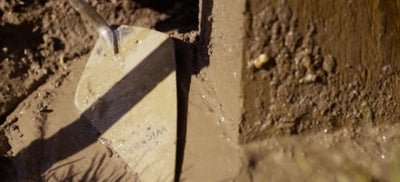
        Mark out the position of your first fence post and dig a hole appropriate to the length of the post you are using. As previously mentioned, a standard hole would be 450-600mm deep and 300mm wide. If you’re digging into soft ground though, you may need a deeper hole and a longer post.

        2.Shovel.jpeg

        Step 3

        Add roughly 25mm of gravel or MOT type 1 to the bottom of the hole. This will help with drainage and reduce the chance of the post rotting over time.

        3.Laying_gravel.jpeg

        Step 4

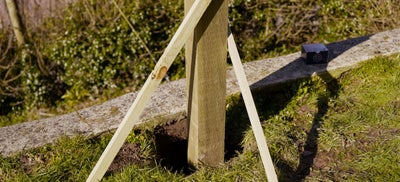
        Place your first fence post into the hole, and use a spirit level to position the post, making sure that it’s vertically level on two adjacent sides. At this point it helps to screw two timber battens to the post to temporarily secure it in position.

        4.Fence_post.jpeg

        Step 5

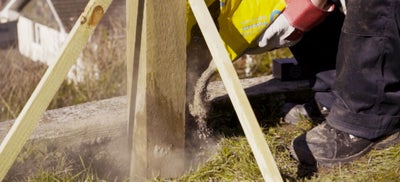
        Following the manufacturer’s instructions, carefully add Postcrete to the hole. Fill the hole until the Postcrete is 25mm beneath the surface line. Make sure your fence post stays level.

        5.Fence_post.jpeg

        Step 6

        Use a trowel to create a gentle slope in the Postcrete so that rainwater will run away from the fence post on all sides. Once the Postcrete has set you can remove the timber props.

        6.Fence_post.jpeg

        Step 7

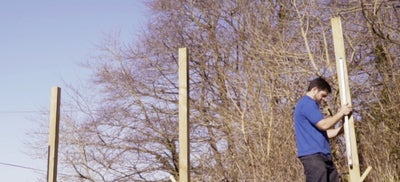
        Repeat the above process until all the fence posts are securely in place, checking as you go that each one is exactly vertical.

        9.Installing_a_fence.jpeg

        Step 8

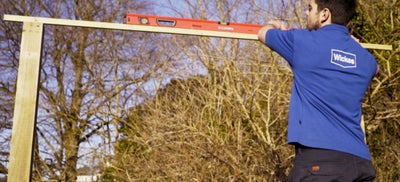
        As you go along, lay a piece of timber across the top of two consecutive posts and use a spirit level to check the posts are level. If necessary, trim the tops of the posts down so they are all the same height.

        14.Installing_fence.jpeg

        How to put up fence panels

        Step 1

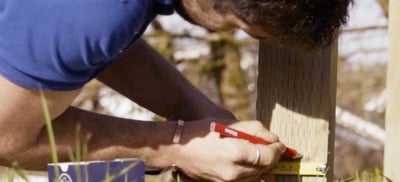
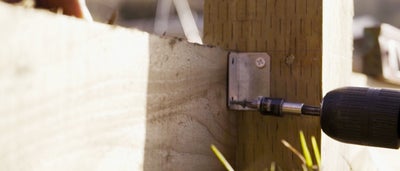
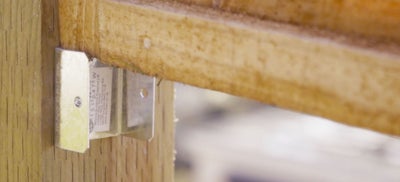
        If your fence panels are dip treated, then protect them from rot by installing pressure treated gravel boards. Start by marking the position of an L bracket onto the base of each fence post. Fix the L bracket to the post and secure the gravel boards to the L bracket with 20mm screws.

        10.Installing_fence.jpeg
        11.Installing_a_fence.jpeg

        Step 2

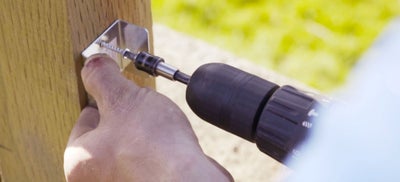
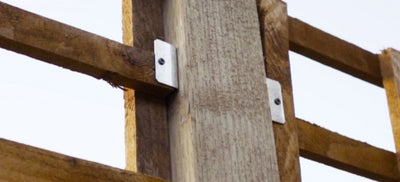
        Mark out the positions of two U brackets to the inside of each post - one 150mm from the top and one 150mm from the bottom of where the fence panel will be. Secure the brackets with 35mm external grade screws.

        12.Installing_fence.jpeg

        Step 3

        With the help of another person, carefully lift the fence panels into position, sliding them down between the U brackets. Secure the panels in position with 35mm external grade screws.

        13.Installing_fence.jpeg

        How to cut a fence panel

        Step 1

        You will often need to trim a fence panel to fit a required space. Firstly, measure out the section you need, and mark a saw guideline. Then remove the framing battens from the front and back of the section you will be cutting.

        15.Installing_fence.jpeg

        Step 2

        If you re-attach the battens to the new marked edge, then you can also use them as a secure guideline for sawing. Make sure you saw the panel flush with the outer edge of the repositioned batten. You may also need to reposition the centre battens too.

        16.Sawing_wood.jpeg

        How to attach trellis to your fence

        Step 1

        If you have included a trellis in your plans, then you should have ordered fence posts which will accommodate the height of the trellis.

        18.Fence.jpeg

        Step 2

        Measure and mark whereabouts on the fence post the trellis will be positioned and fix a U bracket to the posts. The number of brackets you need may depend on local conditions. You will need more brackets in a particularly exposed or windy location.

        19.Drilling_fence.jpeg

        Step 3

        Slide the trellis into position and secure using 35mm external grade screws. Repeat this process until all your trellis is attached.

        20.Fence.jpeg

        Step 4

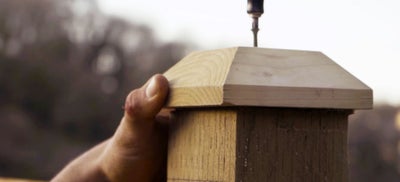
        To add a neat finish to your fence posts you can protect them by adding a post cap. Pre-drill a hole into the top of the fence post, before screwing the cap in place.

        17.Drilling_wood.jpeg