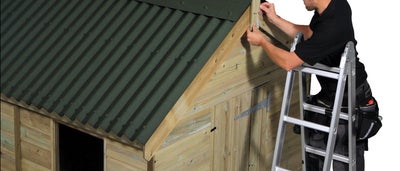
How to install corrugated roofing on a shed
Corrugated roofing is a great way to top a garden shed or patio. It's low cost and relatively straightforward to install. Once it’s in place you will have a durable shed roof which will withstand all weathers.
This guide concentrates on installing corrugated bitumen sheeting onto the apex roof of a new build project. To replace existing roofing, survey your roof structure and decide whether it will need strengthening or maintenance before you replace the roofing sheets. Make a note of the roof construction. To install the sheeting you will require:
- A purlin on rafters (a purlin is a horizontal bar or beam which directly supports the roof structure. Most roofs are supported by purlins)
- A decked roof, e.g. roofing grade OSB or plywood supported on a traditional trussed roof structure
Take care to fix the bitumen corrugated sheets the correct way up. The top of the sheet has a smooth grain surface, and the underside of the sheet has a dimpled rough surface. The sheets also finish with the corrugation edge facing down to the surface of the roof.
Measuring the roof slopes
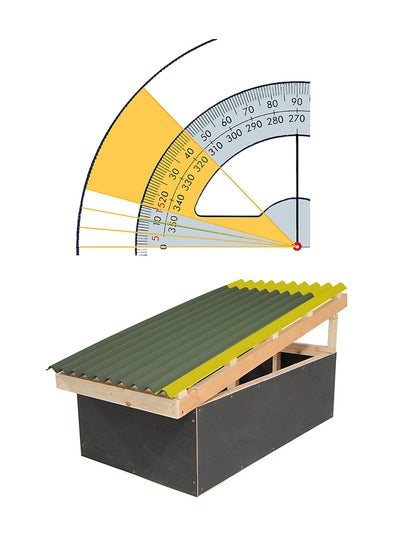
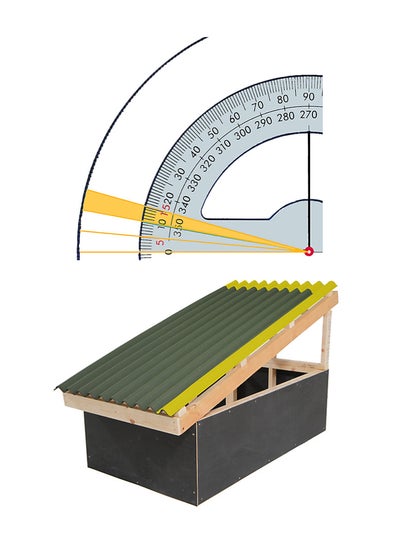
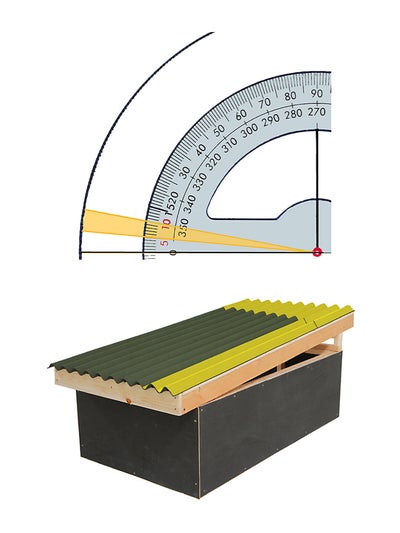
The angle and slope of your roof will determine the level of support needed for the corrugated sheeting. Calculate the slope of your roof by measuring its angle with a protractor. Then select one of the three options below. Each option details the following:
- The minimum support required below the sheets
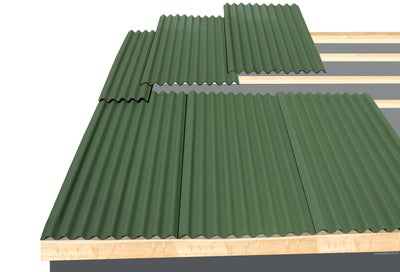
- How to lay the sheets with the correct overlap between them at the ends and the sides
- The sheet fixings required
Nail every corrugation along the eaves, either side of the vertical laps and every other corrugation onto the purlins in an offset pattern.
Fix the sheets onto the purlins at maximum centres of 61cm. Corrugation end lap: 17cm. Corrugation side lap: one ridge. Nails per sheet: 20.
Fix the sheets onto the purlins at maximum centres of 45cm. Corrugation end lap: 20cm. Corrugation side lap: one ridge. Nails per sheet: 25.
The sheets must be laid on a fully supporting roof deck. Corrugation end lap: 30cm. Corrugation side lap: two ridges. Nails per sheet: 20.
Preparing the shed roof
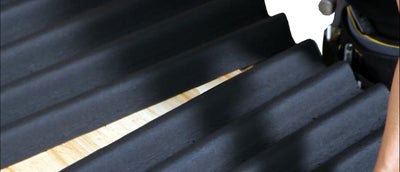
Plan out how many corrugated sheets you will need, and where they will be fixed. Start by laying alternate courses of sheets using a half sheet width. This forms a broken bond sheet pattern, which should help you avoid assembling a 4-ply sheet thickness at the corners of the sheets.
Position and fix additional purlin beam at the ridge, where the two roof slopes meet.
Check that the roof boards are at least 20mm thick so they will accept nails. If the wood is thinner than 20mm you can either apply battens or boarding for extra thickness, or alternatively you can substitute screws for nails.
Cutting the corrugated sheets to size
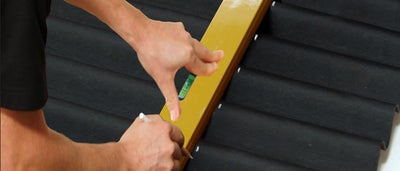
Measure the size of sheets required and mark out the line to be cut with chalk or pencil.
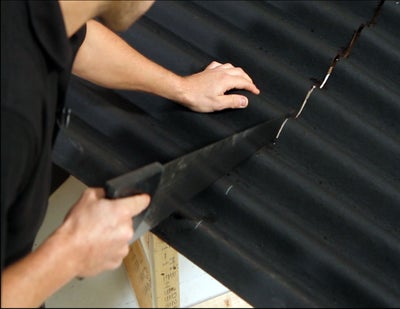
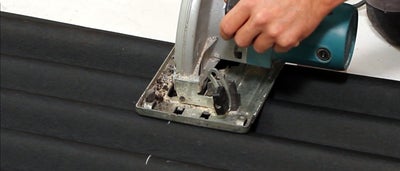
Support the sheet so it’s secure and use a coarse-bladed saw to make the cut. It helps to use a bit of oil to lubricate the blade beforehand. Alternatively you can use a circular power saw to make the cut.
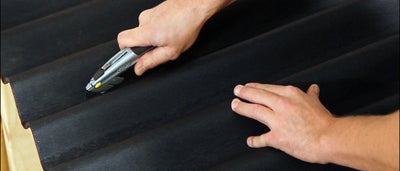
Some bitumen sheeting can also be cut with a sharp retractable knife. Mark out the cut line along the base of a ridge, then cut or score with the knife. Then fold back the sheet along the scored line to separate the sections.
Fitting the corrugated roof sheets
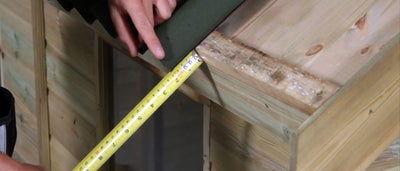
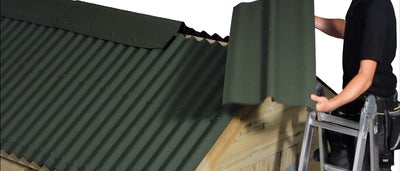
The sheets should overhang the fascia by about 5cm to form a drip edge. Reduce the fixing centre to the first purlin up from the eaves by 5cm to compensate for the overhang.
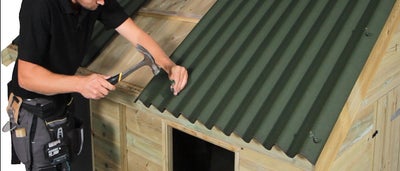
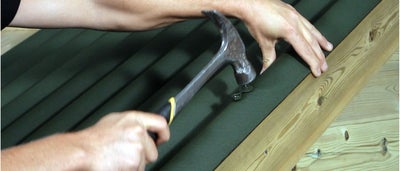
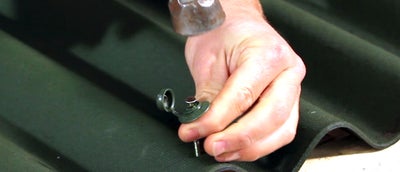
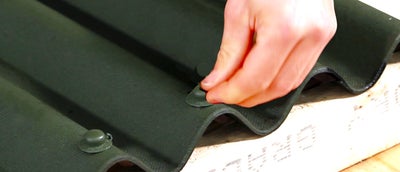
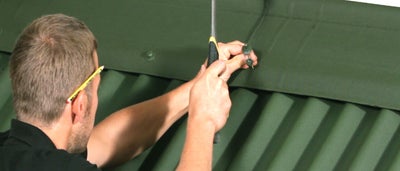
Ensure that the first sheet is positioned square to the line of the eaves and the edge. Nail the edges down first. When you nail the sheet down, make sure that the washer is in the right position, so you can clip the cap down after fixing.
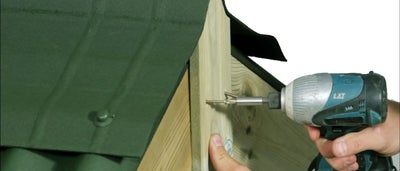
Alternatively use a 65mm exterior screw to fix the sheet to the purlin. You can use a 55mm screw if your decking is thinner. Repeat this process until all the corrugated sheets have been secured to the roof.
How to seal a corrugated roof
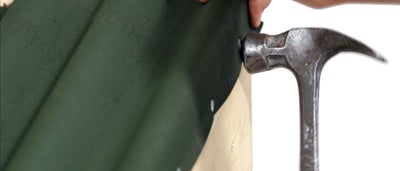
Position and fix the edge barge board appropriately, then fold down over the roof sheet and nail to the purlin using 10mm galvanised clout nails at 15cm intervals.
Alternatively you can fix the edge barge board so that it overlaps the edge by 5mm, and secure the sheet by nailing it to the purlins.
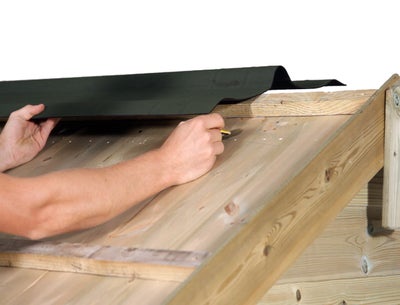
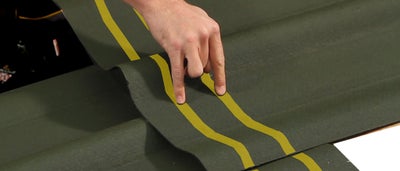
Overlay your ridge piece over the roof apex and mark out the fixing line. Carefully bend the ridge piece so it sits as required on both of the roof slopes. Each ridge piece should feature pre-formed end alignment grooves embossed into the material. Simply overlap and align these grooves to ensure a professional finish.
The ridge pieces should be flexible enough to fit the form of the roof. Fix one side first by nailing to the corrugated roofing, then fix the other side.
You can also cap each end of the ridge with a treated timber finial which has been cut to match the ridge piece profile. Fix the finial to the roof edge boards and then fix the ridge board to the finial.
