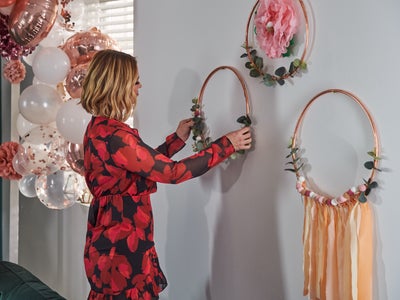
DIY Photo Booth with Kimberley Walsh
- Jigsaw
- Mitre saw
- Paint brush
- Pencil
- Plunge saw
- Guide rail
- String or wire to hang
- Rag or cloth
- Tape measure
- 6mm wood bit
- Workbench
- Counter sink bit
If you want guests to leave your party with memories they’ll want to hold onto, this photo frame provides the perfect opportunity. It’s an ideal focal point for any gathering, as your guests can quickly step behind it and snap. It can even be dressed up and decorated to suit any occasion.
Method
Our photo frame is effectively made up of two different parts- the ‘polaroid’-style cut-out and then the actual frame that it’s suspended from.
To begin with, you’ll need to decide on how big you want them both to be. Once you’ve decided on the size, measure and mark the timber for your frame.
Once you have your timber marked up, cut it to size using a handheld or circular saw. Cut the two corner braces at a 45 degree angle to ensure the frame is held square. Attach them by drilling pilot holes through each brace into the top corners of the frame and secured with screws. Attach the feet to the legs by drilling pilot holes through the feet into the bottom of the frame and then securing with screws.
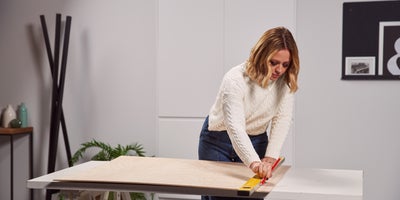
Then do the same with the plywood for your polaroid cut-out. Start by measuring and marking the outside edges.

Then you’ll also need to mark out the internal area which will be cut out. Then cut everything to size using a plunge saw and guide rail. Alternatively, a jigsaw can be used.
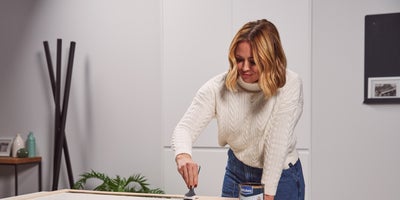
Now is the time to paint or stain the polaroid and frame if you would like too.
Once everything is cut and dry, you then need to attach your polaroid cut-out to the frame with string.
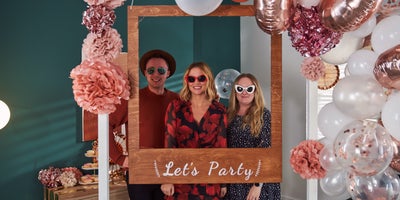
Now your photo frame is put together, it’s time to finish it off with some decorations. These are completely dependent on what you’re celebrating. To properly mark the occasion, stencil on the date and occasion on the front of your polaroid frame.

