DIY headboard
You can make a real statement in your bedroom with a DIY headboard.
Method
Start by measuring the width and height of your bed to determine the size your headboard needs to be. Consider adding up to three inches to that number, depending on how far you want it to extend.
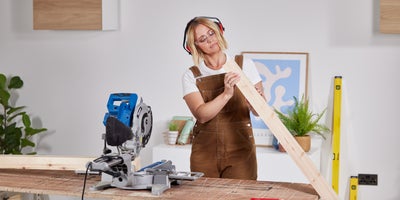
Once you have the measurements you need, cut your timber to size to create the frame for the headboard. This consists of the two side posts, which need to be the same length, and one that runs along the top.
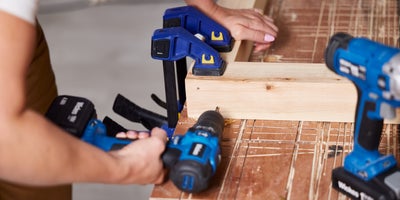
Lay the pieces of your frame on your workbench and make sure the ends are flush, before clamping them in-place. Drill up to four pilot holes either side, where the posts meet the top length. Make sure that it goes all the way through into the top length. Then fix them together with screws that are long enough to join them securely. Now use wood filler to fill in any holes left behind, being careful not to overfill.
Then, using a thin length of timber, cut a batten to size so that it runs from the top of first panel, to the bottom of the last without protruding past the bottom panel. The battens are used to secure the panels within the frame of the headboard.
Measure the thickness of the wood you’re using for your panels and use this measurement as a guide for where to place the batten. The batten will need to be set back by this amount from the front edge of the headboard, so that the panels sit flush when they’re fitted.
Mark the location for your batten on the frame of the headboard, making sure that it’s straight and aligned all the way down. Clamp the batten into position, drill multiple pilot holes along its length and fix it with screws. Make sure you use enough screws so that it’s straight and secure. Then repeat this step for the opposite side.
Measure the width between the parallel inside edges of your bed frame. This will give you the length of your panels.
Cut them to size using this measurement. How many you use is entirely up to you and the look you want to achieve.
Before you start attaching them, dry lay your panels in position on the frame to make sure that they all fit and you’re happy with your design. Then take out all of your panels again.
Starting with the top panel, apply your preferred adhesive to the part of the battens where the first panel will sit. Lay the top panel into position and clamp it in place. Going through the back of the batten and into the panel, drill pilot holes at the top and bottom corners of the panel at either end. Then fix it into place. Repeat these steps for the remaining panels, working from top to bottom until they’re all secured.
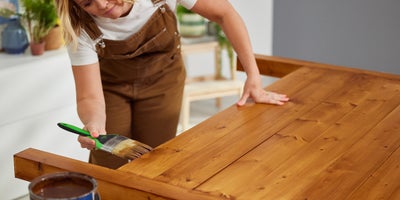
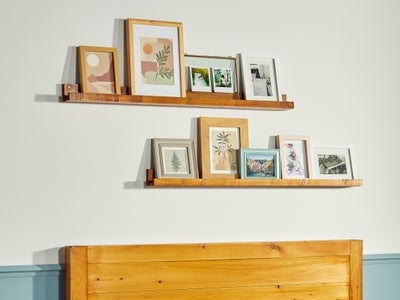
Sand down any filler that you used and give it a stain or a coat of paint.

Once that’s dry, you’re ready to fit it to your bed.
