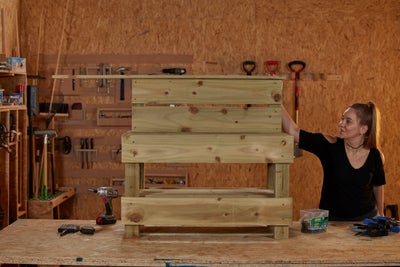
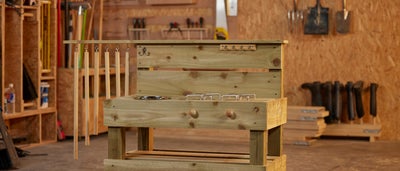
Build your kids their own mud kitchen
TOOLS
MATERIALS
SAFETY
Planning & preparation
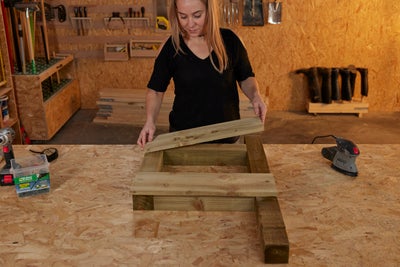
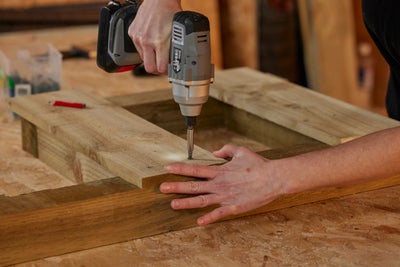
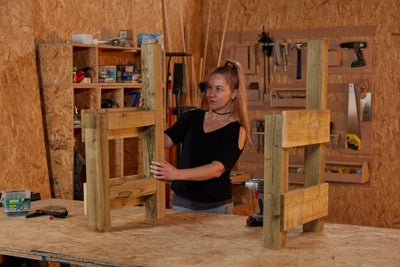
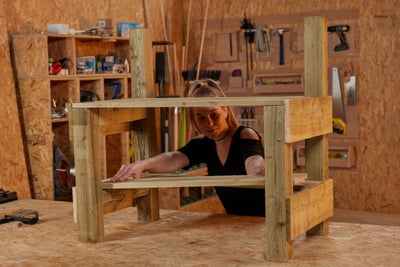
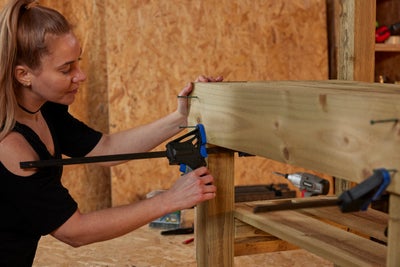
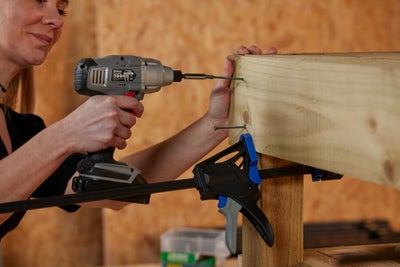
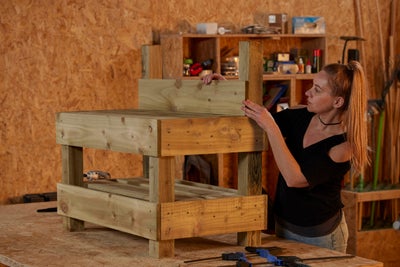
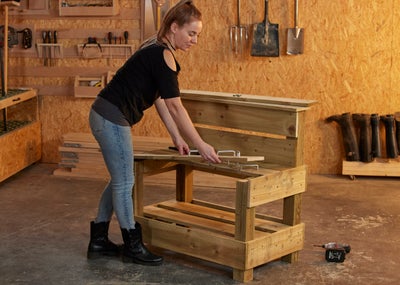
- We are going to show you how to build a mud kitchen, step by step.
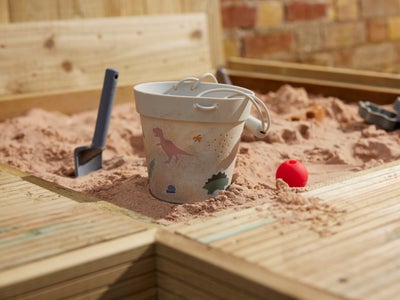
- It provides the perfect place for little ones to play outdoors all year round and encourages them to use their imagination.
- This project doesn’t require too much time or experience to complete and uses materials that are all available from Wickes.
- It should take a DIYer with moderate experience around half a day to complete.
- You can create your own design or use our cutting list as a design.
Staying safe
- Always make sure that your power tools are unplugged while you’re setting them up or changing accessories, to ensure your safety.
- Keeping the plug in-sight acts as a visual reminder to prevent accidents and hazards.
- For extra safety when using power tools and painting, be sure to wear protective equipment, including your ear defenders, goggles and a dust mask.
Gathering tools and materials
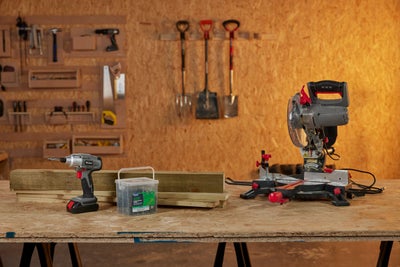
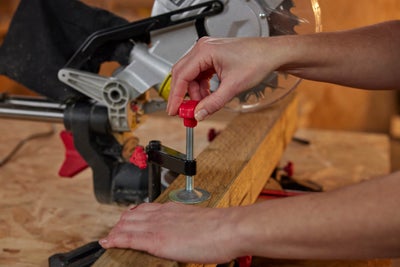
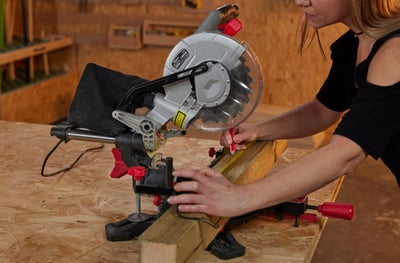
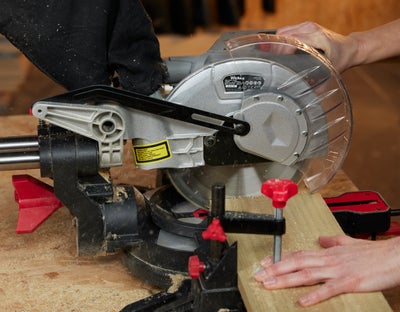
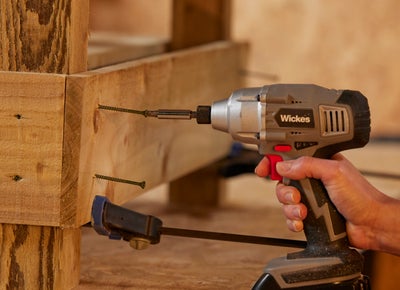
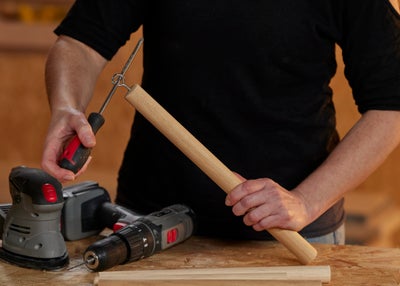
You can get a lot done with just a chop saw, a drill driver and some screws.
Everything you need can be found at Wickes, but we also encourage you to make use of any offcuts you have lying around.
You can use almost any type of
timber, from standard boards to fence posts, as long as it’s treated for outdoor use.
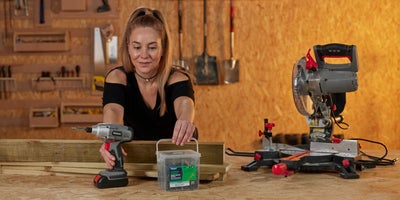
Let the scale of your garden guide you when it comes to size and get creative with your design.
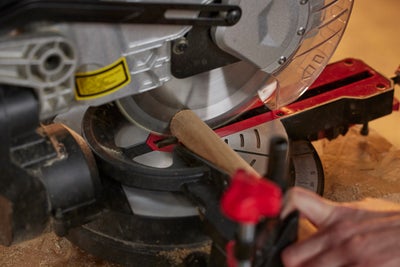
Cutting your timber
View instructions
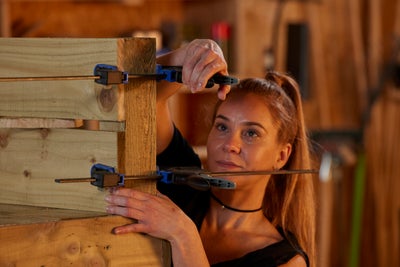
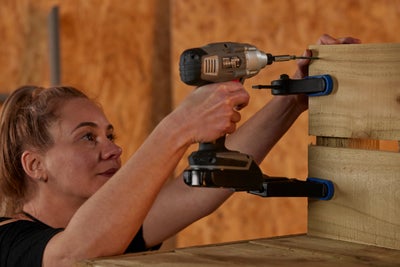
Building the end frames
View instructions
Joining your end frames
View instructions
Fitting your splashback
View instructions
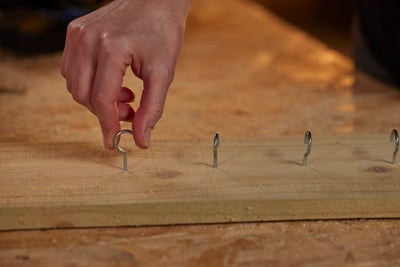
Fitting the chimes
View instructions
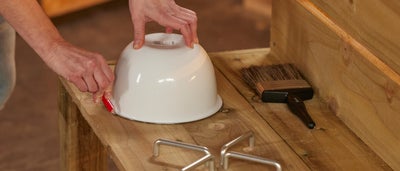
Personalising your mud kitchen
View instructions
For more ideas, advice and DIY how-to guides, visit the inspiration hub; and share your #WithWickes project with us online.
