How to fit security lighting
Adding lighting to your outdoor space, whether that be in front of your home or in your garden helps to not only deter potential intruders away from your home but also lets you make the most of your outdoor space in the evenings.
Fitting external lighting is a technical task that anyone with a basic understanding of circuits and knowhow can do.
Planning and preparation
- Make sure you have cleared the area for a safe space to work in.
- Ensure you have all the tools, materials and protective equipment on before using tools.
Staying safe
- Always make sure that your power tools are unplugged while you’re setting them up or changing accessories, to ensure your safety.
- Keeping the plug in-sight acts as a visual reminder to prevent accidents and hazards.
- For extra safety when using power tools, be sure to wear protective equipment, including your ear defenders, goggles and dust mask.
Method
Before you begin, switch off the electricity at your fuse box to minimize the risk of an electric shock during the wiring process. Make sure to test there is no power after switching the fuse box off.

First, create a safe space to work in by removing any furniture or decorations.
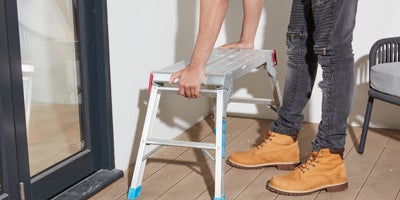
Place a step ladder beneath the area of installation to bring you to a safe working level.

From your power source use your spirit level to ensure you’re in line with where you want to wire in your exterior light from inside your home.
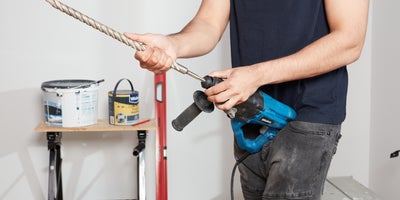
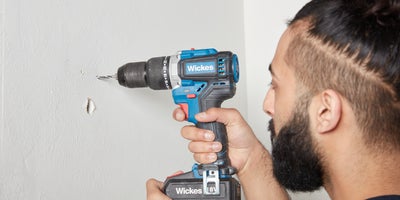
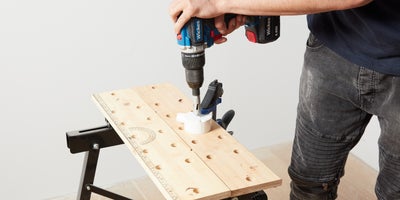
Use a pencil to mark out your first drill hole, then get your SDS drill ready for use. Make sure to wear protective glasses and gloves while operating an SDS drill.
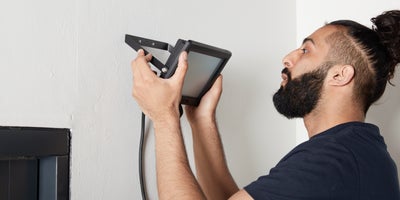
Top tip: Before you start drilling, use a wire detector to ensure you’re not drilling into any important pipes or wires.
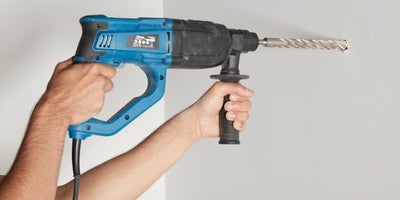
With your SDS drill ready, step back onto your step ladder and drill all the way through where your pencil mark is.
With your hole drilled, create a safe space to work in outside your home by removing any furniture of decorations from around the hole you’ve just drilled.
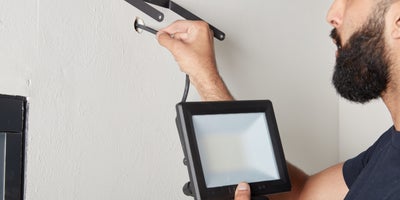
Use your step ladder to bring you up to a safe height ready to fit your light brackets.
Line your exterior light up with the hole to determine where you would like it to sit.
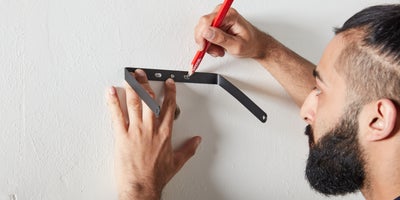
Detach the bracket from the light, then line it up above the hole and mark the bracket holes with a pencil.
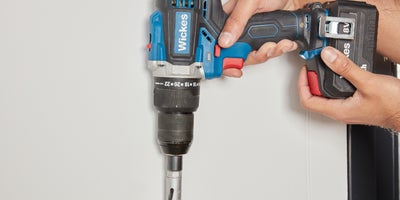
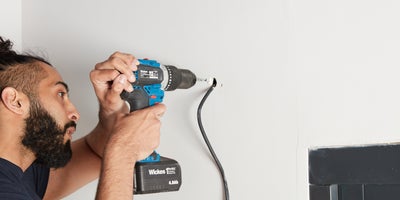
Use a power drill to drill into the pencil marks you’ve just made for the bracket.
Top tip: Line up your wall plug with the end of your drill bit and place tape onto the drill bit where the wall plug ends, so you know exactly where to stop drilling into your wall.

Place wall plugs into the drilled holes ready for the bracket to be secured.

Secure the bracket by drilling screws into the wall plugs.
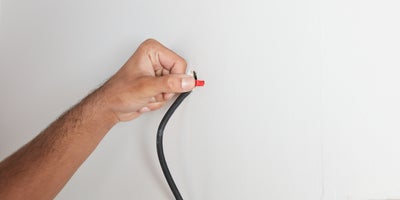
Now, feed the wire from the light through the hole and fix the light onto the bracket.
With the bracket and light fitted outside, move back indoors to wire the light up to your power source.
Attach your circular drill bit to your power drill, then drill a hole into the top of the light socket in order to create a hole for the conduit connector to be placed through being careful of any wires already connected in the box.
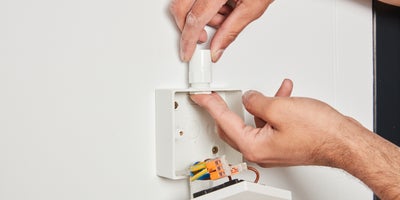
Pass the conduit connector through the hole you’ve just made and lock it in place to ensure it fits correctly.
Bring your terminal box to a workbench and use a clamp to keep it steady, then attach your circular drill bit to your power drill.
Now drill a hole into the center of the terminal box.
Once that’s done, pass the wire from the light through the terminal box and line the box up with the initial hole you drilled and make a marking through the holes on the terminal box ready for drilling.
Drill into the pencil markings, then hold the terminal box up before filling the holes with wall plugs to hold it in position.
Now secure the terminal box to the wall using screws and a screwdriver.
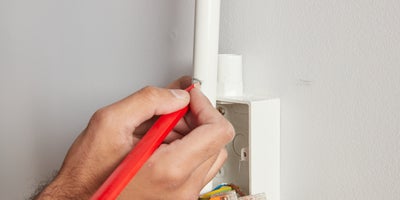
With the terminal box secured to the wall, take your conduit and attach it to the terminal box, then line it up with your power supply and make a mark where the pipe meets the base of the conduit connector.
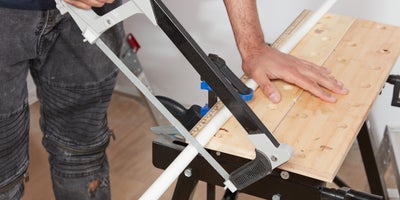
Take your conduit over to your workbench and cut into the marking you’ve just made using a hand saw.
Once you’ve cut your conduit down to size, take your twin & earth wire and hook it into the conduit fitting and feed the rest of the wire down to the power supply so you know where you need to cut it. After you’ve sized it up with your conduit connector cut the wire using a wire stripper.

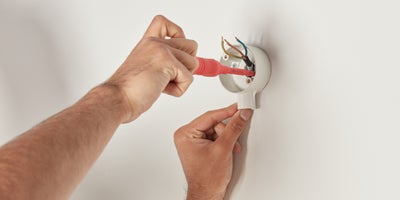
Now use the wire stripper again to cut open and expose the live, earth and neutral wires on both ends of the cut to size twin & earth wire, ready for connection.

With the wires ready for connecting, pass them through the conduit and funnel the bottom wires into the conduit connector, then hook the top wires through the bottom of the conduit fitting.
The PVC pipe should now hold onto the conduit fitting at the top. Unscrew the conduit connector on the power supply then funnel the wire through the connector, then lock it back into place by securing the nut within the power supply.
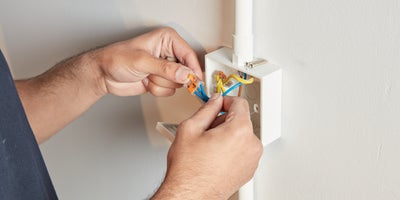
Use the terminal connectors to link the live wires together, the neutral together and the earth wires together at the conduit fitting.
Push them back into the fitting and secure the cover using a screwdriver and provided screws.
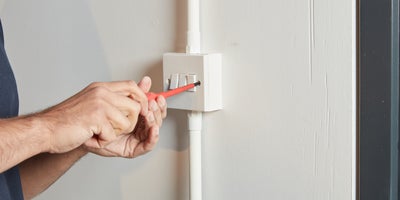
Do the same at the power supply and close it up using a screwdriver.

Once you’ve wired everything into place, you can turn your power supply back on at your fuse box and test it works.