Skip to content Skip to navigation menu
Basket
0
1_Upcycling_Household_Items_to_Make_Festive_Decorations.jpeg

With the festive season right around the corner and prices of decorations seemingly going up, why not try something different this year by upcycling items already in your home to make festive decorations?

Making your very own decorations will not only save you a little bit of money but will also give you the opportunity to put your own little twist on them, which is sure to go down a treat to your family and friends. There’s a variety of different decorations to make, so we’ve created a collection of our favorites for you to gain some inspiration from.

2_Christmas_cutlery_holders.jpeg
Christmas cutlery holders

We start off with a simple yet effective decoration for dressing your table for Christmas dinner.

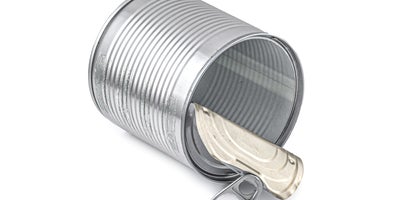
All you’ll need are some medium to large-sized tins that were originally destined for the recycling bin, some wrapping paper or cuts of hessian fabric, glue, scissors and a can of spray paint.

  1. Start by removing labels from your tins
  2. If your tins are sharp at the top, rub the tin on some sandpaper to remove any potential hazards.
  3. Now, take your spray paint and apply a few coats to cover the whole tin.
  4. Once that’s dried, cut strips of wrapping paper, add some glue to the back of them and place them around your tin however you wish.
  5. After that tie a ribbon around the middle of your tin and there you have it! A festive tin cutlery holder that can also be used to hold flowers once you’ve all finished eating.
3_Christmas_Mood_Lighting_Tins.jpeg
Christmas mood lighting tins

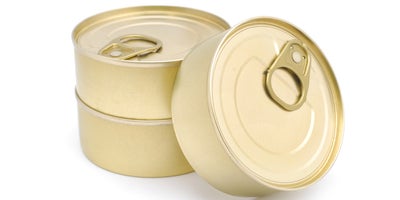
Lighting is a big part of your festive decorations, and this next decoration doesn’t just look festive, it also doesn’t require you to use any electricity. All you’re going to need is seven or eight empty tuna tins, festive wrapping paper, glue, tea light candles and command strips.

  1. Start by thoroughly cleaning your empty tuna tins, cause no one’s going to want that smell lingering around, especially if your in-laws are due to come over.
  2. Wrap each tin using festive wrapping paper and secure it using glue.
  3. Now place a Command strip to the back of each tuna tin and fix each of them to your desired wall.
  4. Once you’ve done that, add a tea light candle to each of the tuna tins and that’s that. You now have warm and welcoming lighting to compliment your other festive decorations.
4_Recycled_Bottle_Christmas_Tree.jpeg
Recycled bottle Christmas tree

Now let’s get the rest of the house decorated and raid the plastic recycling bin to find six single-use water bottles along with their lids. You’re also going to need some ribbon, string, a hand drill (or a sharp pointy tool), scissors, and a ruler or tape measure.

  1. Start by removing any labels from your water bottles and give them a clean if they need it.
  2. Now, cut every bottle’s base off and cut each one to varying lengths about an inch apart.
  3. Once you’ve got your varied sized bottles, cut each bottle from the bottom to top into eight strips up to an inch from the bottle cap.
  4. Drill a hole through each of the bottle caps.
  5. Tie a large knot at one end of your string and thread it through the caps and bottles.
  6. Then finish it off by tying a ribbon at the top, and there you have it.
5_Cardboard_Christmas_City.jpeg
Cardboard Christmas city

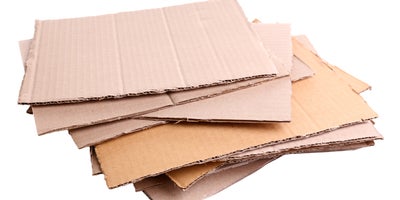
This next decoration requires a little more work than the others, however it is sure to standout amongst even your purchased decorations. Now raid the paper recycling box and find some boxes or as much cardboard as you possibly can. If you’ve already recycled your cardboard for the week, not to worry - there are plenty of supermarkets give away cardboard or you could use some of our handy moving boxes for the project. You’re also going to need a pencil, scissors, a set of LED string lights and a tin of paint if you wish to paint it.

  1. To start off, draw a city silhouette scene on your cardboard (there are plenty of examples online if you get stuck with creating one yourself).
  2. Cut out some windows to give your scene more life.
  3. If you wish to paint it, now is the time to do it. Wait until the paint dries before moving on to the next step.
  4. Fold the cardboard at varying points so you can stand it up and create some depth.
  5. Place it in your desired spot and add some LED string lights behind your scene, and there you have it.
6_Festive_Wine_Bottle_Candles.jpg
Festive wine bottle candles

The next decoration is incredibly easy to make and it’s likely you’ll have plenty of empty wine bottles destined for your glass recycling box around the festive period. So, dig out a few of those bottles, grab a few candle sticks along with your leftover present wrapping materials and fuse them all together.

  1. Start by removing any labels or foil from your wine bottles, then give them a rinse and dry.
  2. Cut a length of wrapping paper and wrap it around the body of each bottle and use glue to keep it there.
  3. Now, drive a candle stick into the top of each bottle, make sure not to push it all the way so you can light it easily.
  4. Finish each of them off by tying a ribbon around your wrapping paper, and that’s it, you have a cosy addition for your Christmas dinner.

More inspiration