How to install wooden panelling
Here's a quick breakdown of the steps we'll take to install your brand new wall panelling.
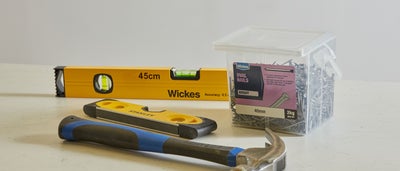
1. Choose the right materials for your project, such as timber for a grain-effect or MDF for a cleaner look.
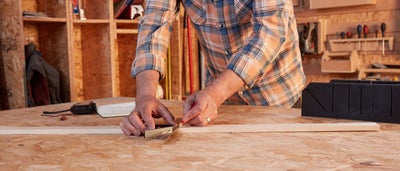
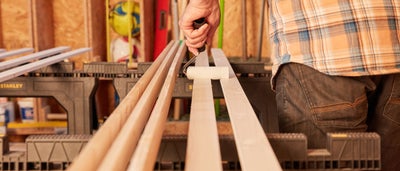
2. Decide how many panels you’ll need by measuring your wall.
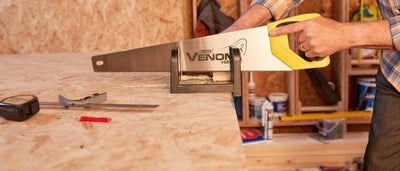
3. Cut your panels to the required lengths
4. Plan your layout before you start installation.
5. Clean and dry the area.
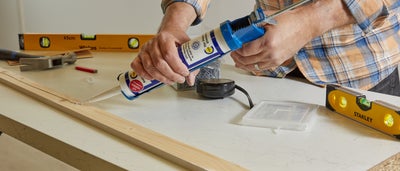
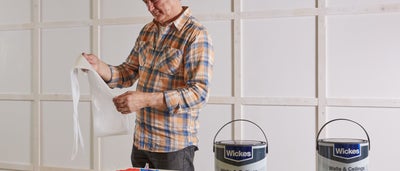
6. Apply a thin undercoat for a smooth finish and to avoid pooling.
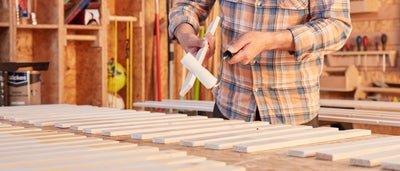
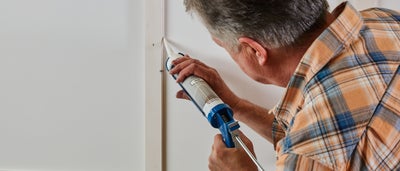
7. Apply a small amount of adhesive using a caulking gun every 10 inches in a ‘W’ or wave-like pattern.
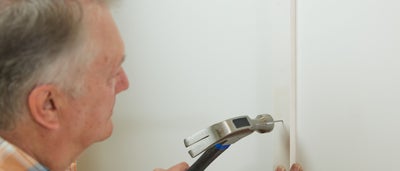
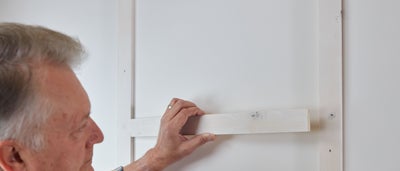
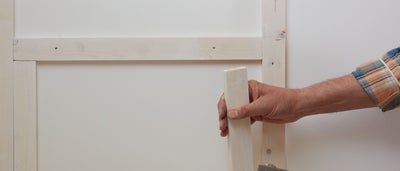
8. Firmly place the panels onto the adhesive; you can create straight lines with a spirit level.
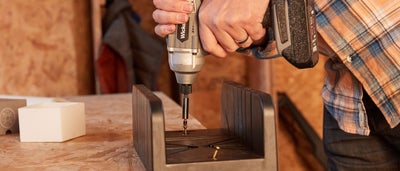
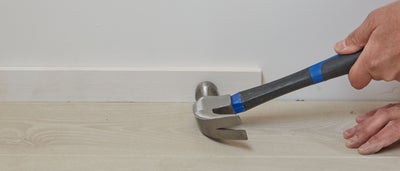
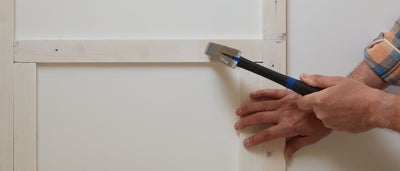
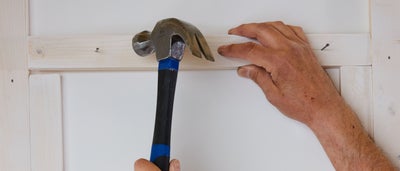
9. Once you’re happy with their position, secure to the wall
Ready to get started? Read on for full instructions.
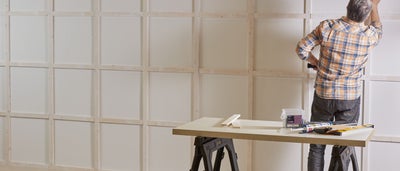
Planning & preparation
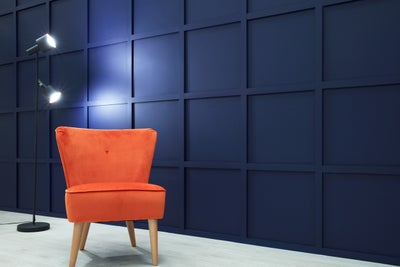
We’re going to show you how to transform a room with wooden panelling, step by step.
It’s a low-effort decorative DIY project that has a really high impact.
Opt for a design that you think you can tackle and like the look of; there are plenty to choose from.
This project doesn’t require too much time or experience to complete and uses materials that are all available from Wickes. You can also take advantage of our panelling kits which will give §you all the timber elements required to complete your project. By using one of our kits, you will save yourself time when finding the right sized panels for the job, as well as reduce the time it takes to complete the project as all included parts are pre-cut to size.
It should take a DIYer with moderate experience around 2 days to complete when you factor in your drying times, but this can change depending on the size of your wall and how many coats your wall requires.
Staying safe
Always make sure that your power tools are unplugged while you’re setting them up or changing accessories, to ensure your safety.
Keeping the plug in sight acts as a visual reminder to prevent accidents and hazards.
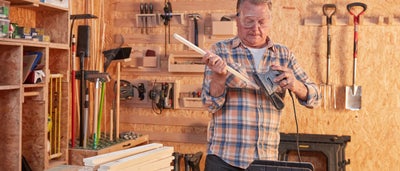
For extra safety when using power tools and painting, be sure to wear protective equipment, including your ear defenders, goggles and a dust mask.
Planning and choosing your materials

Cutting your wood
View instructions
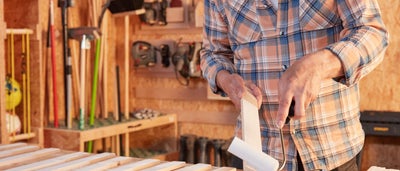
Undercoating your timber
View instructions
Fixing your panelling
View instructions


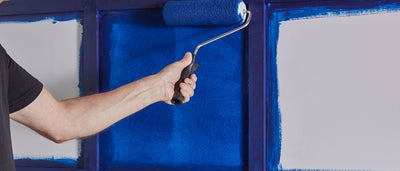
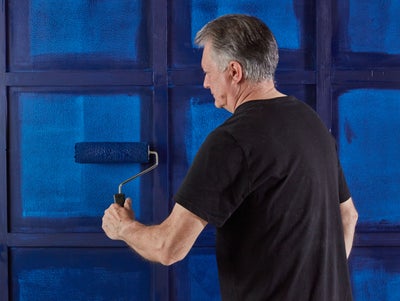
Painting your panelling
View instructions

How do you install shower wall panels?
You can install shower wall panels in the same way that you install standard wall panels in any other location. Our range of wall panels are waterproof, making them suitable for any area of the home, but we do recommend installing panels outside of the shower area.
How do you make wall panels?
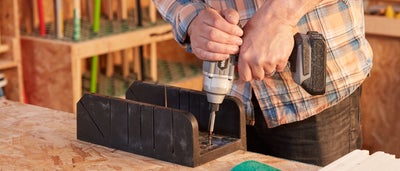
You can make your own wall panels by sawing wood to the required size and shape. Remember, for square or rectangular designs, you’ll have to cut at an angle so you should use a mitre saw and box for extra support.
How do you measure wall panelling?
You can measure the space ready for panelling with a measuring tape. You’ll want to measure the width and height of the walls, and use a pencil to mark where you’d like the panels to go, avoiding any light switches or plug sockets. These marks will provide a guide during your installation.
Can you use wall panelling on the ceiling?
Yes - you can add dimension to your ceiling using wall panels.
For more ideas, advice and DIY how-to guides, visit the inspiration hub; and share your #WithWickes project with us online.


