Skip to content Skip to navigation menu
Basket
0

Planning & preparation

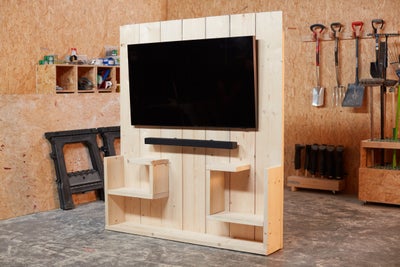
  • We’re going to show you how to build an entertainment wall unit, step by step.
  • It gives you the perfect centrepiece for your front room, combining everything you need in one handy unit on which you can mount your tech.
  • It’s designed to be custom made, so you can make sure it fits your space perfectly. Enjoy the opportunity to get creative.
  • All of the materials used are available from Wickes. 
  • It should take a DIYer with moderate skill approximately a day to build.

Doing it right

  • It’s designed to be custom made, so you can make sure it fits your space perfectly. Enjoy the opportunity to get creative.
  • Work out which side of your scaffold boards is more aesthetically pleasing. This is the side you want forward-facing. 
  • If you want to paint, stain or varnish your wood, make sure to do this before you start constructing the unit.

Staying safe

  • Always make sure that your chop saw is unplugged while you’re setting it up or changing accessories, to ensure your safety.
  • Keeping the plug in sight acts as a visual reminder to prevent accidents and hazards.
  • For extra safety when using power tools and painting, be sure to wear protective equipment, including your ear defenders, goggles and dust mask.
Deciding on your design

View instructions

Gather all of the tech you plan to mount on your entertainment wall unit.

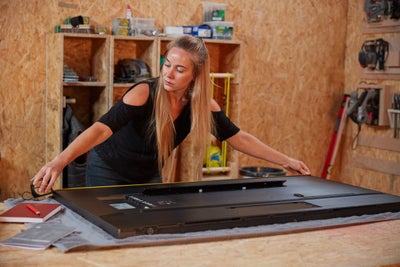
Measuring your TV

Measure all of your tech. You’ll need to use these measurements as reference points when deciding on how big to make your unit.

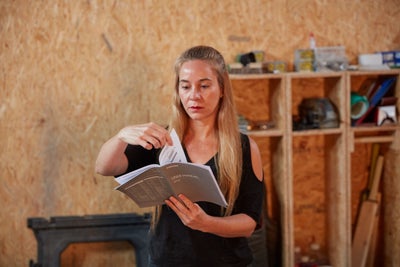
Checking the product manual

Consult the product manuals for your tech to find out the kind of all mounts you’ll need.

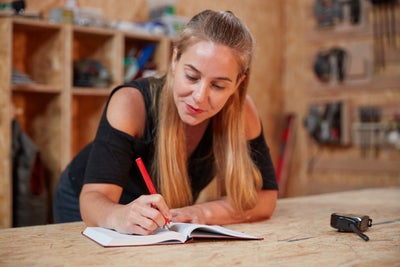
Sketch out your ideas

Think about the area of your home where you’re planning to install your unit so you can make sure it fits perfectly. Sketch out your ideas to help visualise them and decide on a design.

Getting set up

View instructions
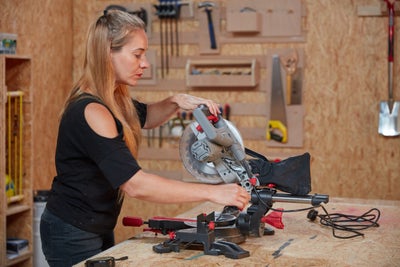
Set up your chop saw

Safely set up your chop saw on your workbench.

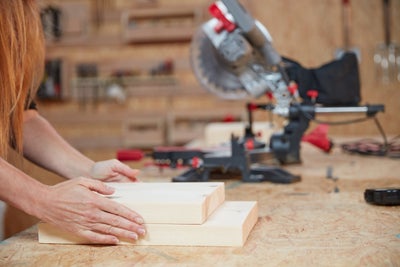
Stack timber at the same height as the saw bed

Stack timber on either end of your bench at the same height as the bed of your saw.

Cutting your lengths

View instructions
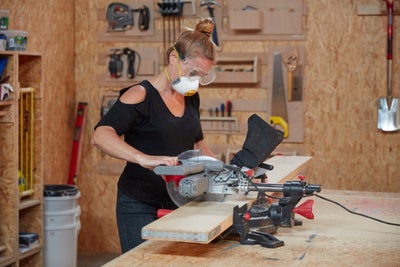
Cut your scaffold boards

Cut your scaffold boards to size.

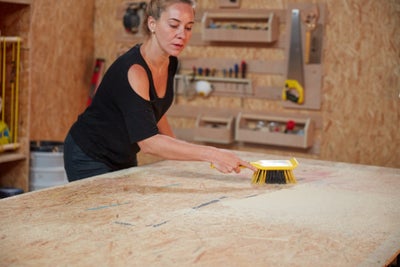
Tidy up your workspace

Tidy up your workspace before moving on to the next step.

Sanding your scaffold boards

View instructions
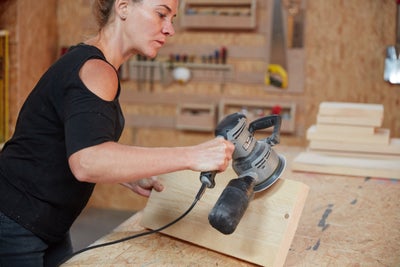
Sand your scaffold boards

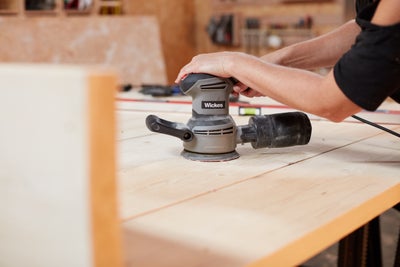
Go over your cut lengths with an orbital sander to make sure the surfaces are smoothed and the edges are chamfered.

Constructing your shelves

View instructions

We recommend completing the rest of the project in situ, where you plan to fit your entertainment wall unit.

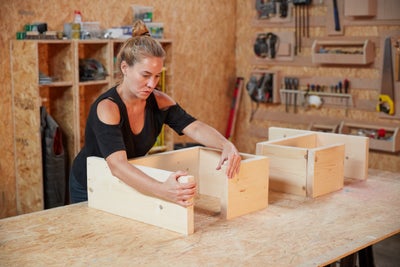
Dry lay your shelving

Working from your design, dry lay your shelving on your workbench.

If you plan on painting, staining or varnishing, it’s better to do so now before you start building.

To avoid the need to measure when dry laying, we’ve made it so that the top of the shelf lines up with the side section, which allows you to easily find the positioning of the bottom shelf.

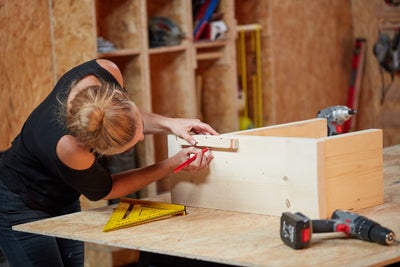
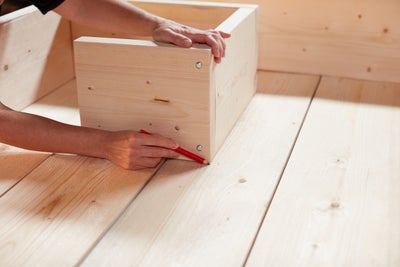
Mark screw locations

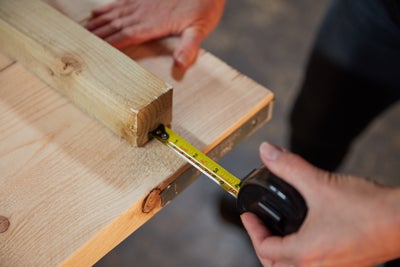
Use a timber offcut to find the position for your screws and mark the locations.

Drive your screws

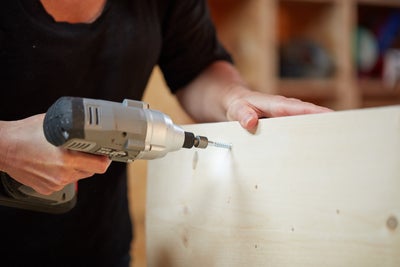
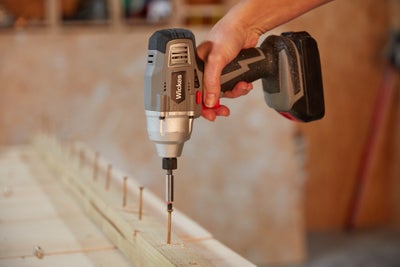
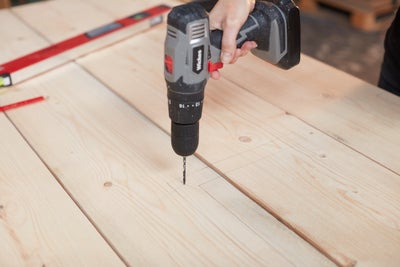
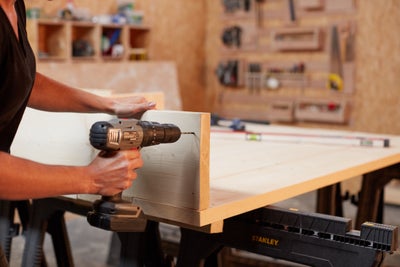
Drill your pilot holes before driving in your screws to construct your shelves.

Constructing the back panel

View instructions
Reconfigure your saw horses

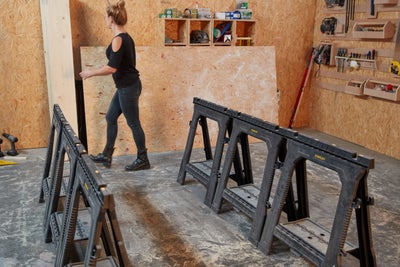
Reconfigure your workbench so that your sawhorses are positioned in parallel lines with three on each side.

Check the measurement of the frame

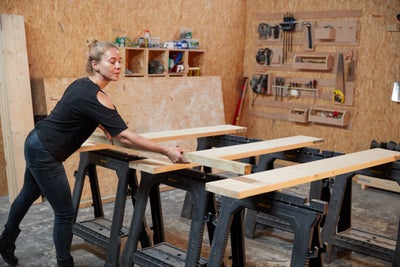
Lay down three of your scaffold boards and lay your batons along either end to check the measurement for the support frame.

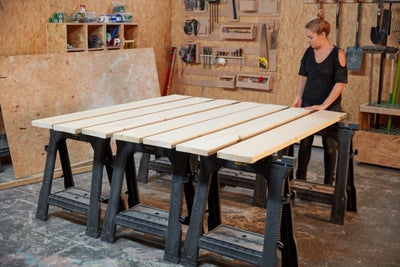
Add the rest of the boards

Add the rest of your scaffold boards with their metal ends all aligned.

Create even spacing

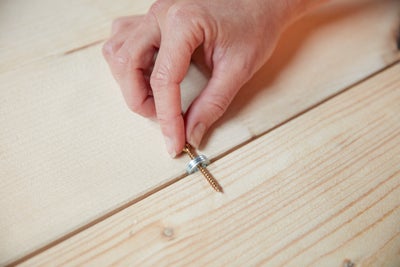
Place three washers and a screw between each one to create even spacing.

Line up the boards evenly

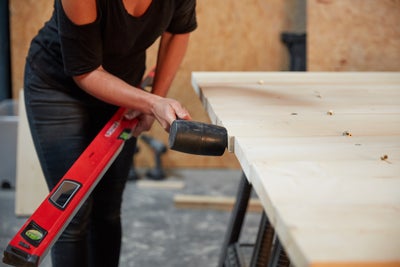
Use a straight edge and rubber mallet to ensure that all the boards are lined up evenly.

Position the first baton

Place the first baton in position and clamp it in place.

Fix the baton

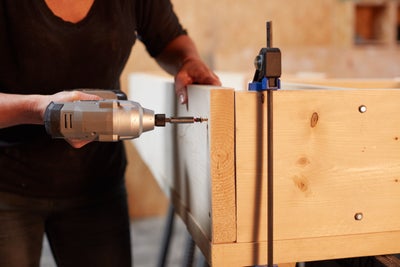
Fix it to the scaffold boards with two screws in each board.

Do the same for the second baton on the opposite side.

Affixing the shelves

View instructions

Turn over the back panel so that the batons are now facing the floor. It’s worth asking for help with this, as it can be difficult for one person.

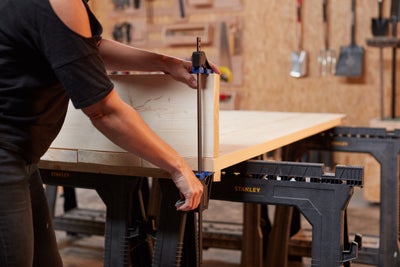
Clamp the bottom shelf

Clamp your bottom shelf into position on the panel.

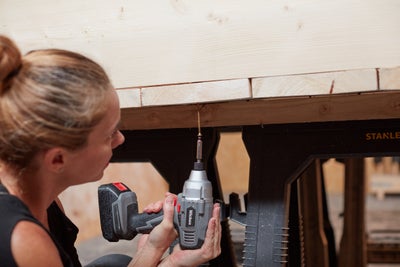
Screw bottom shelf in place

Drill your pilot holes and screw it into place up through the underside.

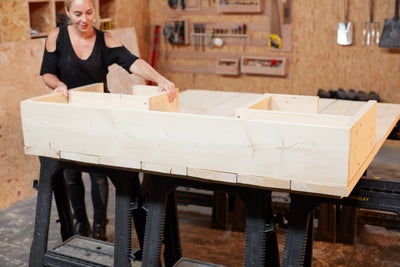
Position the rest of the shelves

Dry lay the rest of your shelves in position, making sure that your joints are sitting square and flush.

Outline the shelves

Trace the outlines of your shelves onto your back panel.

Drill pilot holes

Remove the shelves temporarily and drill your pilot holes.

Drill pilot holes for butt joints

Drill pilot holes for your butt joints where the bottom shelf meets the two others.

.

Remove pencil marks

Remove any pencil marks with your sander.

Fix the shelves

Clamp your shelves back in place and fix them to the panel as well as the bottom shelf.

Mounting your tech

View instructions

What you install on your unit is completely up to you. As an example, we mounted a TV and a sound bar.

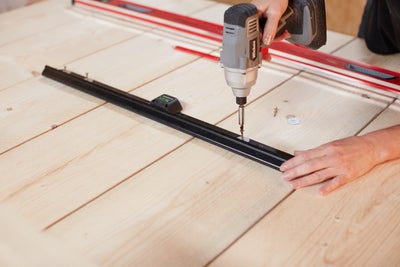
Fit the brackets

Follow the instructions to fit your brackets in your desired positions.

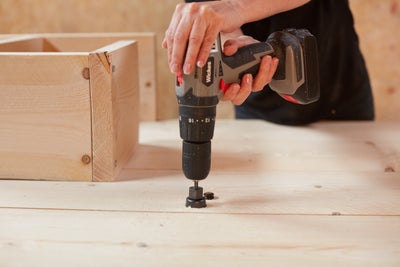
Create holes for cables

Use a holesaw to create holes through which your cables can pass through.

Stand up your wall unit, with the help of a second person if required.

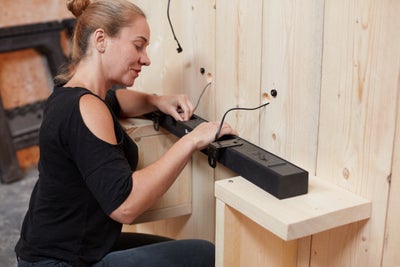
Pass the cables through the holes

Pass the cables through the holes and plug in your tech.

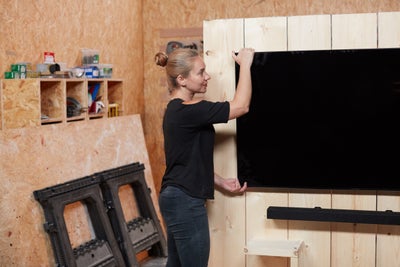
Mount on the brackets

Mount them on the brackets you’ve fitted.

The wall unit is ready

Now your entertainment wall unit is ready to go.

More inspiration from Wickes