How to wallpaper a room
- Dust sheet
- Sponge or damp cloth
- Filling knife (if required)
- Sandpaper (if required)
- Plumb line
- Spirit level
- Tape measure
- Pencil
- Wallpaper scissors
- Bucket
- Pasting brush
- Pasting table
- Roller (if pasting the wall)
- Roller extension pole (if pasting the wall)
- Wallpaper smoother
- Wallpaper hanging brush
- Seam roller
- Trimming wheel
- Retractable knife
- Radiator roller
- Stepladder (if required)
- Screwdriver (if papering around a light switch)
Planning & preparation
- With such a wide range of colours, patterns and textures to choose from, wallpapering a room, or a feature wall, can make a stylish design statement
- To calculate how much wallpaper you'll need, measure the width of each of the walls and then divide the total by the width of your wallpaper; this will tell you the number of drops you need. Then, measure the height of the room and multiply it by the number of drops; this will give you the meterage needed. Divide the meterage by the length of the wallpaper roll, minus the pattern repeat which will be indicated on the packaging. It’s best to order an extra 10% to allow for cutting and wastage
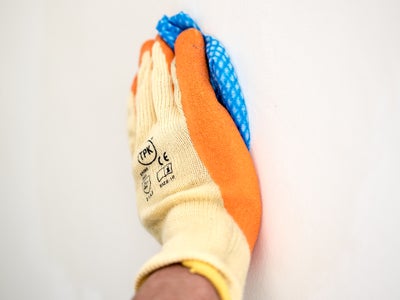
- To prepare your walls, remove any old paper and, if using steam or water, allow the surface to thoroughly dry. Fill any holes with filler and then sand to a smooth finish. See our online guide on how to prepare walls and ceilings for decorating for advice on wall preparation and how to remove old wallpaper
- If you're decorating a whole room, it's best to finish painting doors, skirting and ceilings before adding wallpaper, as it’s much easier to clear up paste than paint
- Follow the manufacturer's recommendations to determine whether you need to apply lining paper
- Paste-the-Wall wallpapers are considered to be easier and quicker to hang as the paper doesn’t need soaking
- It’s advisable to remove furniture from the room if possible or, if not, move it into the centre of the room and cover the floor and furniture with a protective dust sheet
- It’s best to plan your starting point to avoid being left with any small strips
Do it right
- Be sure to prepare and clean your walls before starting, to ensure they are free from grease, dust, holes and flaky plaster or old paper
- If you do need to use lining paper then hang it horizontally, so you don’t have any vertical seams showing through the wallpaper
- If papering a newly plastered wall, then you’ll need to treat the surface with a wall sealant before applying wallpaper
- If you accidentally apply any paste to the surface of the wallpaper, wipe it off immediately with a damp cloth
Staying safe
- Wear protective gloves when using filler
- Wear protective gloves and safety goggles when cleaning surfaces with sugar soap
- When sanding, be sure to ventilate the space and wear a dust mask and safety goggles
- When using adhesive paste, wear safety goggles, handle carefully and wash off any paste that makes contact with your skin
- See our how to prepare walls and ceilings for decorating guide for more detail and safety advice on the removal of wallpaper
- Isolate the power to any sockets before removing faceplates
- Take care when using a step ladder and be sure to move it regularly to avoid overstretching
Aftercare
- It’s good practice to regularly dust wallpaper
How to use paste-the-wall wallpaper
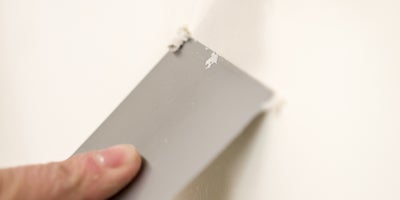
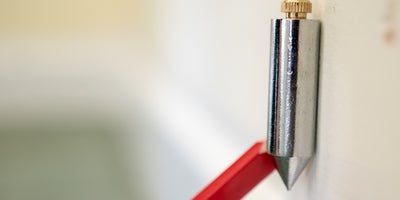
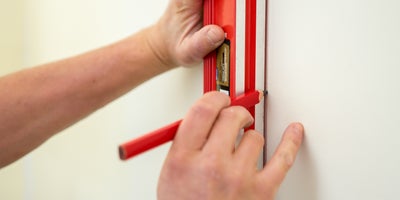
Using a spirit level and pencil, or a plumb line, mark a vertical line 500mm from your starting point.
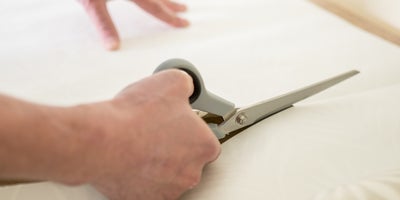
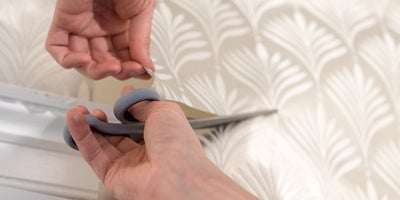
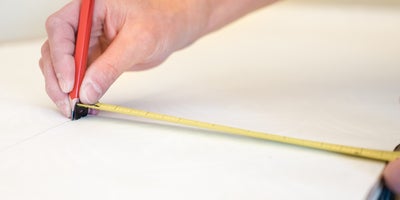
Measure the drop of your wall, add 100mm to allow for trimming and then cut with wallpaper scissors. If you have a large pattern design, be mindful of where you want the pattern to be positioned on the wall, then add 100mm.
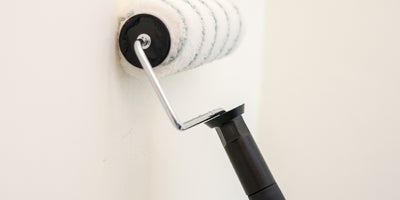
Following the manufacturer’s instructions, mix the paste-the-wall adhesive. Use a roller to apply the adhesive to the section of wall you are about to cover with your first piece of paper.
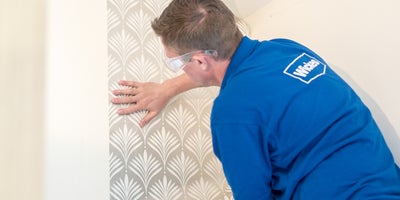
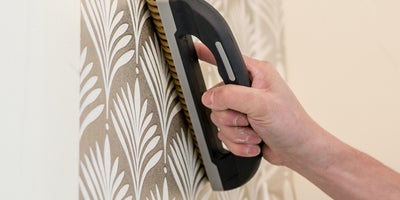
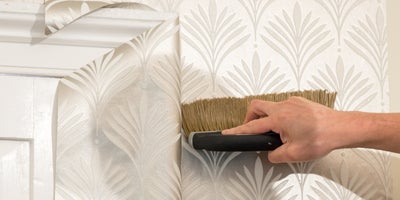
Working outwards from the centre of the paper, use a brush or roller to smooth the surface, making sure you remove any bubbles as you go.
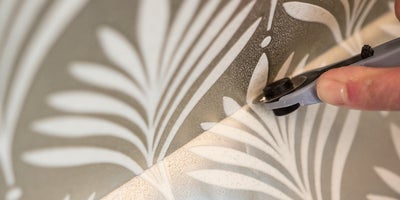
Trim the paper, top and bottom, with a retractable knife or trimming wheel.
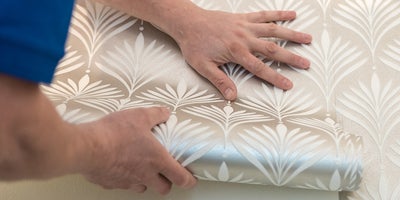
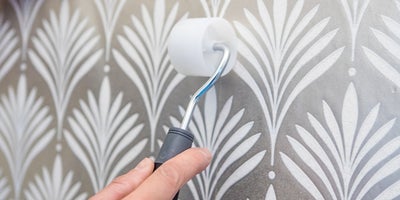
Smooth the surface before trimming, top and bottom, as before. Then, use a seam roller to smooth the join between the two pieces of paper.
How to use paste-the-paper wallpaper

Prepare, measure and cut as outlined in the paste-the-wall instructions.
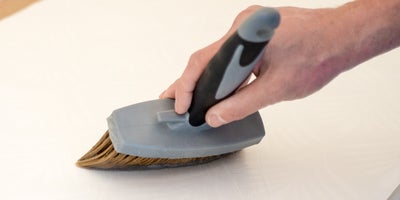
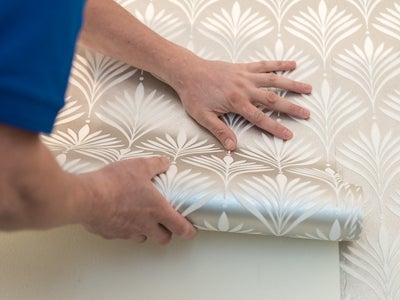
Following the manufacturer’s instructions, mix the wallpaper adhesive and apply to the wallpaper with a pasting brush, working out from the middle to the edges.
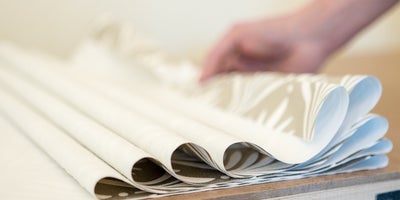
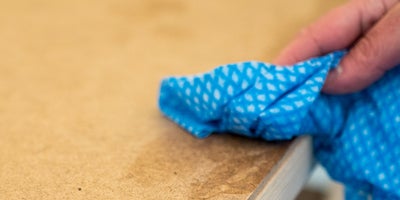
To avoid adhesive getting onto the face of the next roll, be sure to clear up any excess paste from your pasting table as you go. Hang as described in the paste-the-wall section.
How to paper around corners
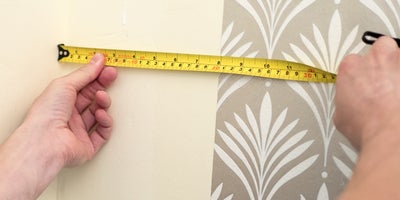
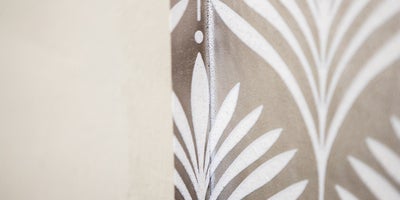
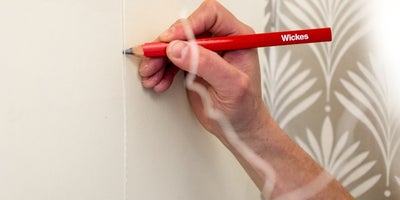
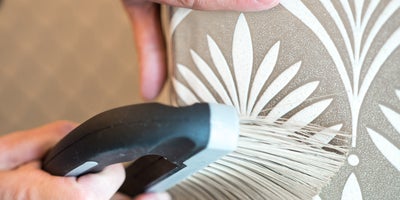
How to paper around a light switch or socket
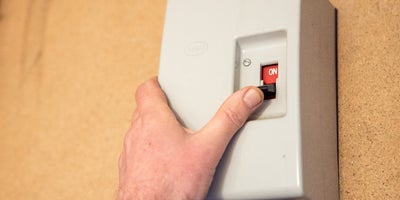
First, isolate the power to the switch.
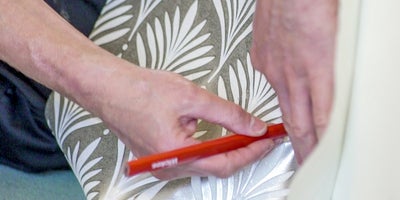
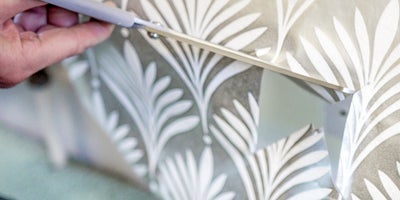
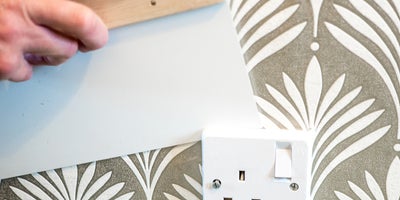
How to paper around a radiator
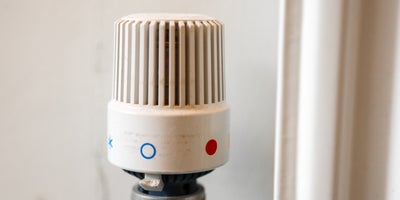
If you are unable to remove the radiator, turn it off and allow it to cool.
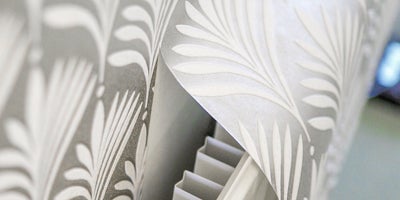
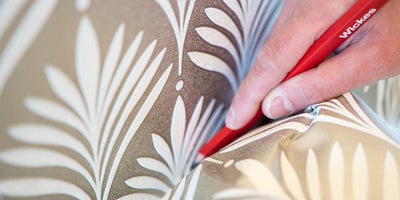
Feed the paper down behind the radiator and mark the position of the brackets onto the paper. Then, cut a slit in the bottom of the wallpaper to accommodate the brackets.
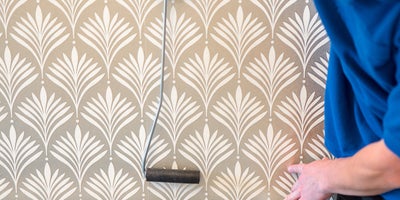
Apply the adhesive and carefully feed the paper behind the radiator, smoothing with a radiator roller. If you have a gap between the radiator and skirting boards, cut a suitably sized section and secure as above.
How to paper around a door
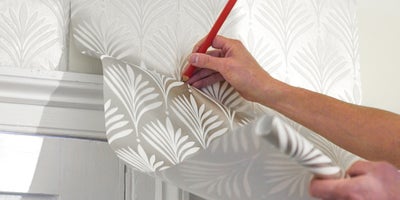
Attach the wallpaper as before, allowing the paper to overhang the door. Smooth the paper up to the door frame and mark the top corner onto the paper.
